Showing posts with label vegetarian. Show all posts

Monday, March 23, 2015

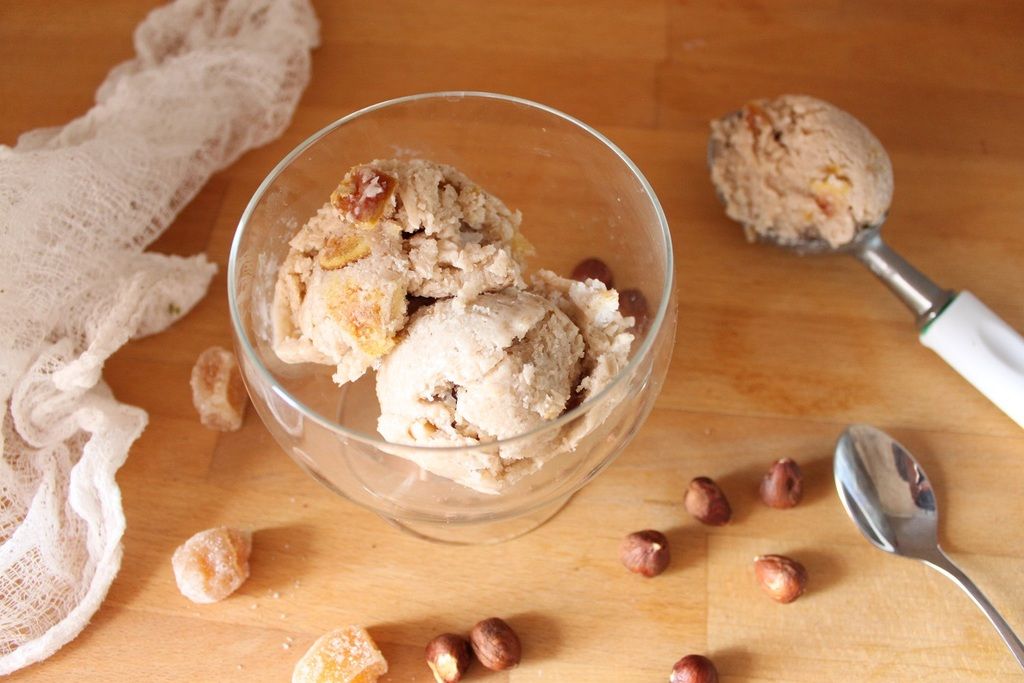
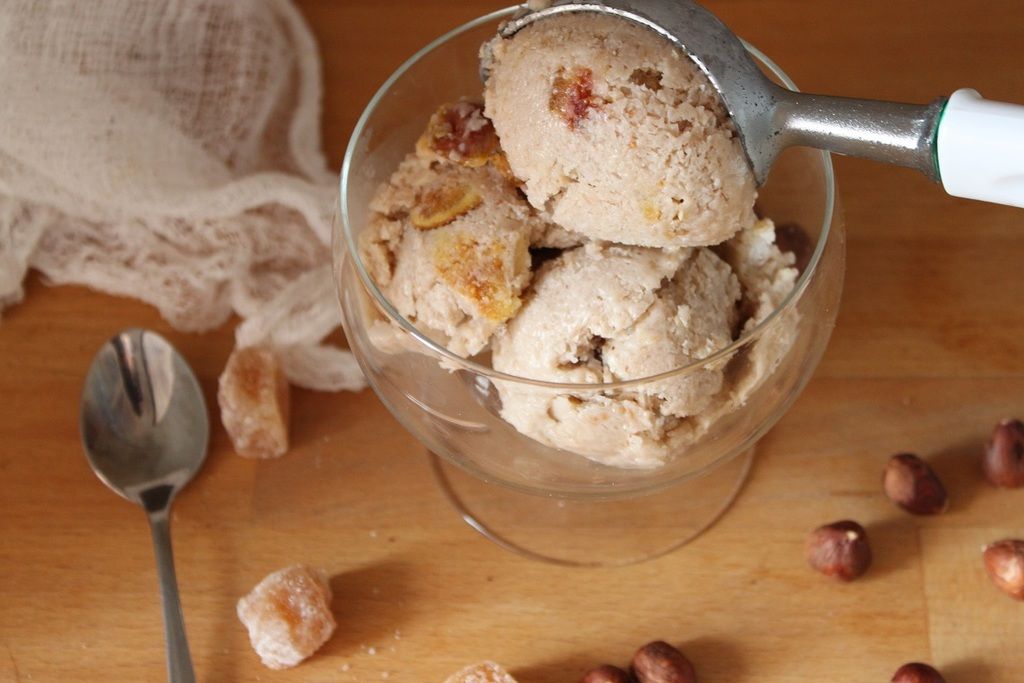
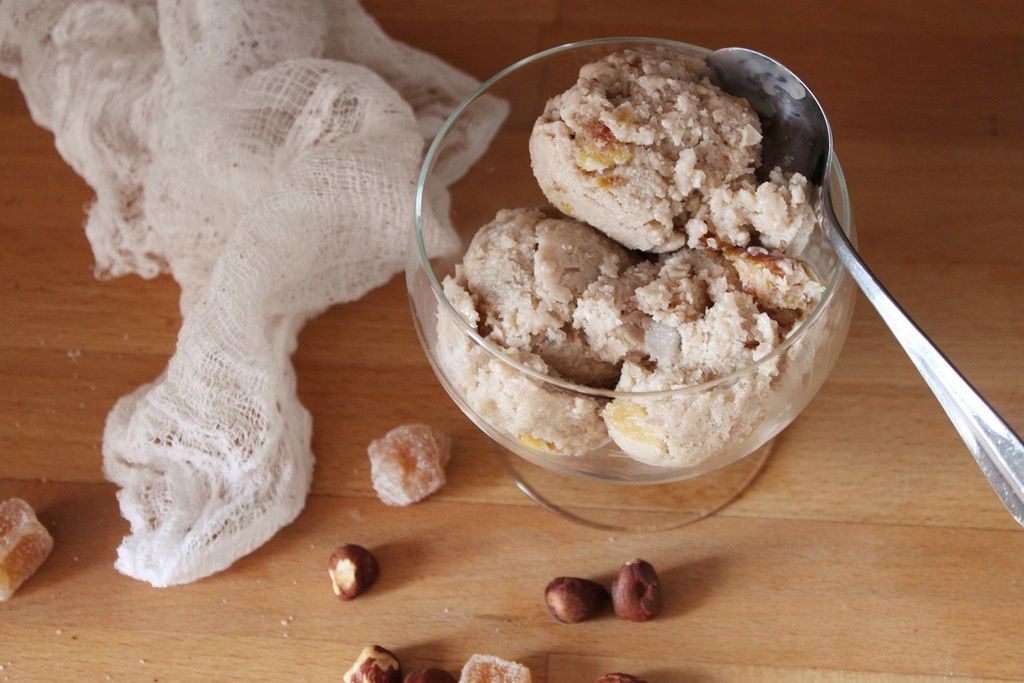
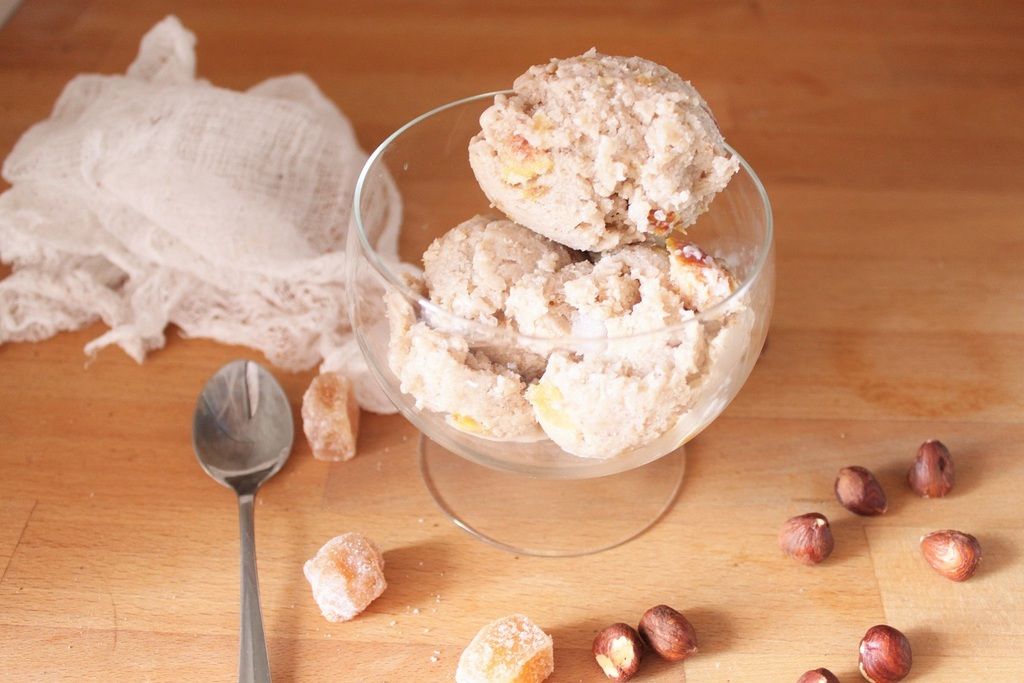
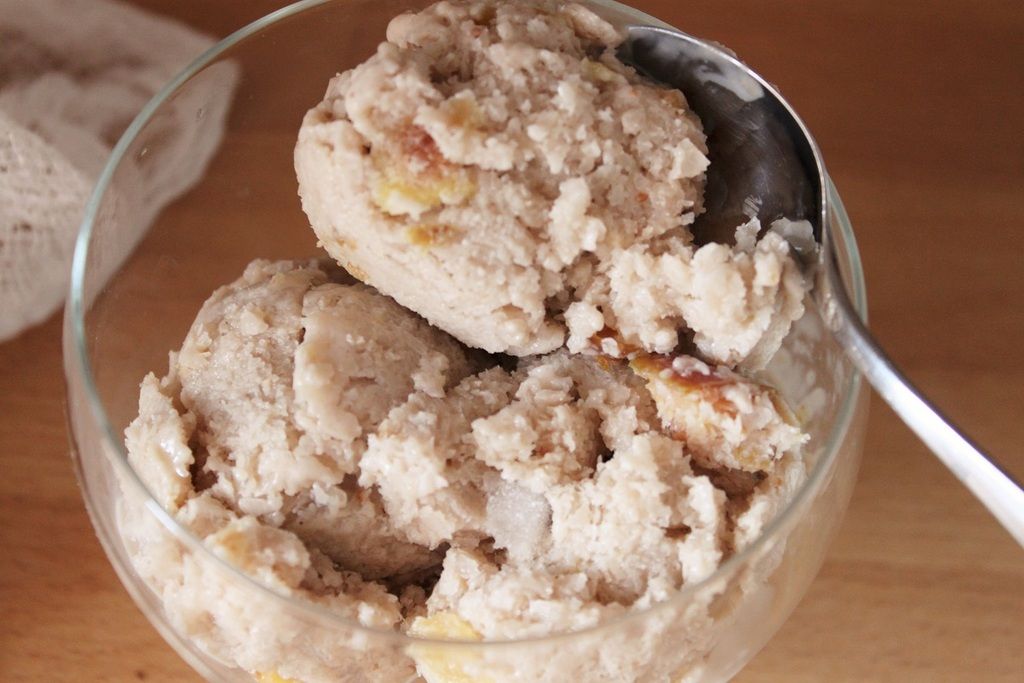
Dairy Free Delight - Hazelnut Milk Gelato with Roasted Figs and Ginger


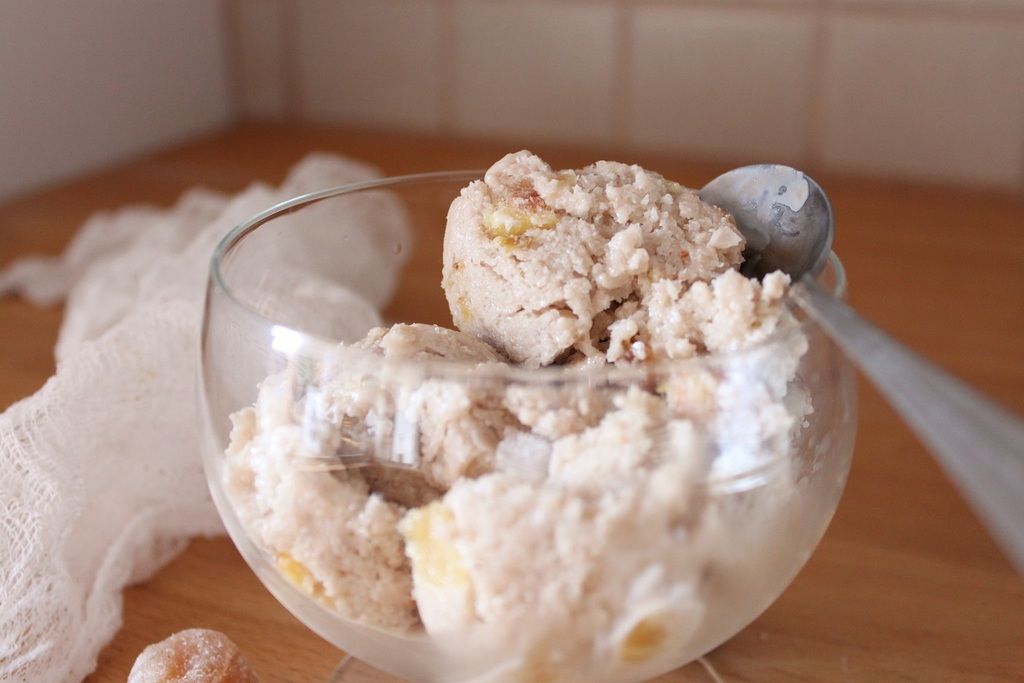
Hazelnut Milk Gelato with Roasted Figs and Ginger

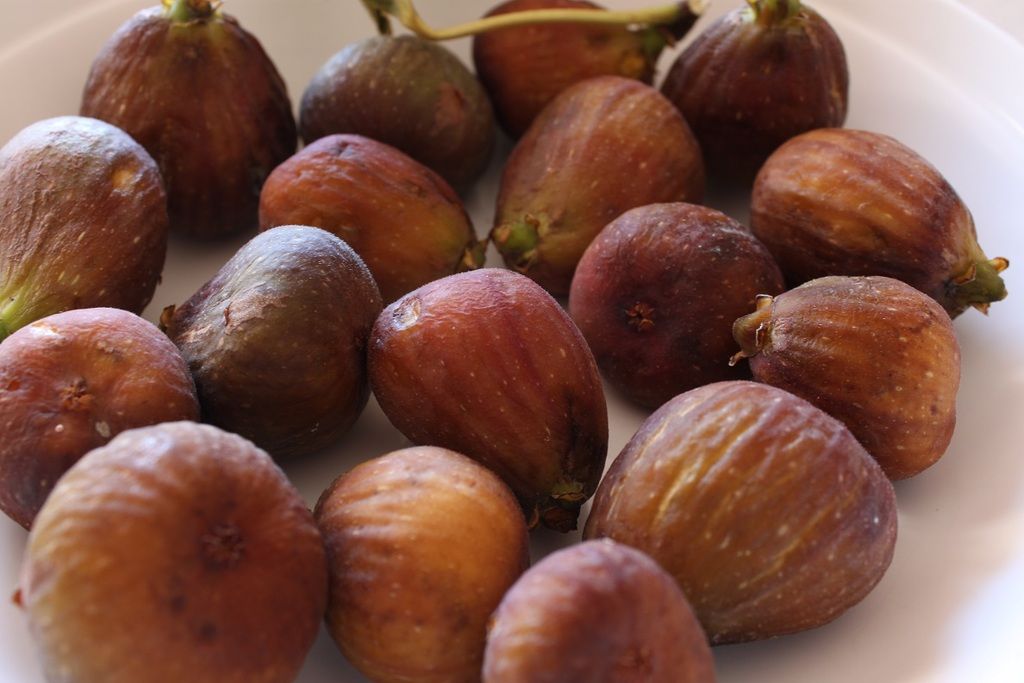
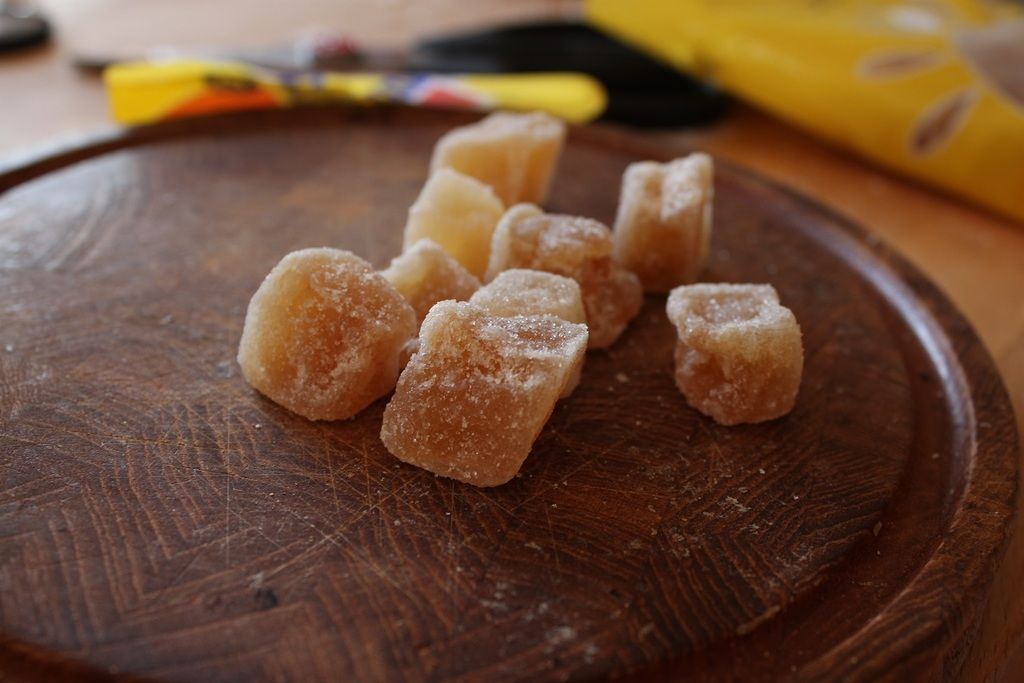
Fig season is so frustratingly short, and my supply that was plentiful last year was decidedly less so this year. They’re one of those fruits that I absolutely love – but there’s no way I’d pay $2 each for them. So unless I scam some from a friend with a tree, I go without. Begrudgingly. This year I only really got to make 2 fig dishes – the Brie Cheesecake (Briesecake?!?) and this one. Fig and ginger is a great pairing. Sweet, sticky figs paired with the hot bite of crystalised ginger is a match made in taste bud heaven. As a fancy appetiser, a fig half with a dollop of goat’s cheese, a few slices of crystalised ginger and a little prosciutto is so amazing. Or the same ingredients as a salad with some peppery rocket and maybe some toasted hazelnuts? Fabulous!

I decided to make this as an ice cream because of a competition. It was to win a kick-arse blender, because my one is a little sad and I really want a commercial grade one, without you know, paying for one. You had to answer what dish you would first make with your blender. And my answer was macadamia milk ice cream with fig and ginger. I’m not sure where the idea came from, other than the fact that you need a blender to make nut milks. And to make it more interesting, I turned it into ice cream. And to make it more exciting, I added fig and ginger. I didn’t win the blender, but I did win because I dreamed up an awesome ice cream. I swapped to hazelnuts because macadamias were more expensive at the time, and I’m quite a big fan of hazelnuts. Use the leftover hazelnut pulp to make protein balls, or dry out and use as a meal in baking.
Hazelnut Milk Gelato with Roasted Figs and Ginger
Hazelnut Milk Gelato with Roasted Figs and Ginger 

Hazelnut Milk Gelato with Roasted Figs and Ginger

Hazelnut Milk Gelato with Roasted Figs and Ginger

(makes about 1L)
1 cup raw hazelnuts
4 cups water (1L)
6 egg yolks
200g caster sugar
8 small figs, halved
Honey
50g crystallised ginger, roughly chopped

Soak the hazelnuts for 4 hours (or overnight) in the water. Blend well, then strain through cheesecloth or a clean chux to separate the ‘milk’ from the pulp.

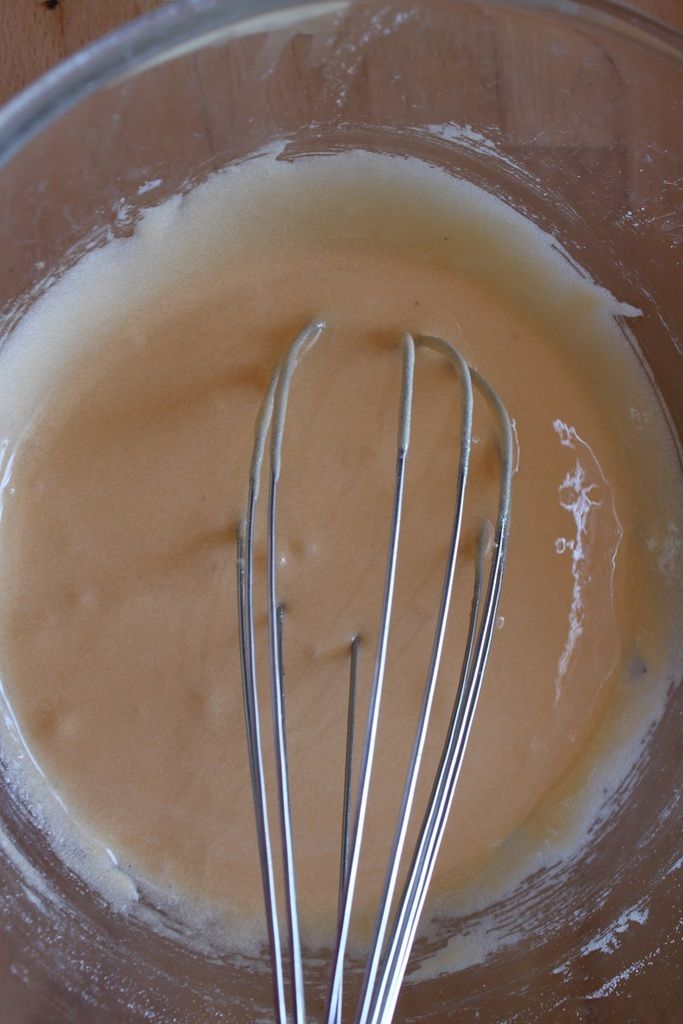
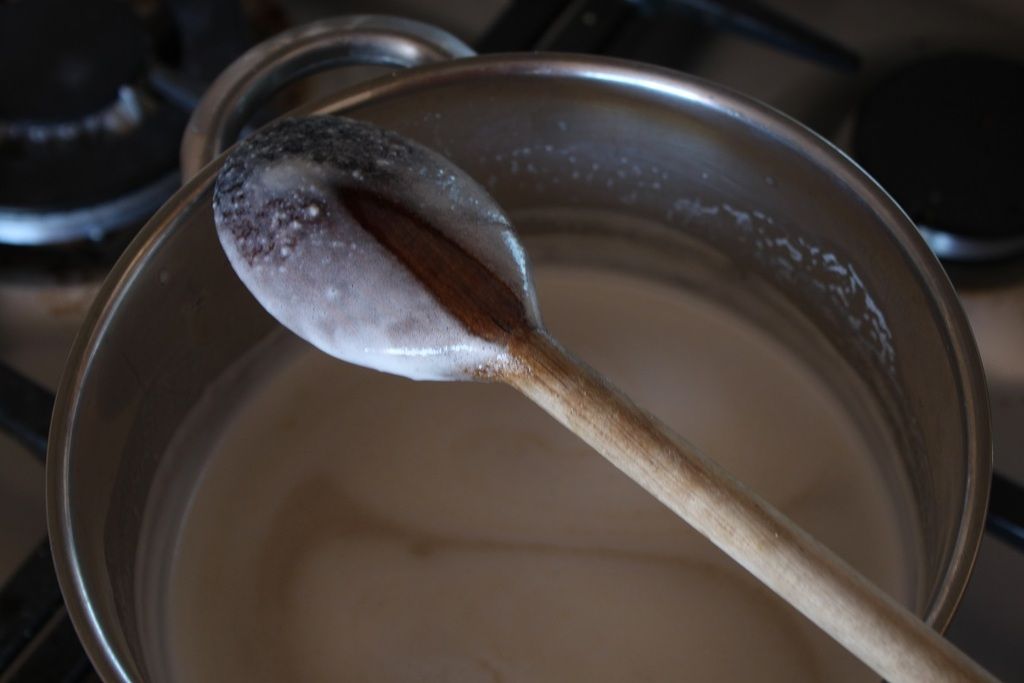
Bring the hazelnut milk to a simmer over medium heat in a saucepan (do not boil, or it will separate). In a separate bowl, whisk the egg yolks and sugar together until pale and thickened, at least 2 minutes. Pour the hazelnut milk into the egg mix in a thin stream, whisking as you go. When completely combined, pour back into the saucepan and cook, stirring for around 5 minutes, or until it thickens and coats the back of the spoon. Strain into a clean bowl, cover with plastic wrap and refrigerate until completely cold.

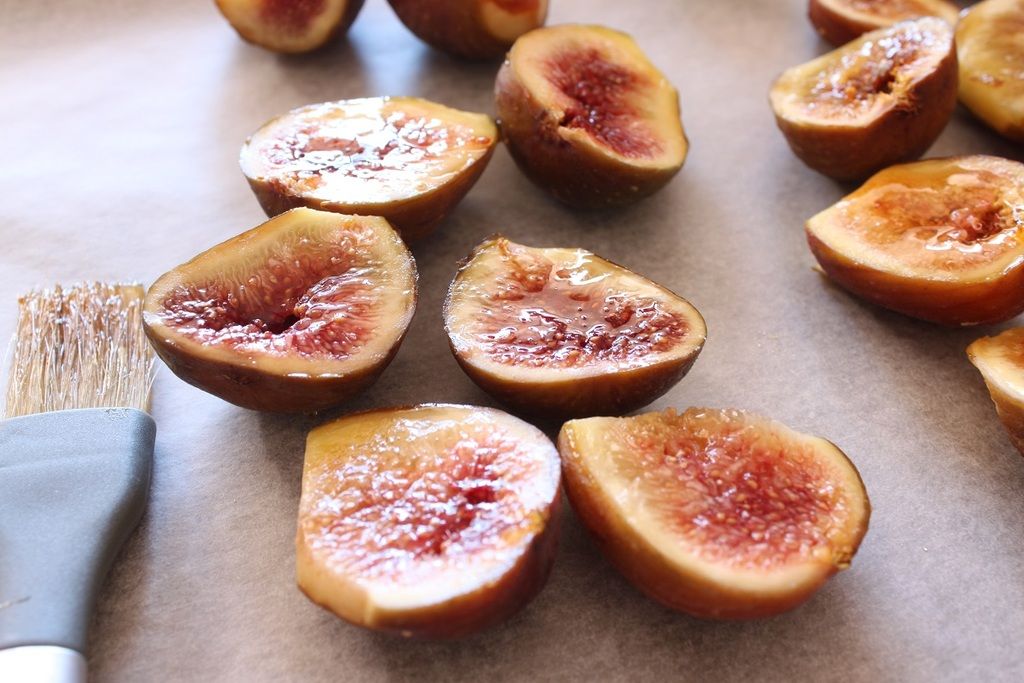
Brush each fig half with a little honey on the cut side and pop on a tray in a 160C oven, roasting until softened and caramelly. Remove and allow to completely cool.

Churn according to your ice cream maker's instructions, then freeze in an airtight container for a further 2-4 hours to firm up
Hazelnut Milk Gelato with Roasted Figs and Ginger

Hazelnut Milk Gelato with Roasted Figs and Ginger

Tuesday, March 17, 2015

Summer Salads - Grilled Nectarine Panzanella


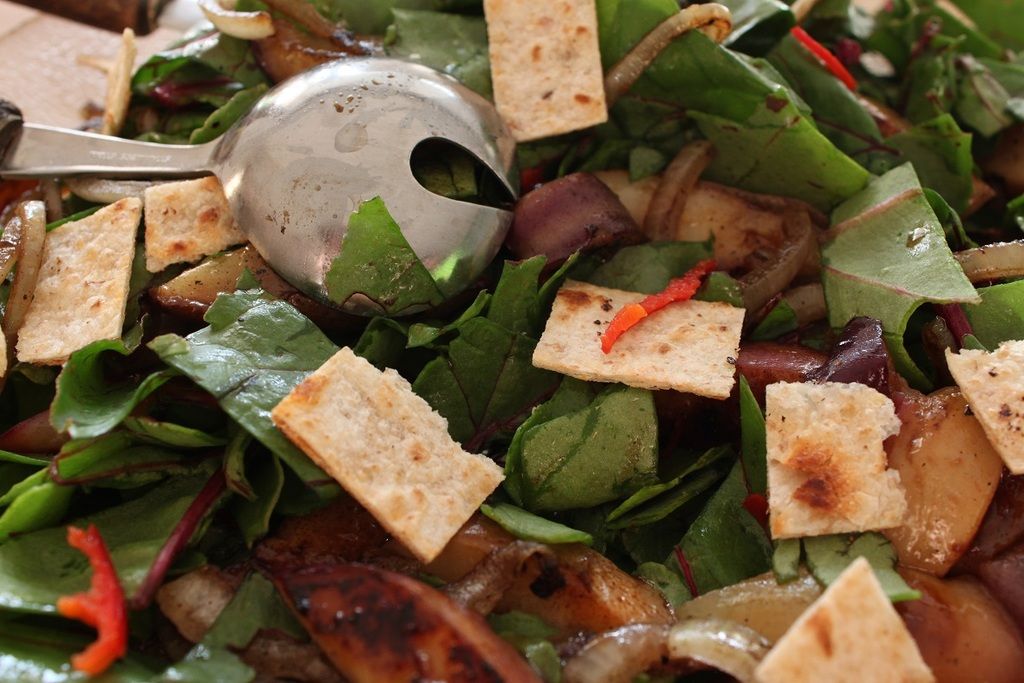
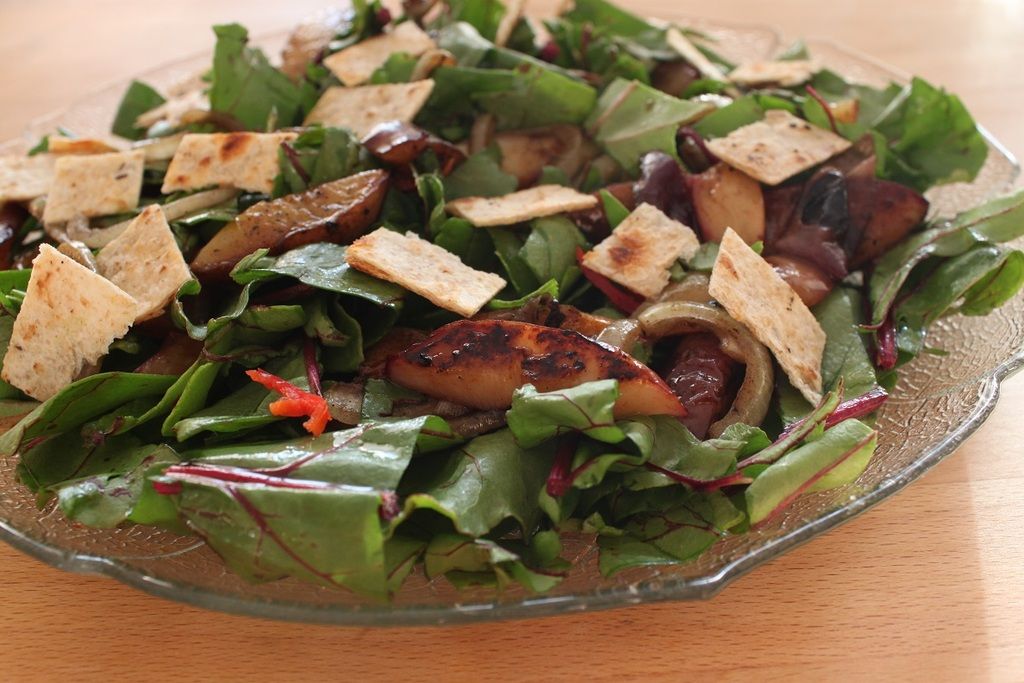
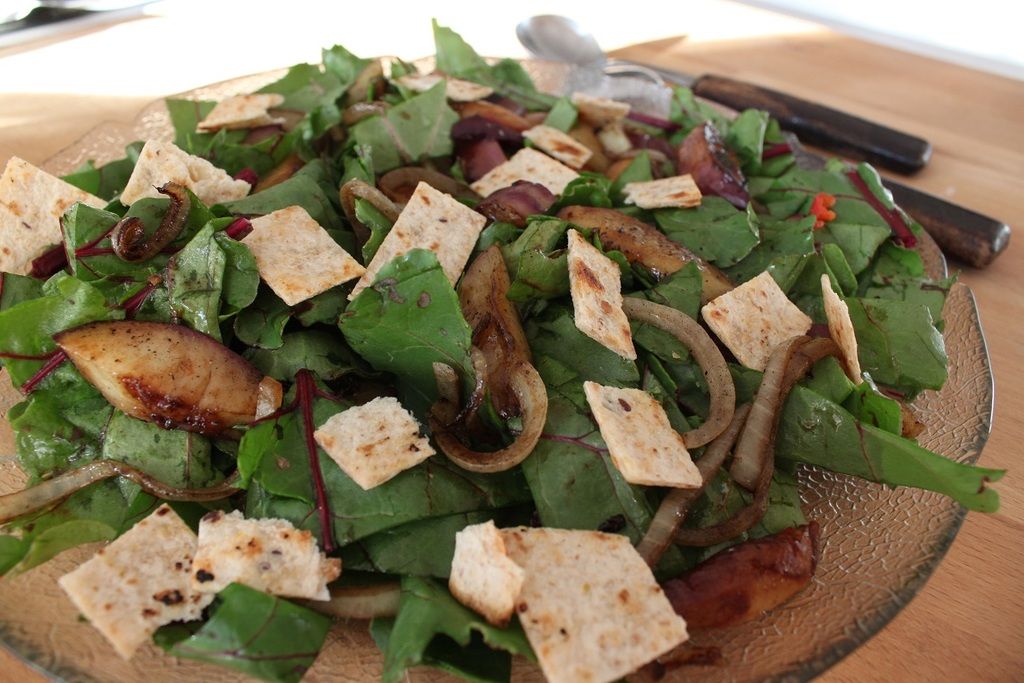
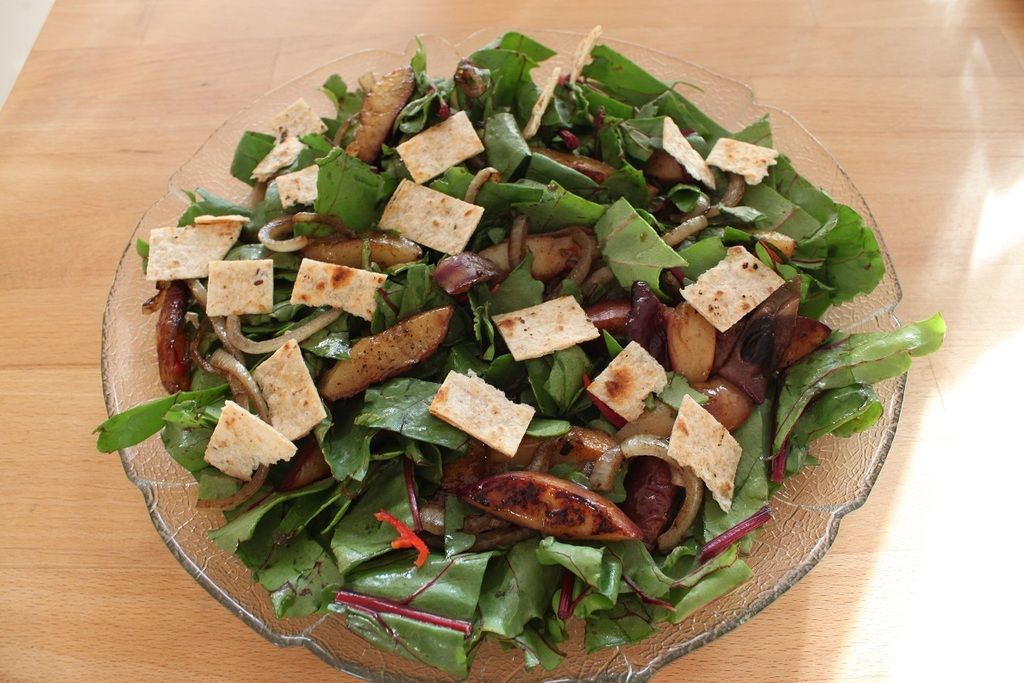
Grilled Nectarine Panzanella Salad

Grilled Nectarine Panzanella Salad


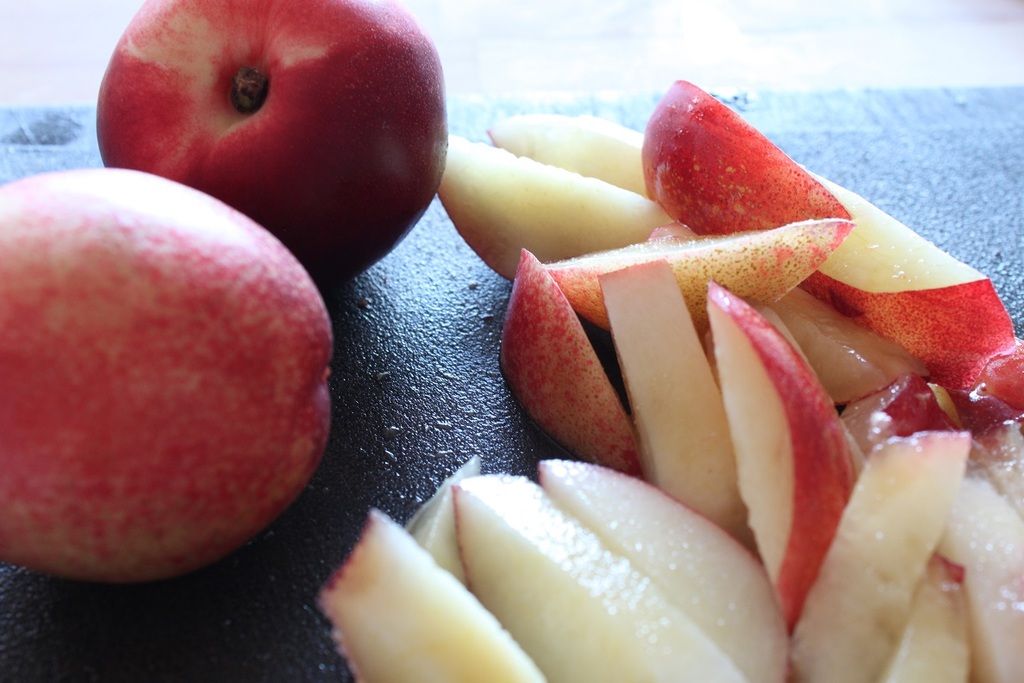
Summer and stone fruit go hand in hand. I love stone fruit season. It is the most excited I get about fruit. Don’t get me wrong, I like fruit all year around. I don’t have to force myself to eat it by any means. But a lot of fruits we can get all year around so they’re less special. Except for summer fruits. In summer we have an abundance of fruits you can only get in summer. Like mangoes. And peaches. And melons. And cherries. And nectarines. Oh, nectarines! I think every year, my preference of peaches vs. nectarines changes. This year, I am firmly Team Nectarine. I can’t get enough of them.


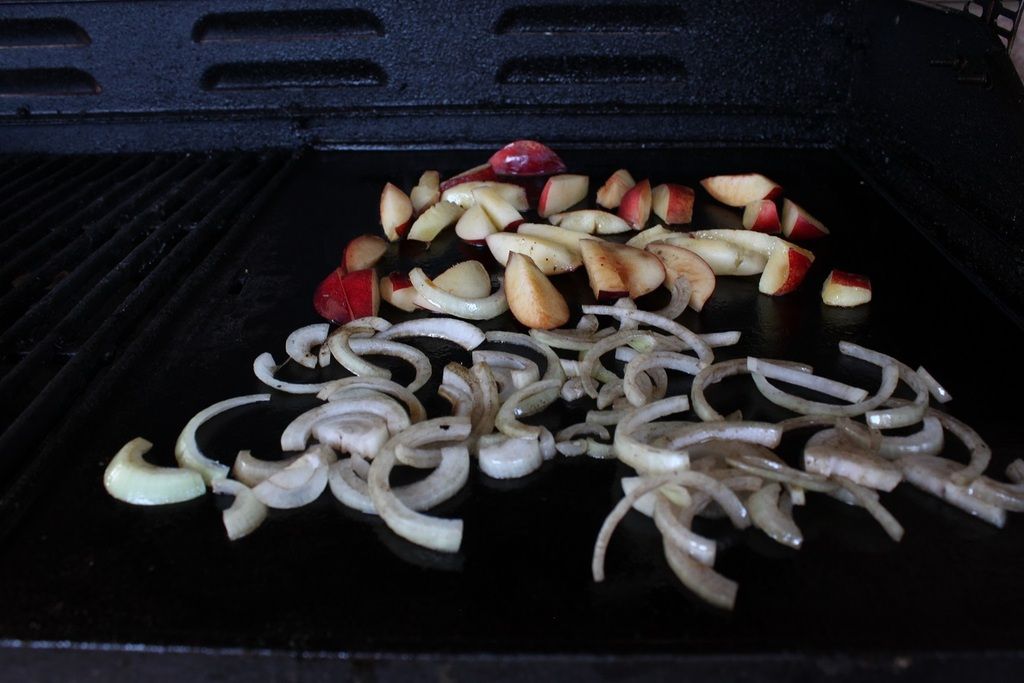
Usually I just hoe into them. No real thought or process to it. Occasionally having the sense to eat it over the sink so I don’t dribble juice everywhere. But sometimes, I put them to a more inventive use. Like this salad. The wonderful thing about stone fruit is that although delicious fresh, they also grill so well. Nothing required except a hotplate and they caramelise up and form a slightly crunchy brulee-like crust and intensify the sweetness.
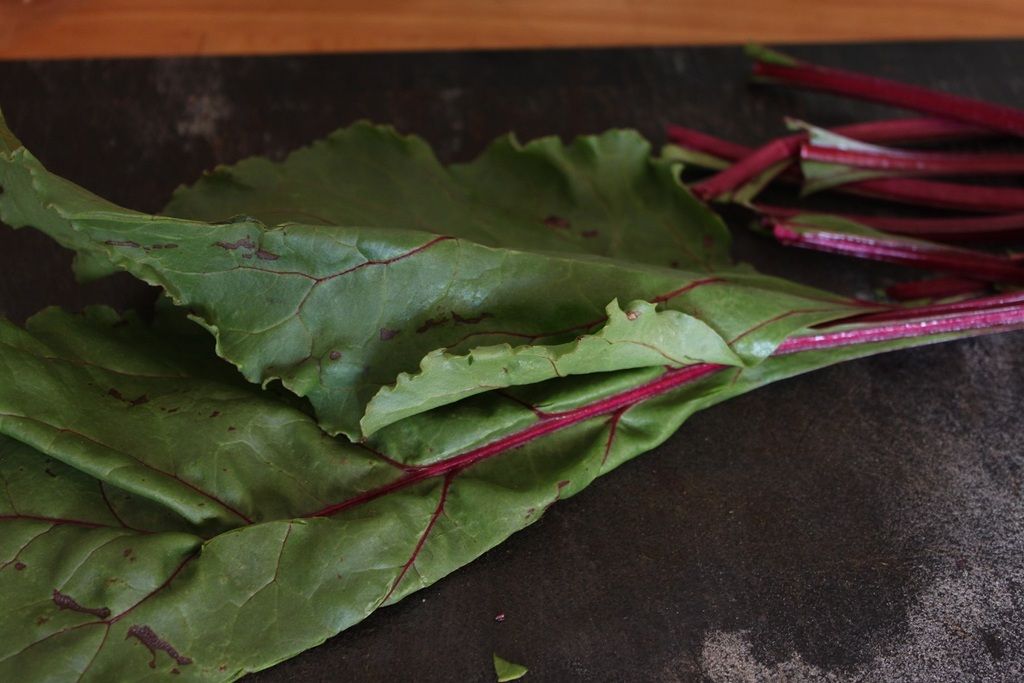
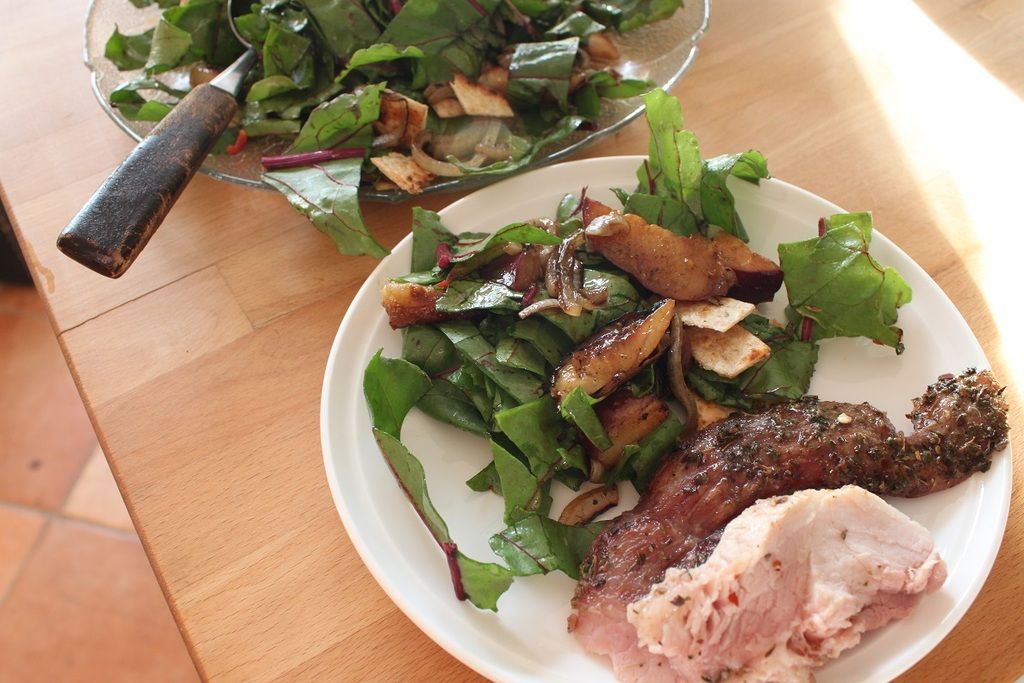
We had a verge-side junk collection day, so whilst Lance and I cleaned the house and looked to declutter – Lance also smoked a leg of pork. Pork and grilled nectarines are a combo made in heaven. I made this salad with beet leaves. They’re one of my favourite salad leaves, and I love that I can buy a bunch of baby beets and not only have the wonderful sweet beets, but also make use of the leaves in salads! I rub them with a little olive oil and lime juice to help soften some of the larger, tougher leaves then just scatter the other ingredients through them. This would also be fabulous with some fetta or goat’s cheese. Are you Team Peach or Team Nectarine?


Grilled Nectarine Panzanella Salad


Grilled Nectarine Panzanella Salad - Beet LeavesGrilled Nectarine Panzanella Salad

Grilled Nectarine Panzanella

(serves 2)
3 nectarines, de-seeded and chopped into slices
3 tbsp rice bran oil (or other high smoke point oil)
1 brown onion, thinly sliced into half moons
Pinch salt
Bunch beet leaves, washed and dried
1 tbsp olive oil
Juice of 1 lime
1 jalapeno, thinly sliced
2 stale tortillas


Heat your BBQ to medium high. Add the rice bran oil and use your spatula to spread it across the hot plate. Wait a few more minutes for this to heat up and add the onion slices to one section of the plate and cook for 5 minutes or so, until starting to go translucent. 
Sprinkle the onion slices with salt and toss to combine. Spread the nectarine slices across the other section. Cook for 3-5 minutes, or until the first side of the nectarine is blackened in spots and caramelised. Flip to cook the other side. Toss the onions here and there whilst the nectarines cook. Remove both to a plate and set aside.

Heat the grill side of the BBQ and toast the tortillas for 2 minutes per side, or until crisp and slightly charred in sections. Remove, then cut into squares


Tear or cut the beet leaves into manageable pieces, place in a bowl and pour over the olive oil and lime juice. Massage into the leaves, making sure all leaves are coated and rubbed. When ready to serve, gently toss through the onions, nectarines and tortilla croutons.


Serve with your favourite protein!


Grilled Nectarine Panzanella Salad

Grilled Nectarine Panzanella Salad

Tuesday, January 13, 2015

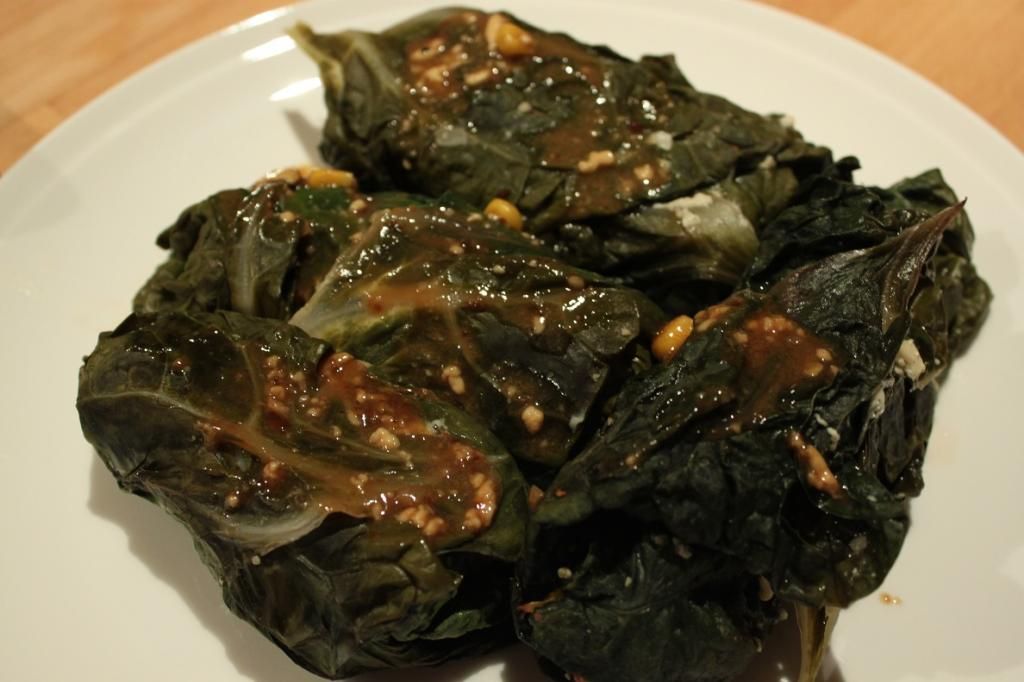
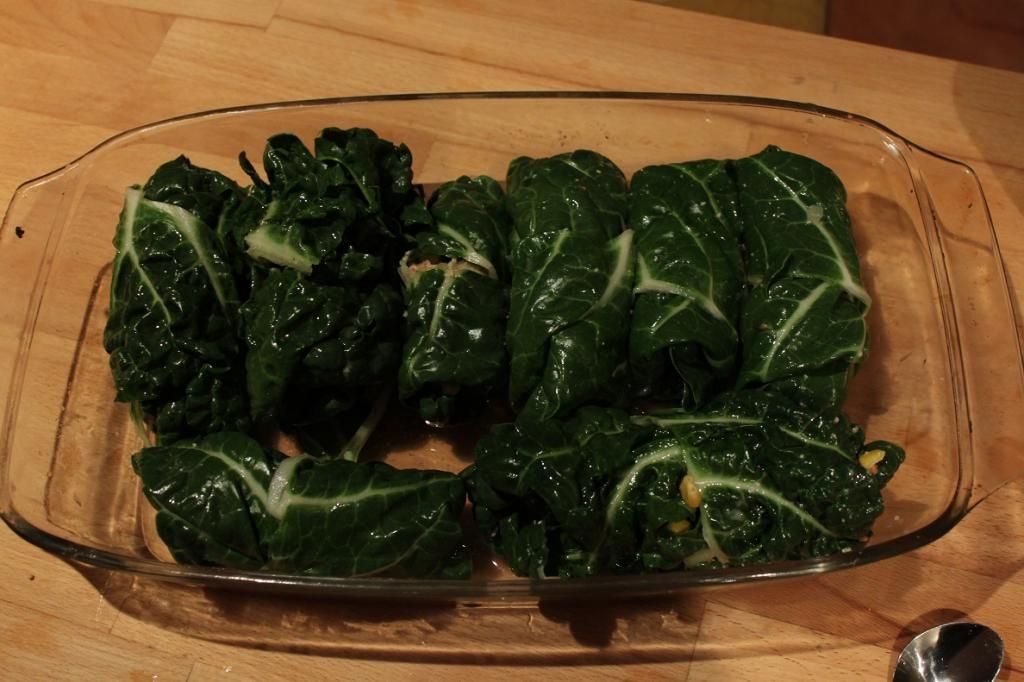
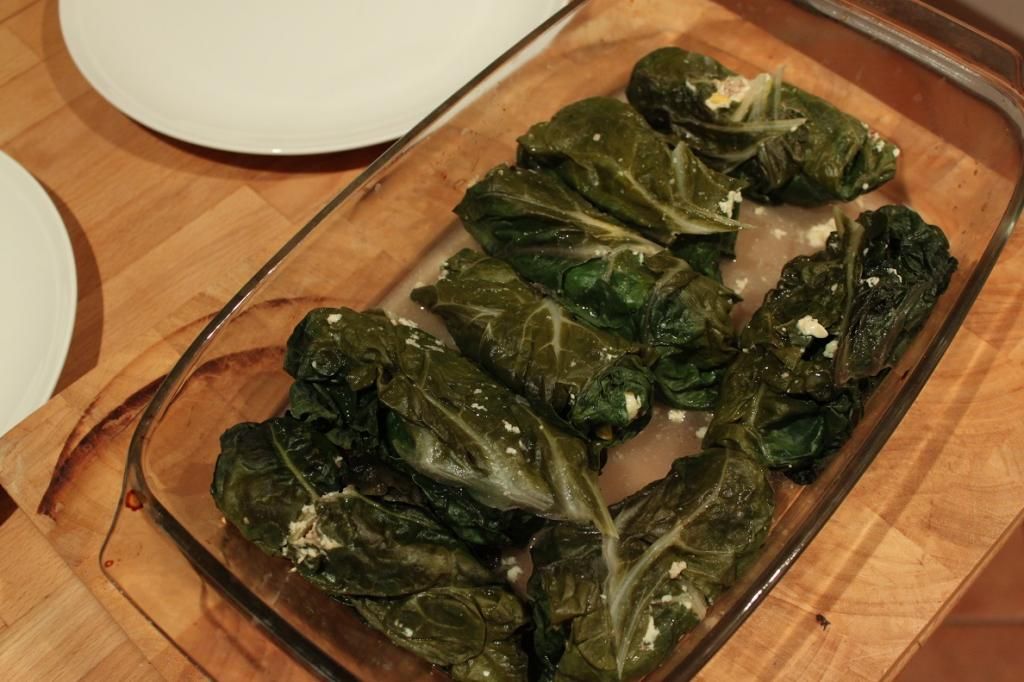
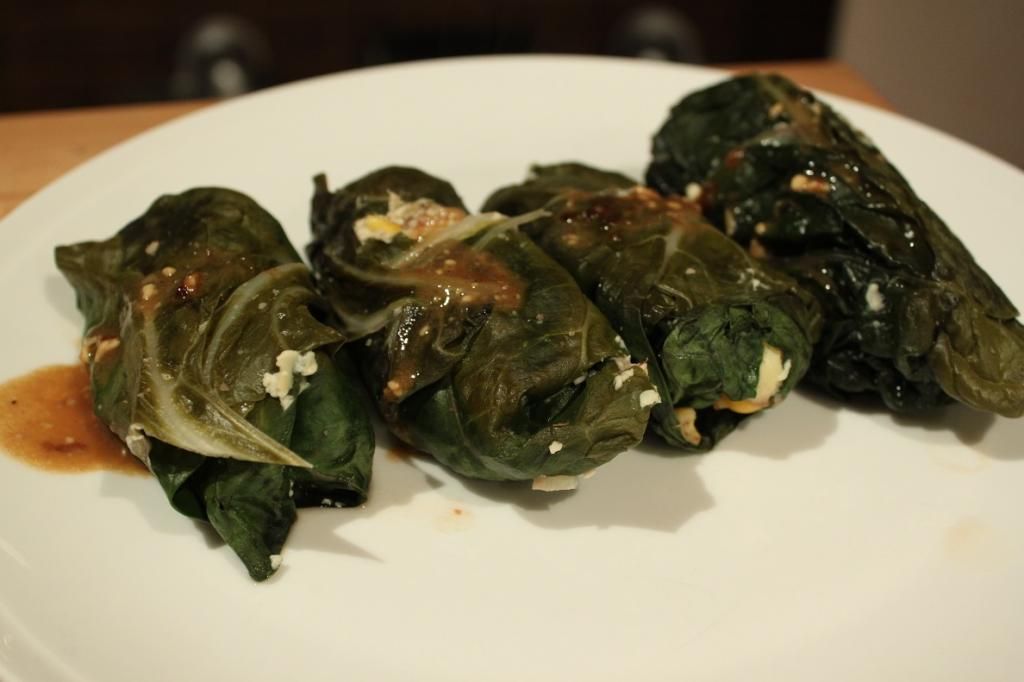
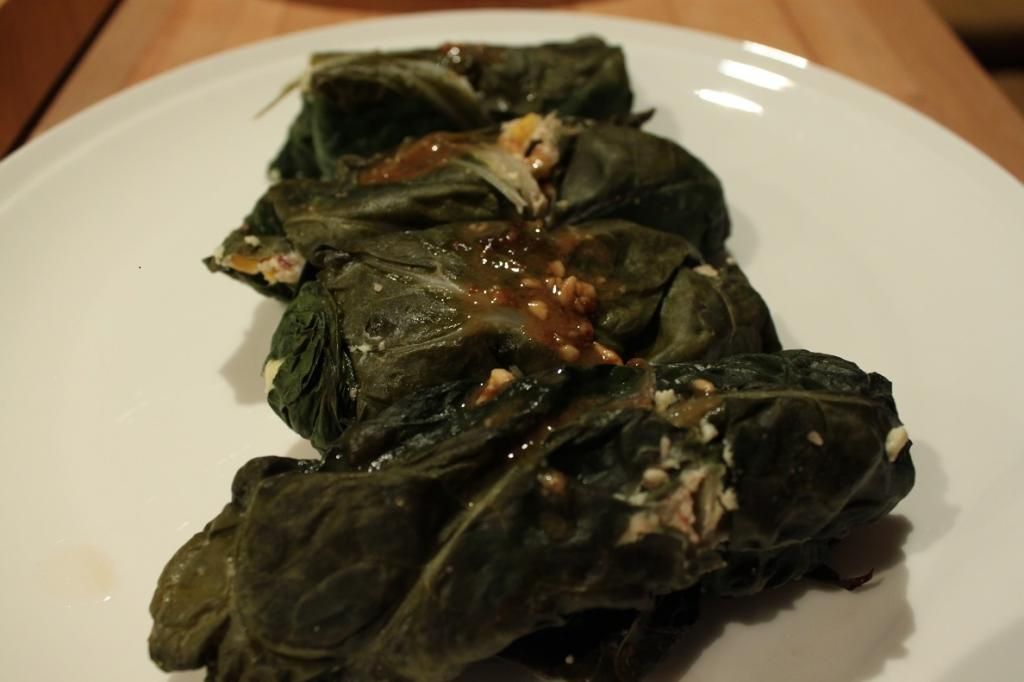
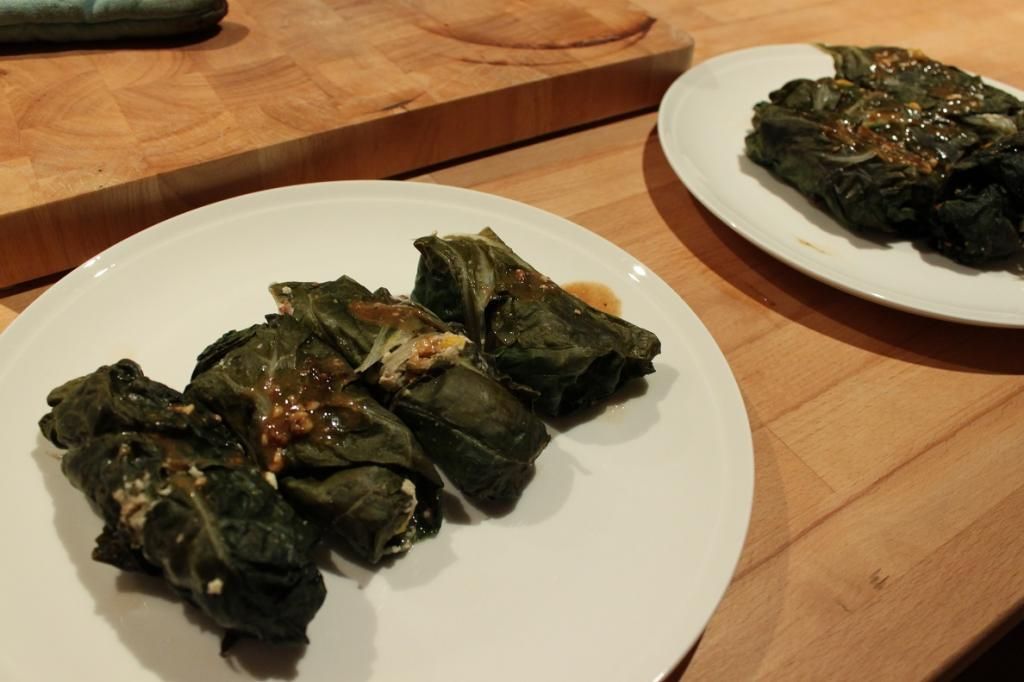
Ugly but Delicious - Corn, Almond and Roast Garlic Stuffed Silverbeet (Chard)

Ugly but Delicious - Corn, Almond and Roast Garlic Stuffed Silverbeet (Chard)

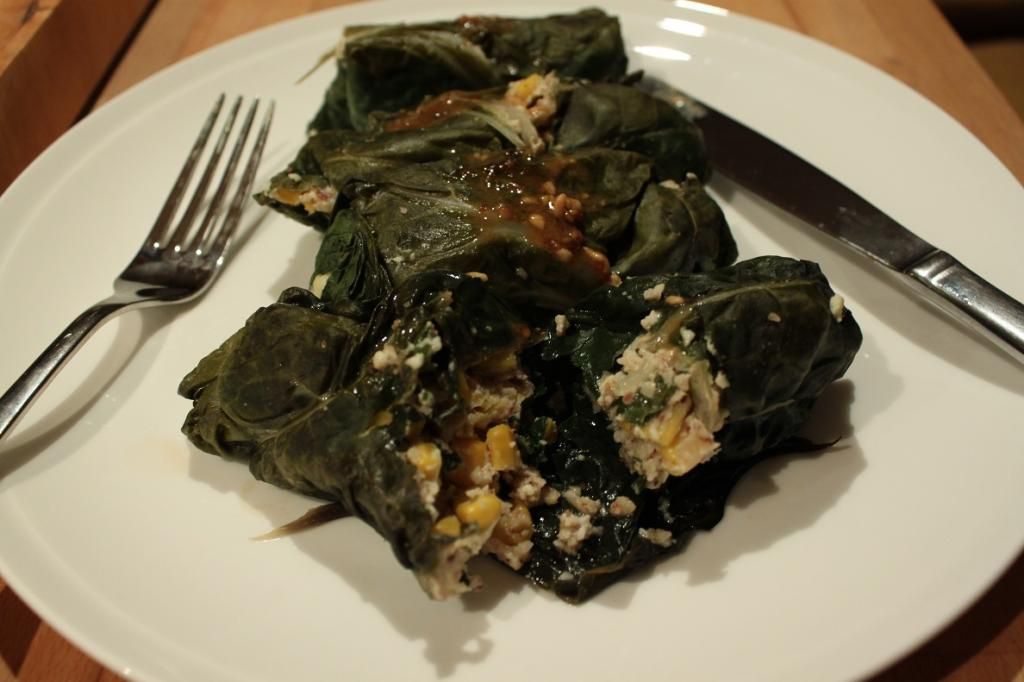
This recipe was inspired by two other recipes that are on my blog. It’s a combination of the Cuban Chicken and Corn Pie (remember the one with the awesome crust made from corn?) and my Stuffed Silverbeet Rolls. I was really craving the Cuban Pie in particular, but I just couldn’t be bothered with getting out food processors and whatnot that is required to make the pie. Given I had a lovely bunch of fresh silverbeet from the markets, I decided to use those flavours and make stuffed silverbeet rolls instead.

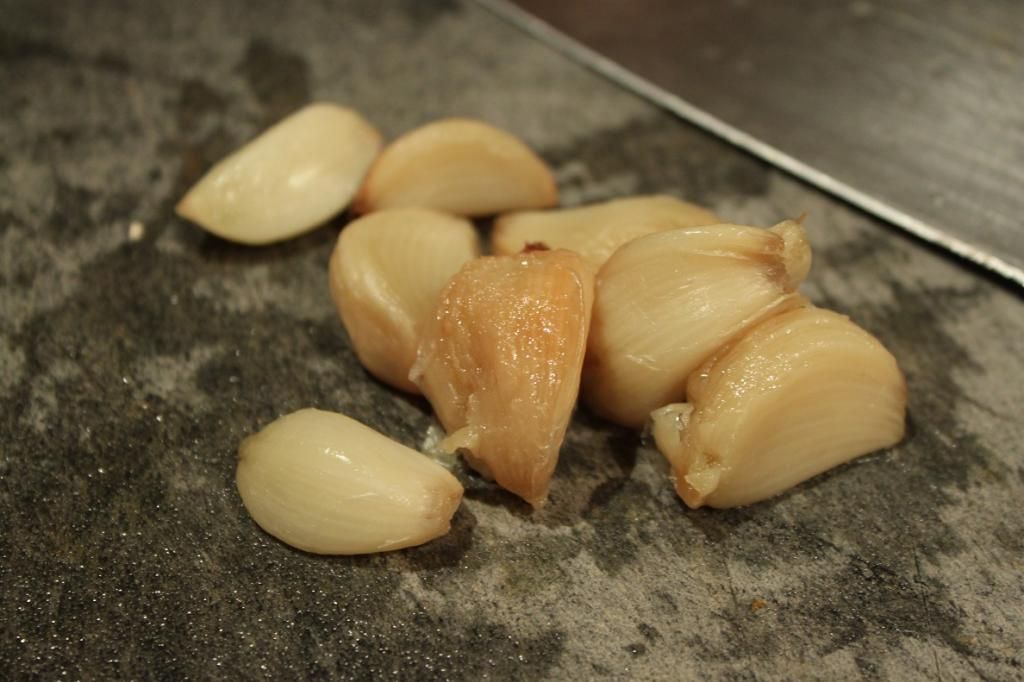
To roast the garlic cloves, put a whole head of garlic into the oven on a baking tray while the oven is pre-heating. After 15 minutes or so (for me, it’s ready by the time it is required to be added), the garlic will be squishy and the cloves will easily slide out of their skins. Doing this really sweetens the garlic and completely takes away the harshness that garlic can sometimes have. Then use half the cloves for this dish, and save the other half for another dish.

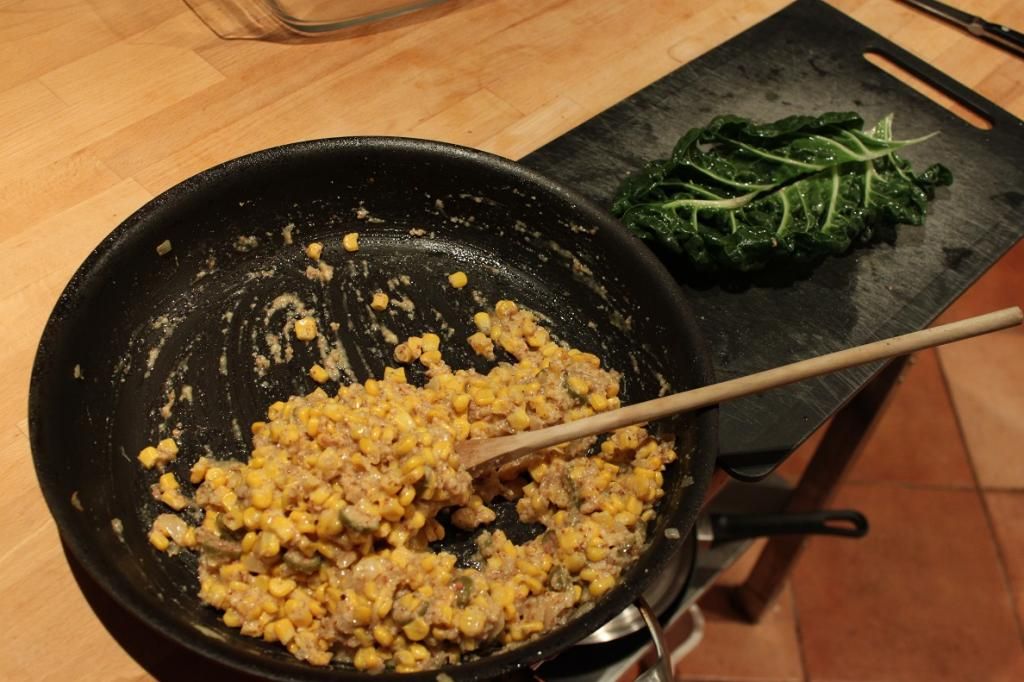
Photos prove this isn't the prettiest meal - but it sure was delicious!

Ugly but Delicious - Corn, Almond and Roast Garlic Stuffed Silverbeet (Chard)


Corn, Almond and Roast Garlic Stuffed Silverbeet (Chard)

3 cups corn kernels
1 brown onion
6 cloves roast garlic
½ tsp salt
6 caperberries, sliced
2 eggs
1 cup almond meal
1 bunch silverbeet, ribs removed
¾ cup water
1 tbsp lime juice
3 tbsp Monty’s Muscat
 

Heat the oven to 170C

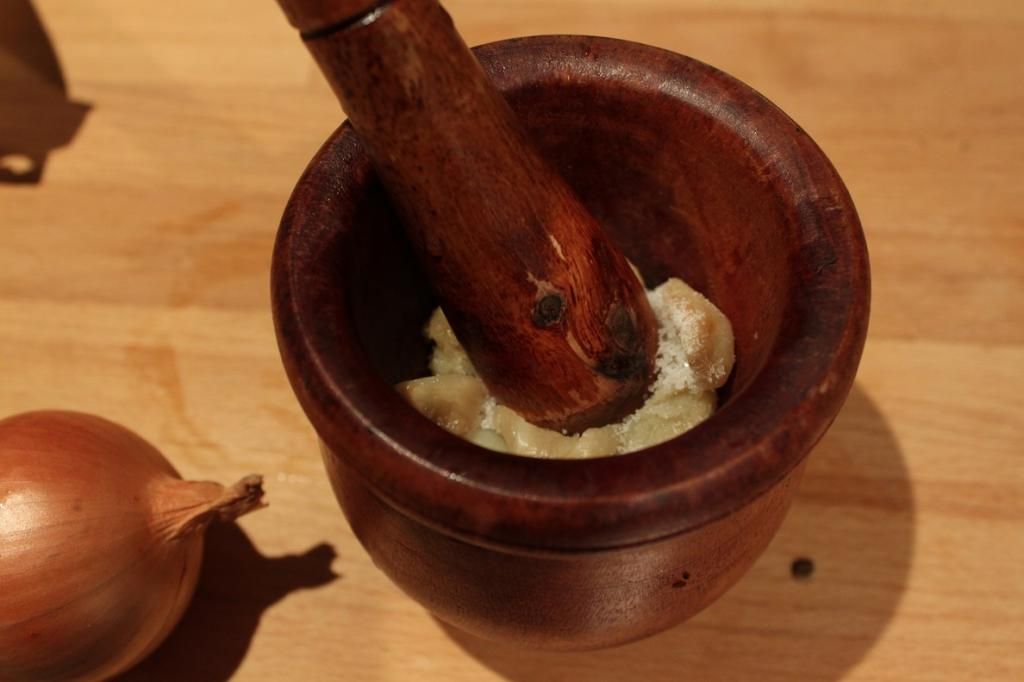
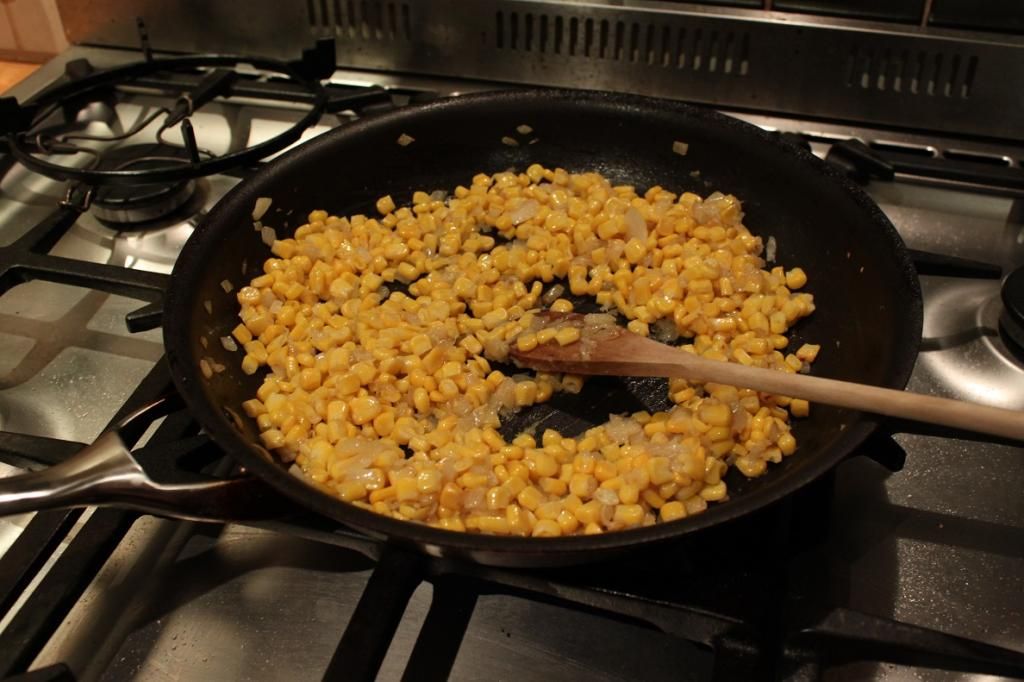
Dice the onion, and fry in a splash of olive oil and the salt over medium heat until translucent. Add the corn kernels and cook for 10 minutes, stirring here and there, until just barely starting to brown. Remove from the heat. In a mortar and pestle, crush the roast garlic cloves into a paste. Stir through the corn mixture, then add the almond meal and lightly beaten eggs and capeberries, making sure the mixture is completely combined.

Take each silverbeet leaf and add a few tablespoons of mixture to the top of the leaf. Fold the ‘leg parts’ together to make it a solid sheet, roll the edges in, and the whole thing down lengthwise, like you are rolling a spring roll, or burrito. Place seam side down in a casserole dish. Continue until all of the leaves and filling is used up.

Mix the water with the lime juice and Muscat, pour over the completed rolls. Cover loosely with foil and place in the oven. Bake for 15 minutes, then gently turn over the rolls. Leave the foil off and bake for a further 10 minutes.
 
Remove the rolls and reduce the liquid in a pan (I save on dishes just by using the first pan) until it’s syrupy and pour over the top

Ugly but Delicious - Corn, Almond and Roast Garlic Stuffed Silverbeet (Chard)

Thursday, January 1, 2015

Simplest of Sides - Orange Cinnamon Sweet Potato Smash

Simplest of Sides - Orange Cinnamon Sweet Potato Smash


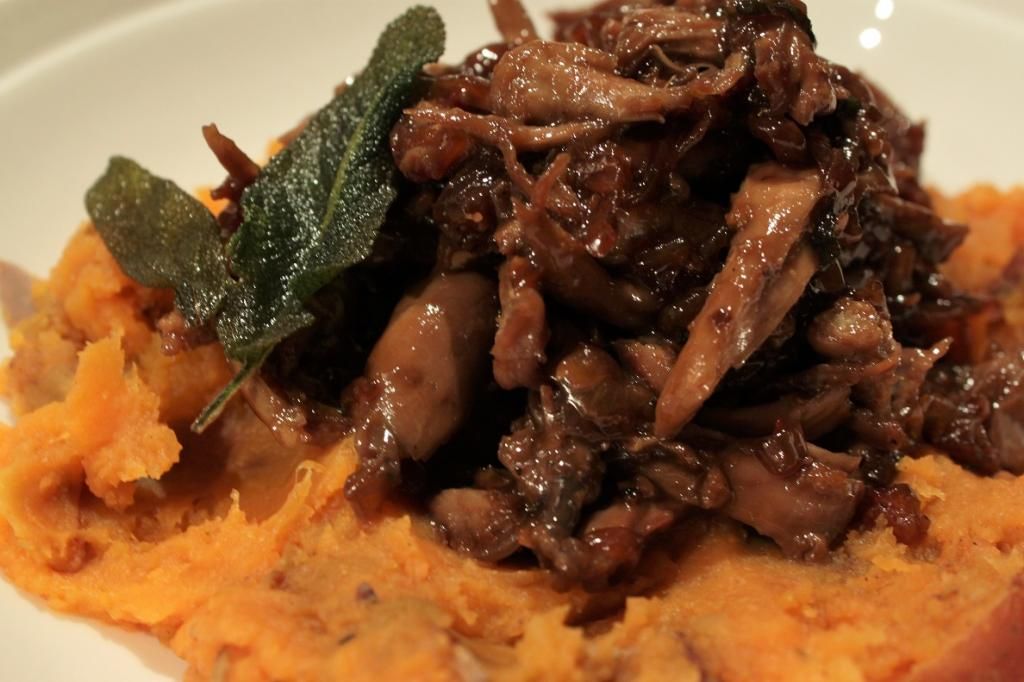
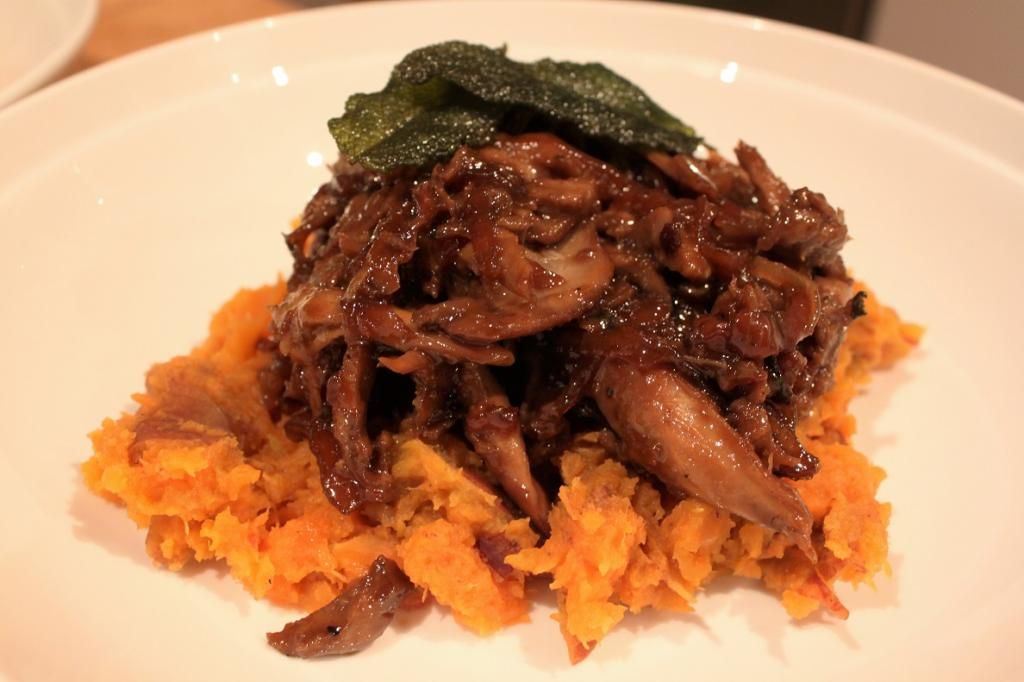
This is the easiest side in the whole world. Ok, maybe not. But it is brilliant for those nights that you just want something quick to go with a grilled meat. Especially now the weather is warming up (41C/106F the other day) and you don’t want to put the oven on and heat up the whole house. All you need is a glass/pyrex bowl, a microwave, a fork and 6 minutes. The result is crazy flavoursome. I served this for the first time with Bourbon Molasses Braised Duck and it couldn’t have been a more perfect match. I will post that recipe very soon. But it’ll pretty much go with any meat except maybe seafood.

Because it is so easy, and not really something I've considered worth posting...I haven't been great at taking photos of said side. Sorry.

To make this vegan, substitute the butter with olive oil. Also, adding a few tablespoons of Greek Yoghurt instead of the butter makes a delightfully creamier version!


Simplest of Sides - Orange Cinnamon Sweet Potato Smash


Orange Cinnamon Sweet Potato Smash

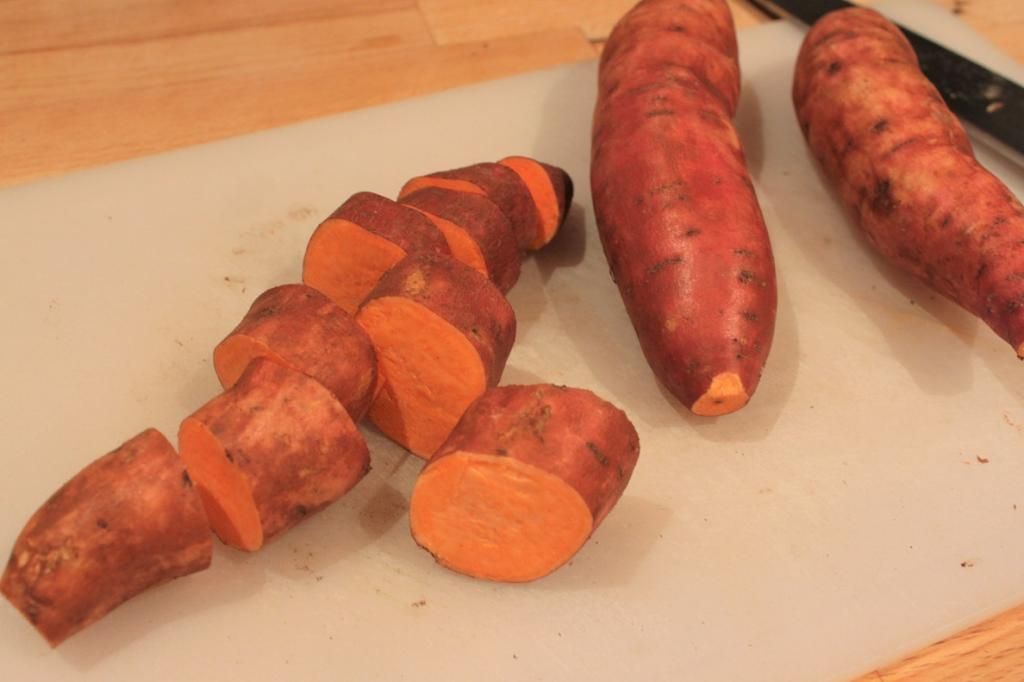
3 small sweet potatoes
3 tbsp orange juice
Salt and pepper
½ tsp cinnamon
1 tsp butter


Scrub the sweet potatoes and cut into 3-4cm chunks. Place in a large glass bowl and add the orange juice and season lightly with salt and pepper. Cover the bowl with a piece of paper towel and microwave on high for 5 minutes. Check with a fork, if not quite tender, zap for another minute.

When done, add the butter and cinnamon and smash it all together with a fork to make a mash. Rough is fine, but you want to make sure the orange juice, butter and cinnamon are mixed through. Check for seasoning and serve.


Simplest of Sides - Orange Cinnamon Sweet Potato Smash


Tuesday, December 30, 2014

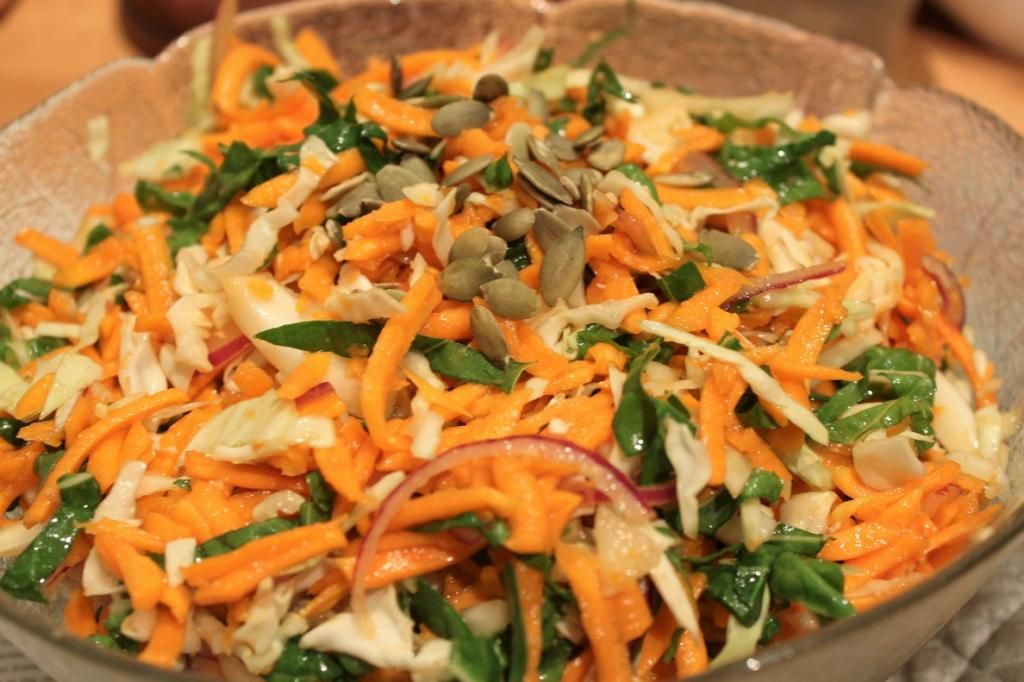
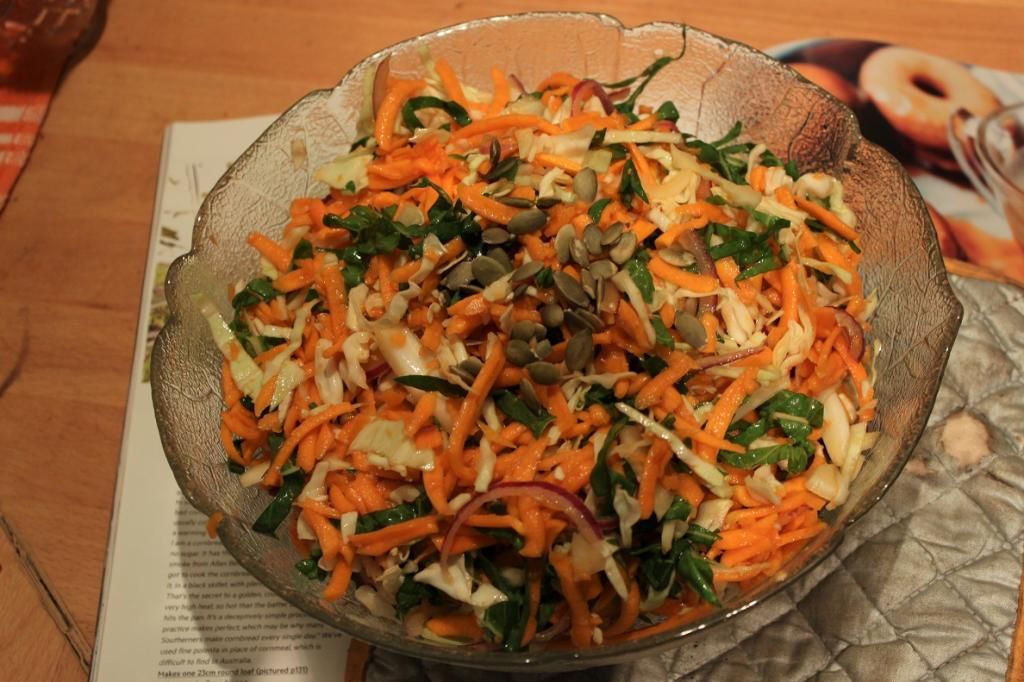
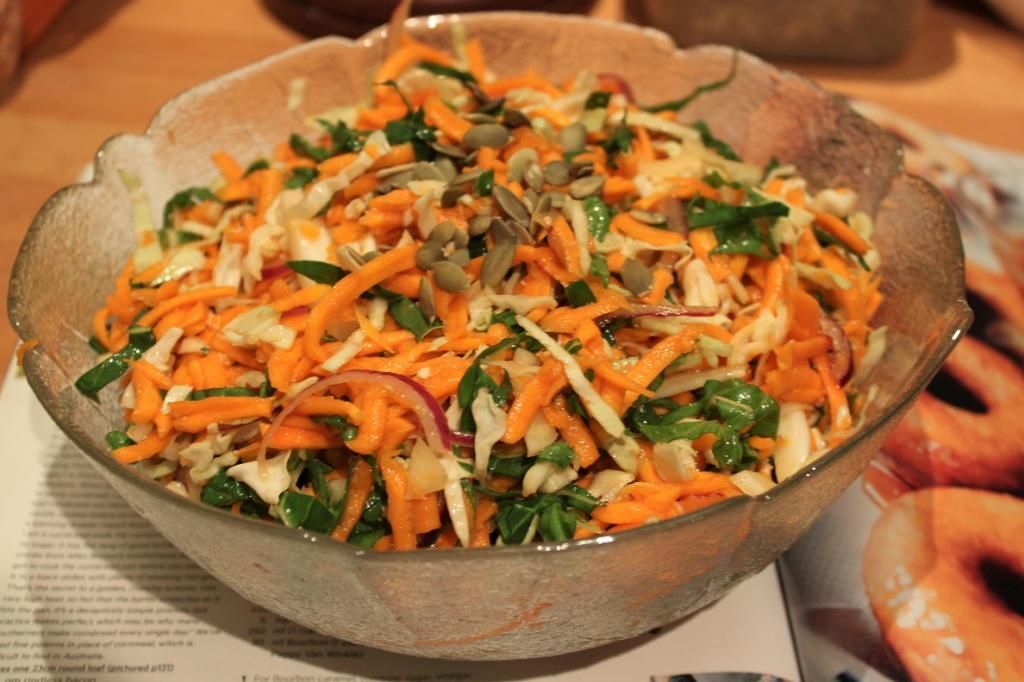
Summer BBQ - Pumpkin and Miso Slaw

Summer BBQ - Pumpkin and Miso Slaw

I am lucky enough to have just over a week off for my company's Christmas shut-down and I had grand plans to make up for the current decline in my blog posts and prep a whole bunch for the new year. Then I would catch up on reading other blogs and spring clean my desk area and re-arrange the spare room and do some gardening. And. And. And I have done none of it. Today is the first day I've even been willing to turn my computer on. This has been officially my laziest Christmas break. I've actually used it as a break! Lots of book reading and beach going and lazy shopping.

Hopefully everyone has had a fabulous holiday period. I certainly did, celebrating with both families, eating up a storm. In lieu of a big night tonight (with Lance not getting January 1st off), we also had our now traditional New Year's Eve Eve Eve Eve Eve BBQ. But tonight we will have a quiet BBQ at home with the best of intentions to stay awake until midnight. And we will be eating this salad. 

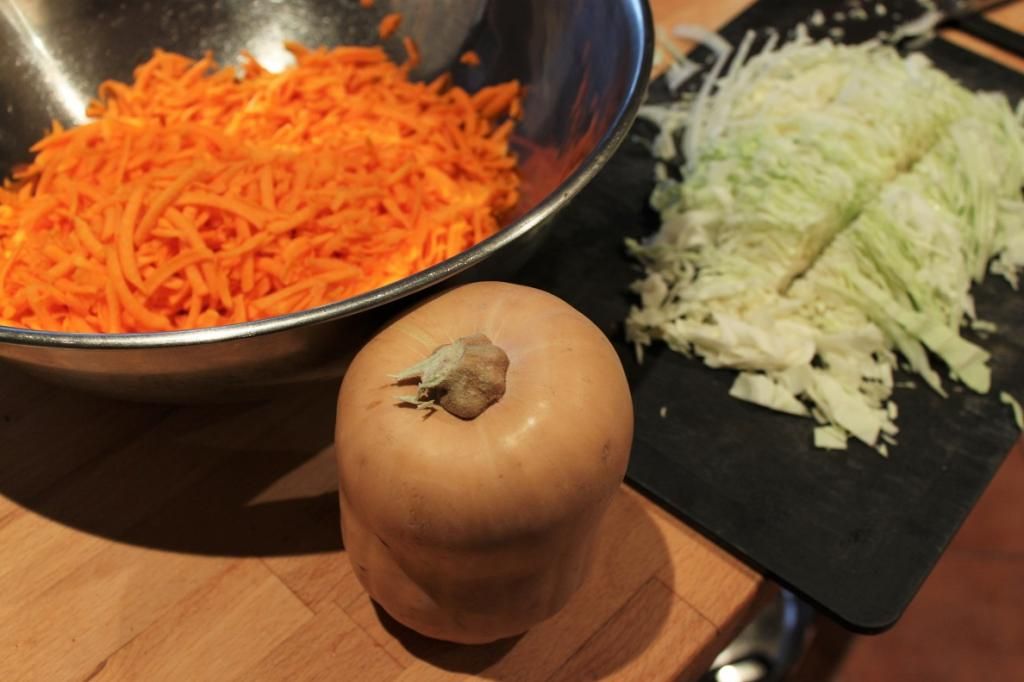
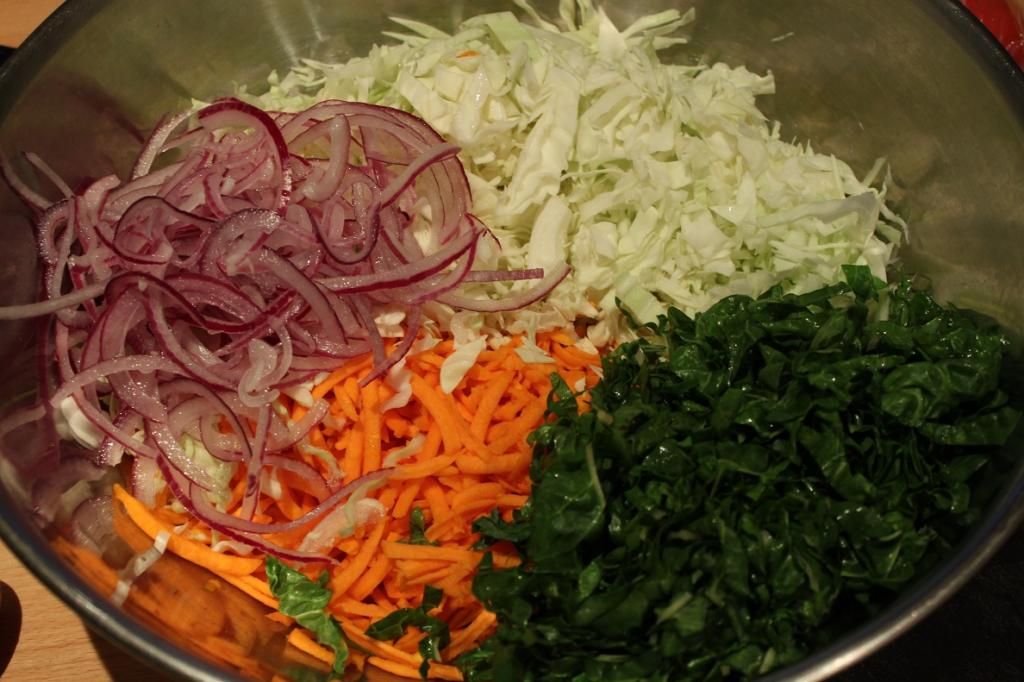
This is currently one of my favourite salads. It is super easy to make, and can be made a day or two in advance if necessary. It is the perfect salad to take to a BBQ. It is a vinegar-based slaw, rather than the mayonnaise based coleslaw that most Australian's are more familiar with, which makes it a much lighter dish. Instead of carrot, I use pumpkin with red onion and silverbeet (chard) for colour. The salt comes from the delightfully savoury taste of miso paste, whilst maple adds a sweet touch against the vinegar. A touch of sriracha adds a faint spice, without too much heat. Toasted pumpkin seeds round out the texture perfectly.

I am not the hugest fan of raw onion in salads, which is why I added the step to sit the onion in vinegar first. It takes a little of the onion's punch out. Feel free to skip this step if you are an onion lover.

This makes a large amount of salad, but as I said, it keeps a few days in the fridge so you can have it as leftovers if you aren't serving it to a crowd.

Happy New Year my lovely readers, and I promise my posts will get a little more on-track in 2015!


Summer BBQ - Pumpkin and Miso Slaw


Pumpkin Miso Slaw

1 small butternut pumpkin
¼ head cabbage
3 leaves silverbeet
¼ cup toasted pepitas
½ white onion
1/4 cup + 2 tbsp apple cider vinegar, divided
2 tbsp miso paste
2 tbsp maple syrup
1 tbsp olive oil
3 tsp sriracha (or to taste)
Salt & pepper to taste


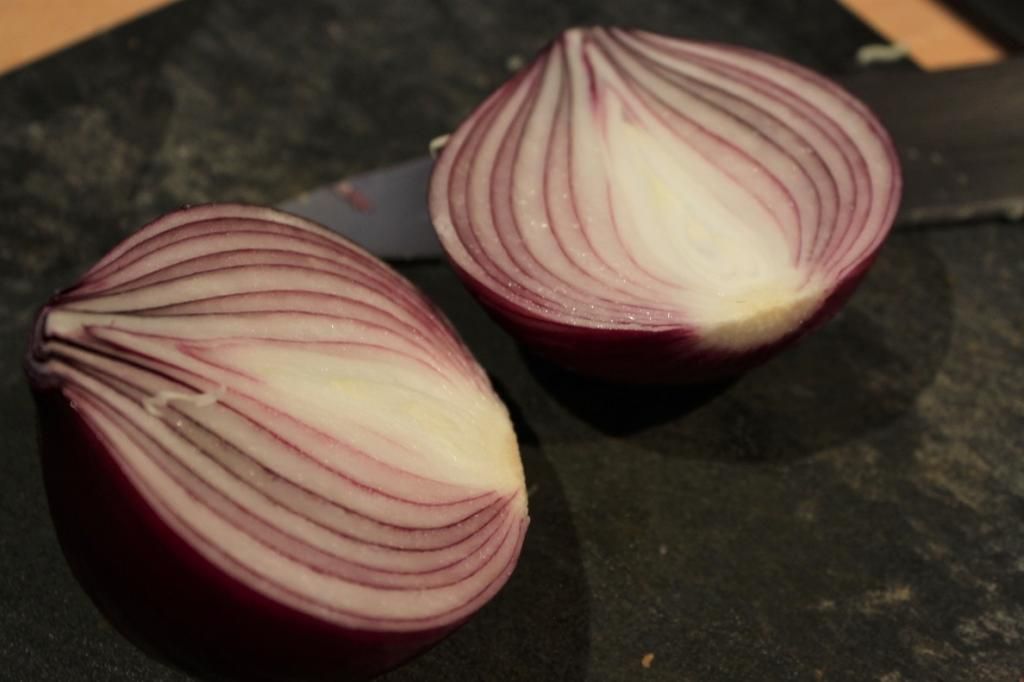
Thinly slice the onion into half moons, cover with the 2 tbsp apple cider vinegar and set aside whilst you prepare everything else.


Grate (by hand, or in a food processor) the pumpkin, finely shred the cabbage and silverbeet. Mix together in a large bowl.


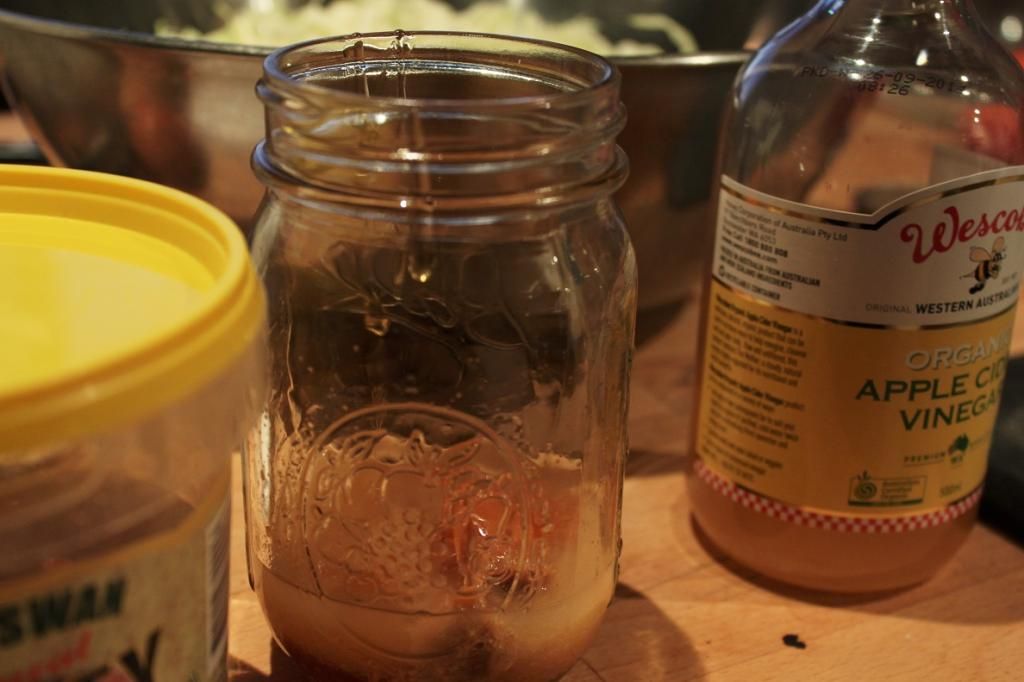
Add all the dressing ingredients to a jar and shake until well combined. Taste for seasoning, adjust as required. Pour over the salad and mix well to coat everything. Mix the onion into the salad. Set aside for half an hour for the acid in the vinegar to soften the pumpkin.


Just before serving, toss through the pumpkin seeds


Summer BBQ - Pumpkin and Miso Slaw

Thursday, October 9, 2014

Breakfast of Champions - Carrot Cake Bircher Muesli

Breakfast of Champions - Carrot Cake Bircher Muesli

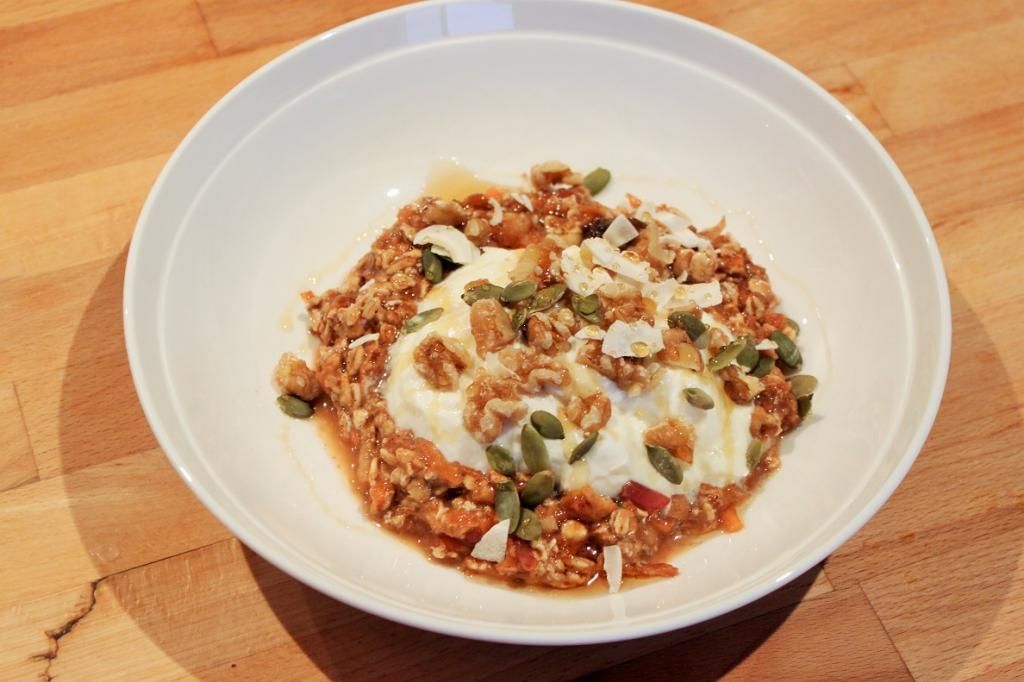
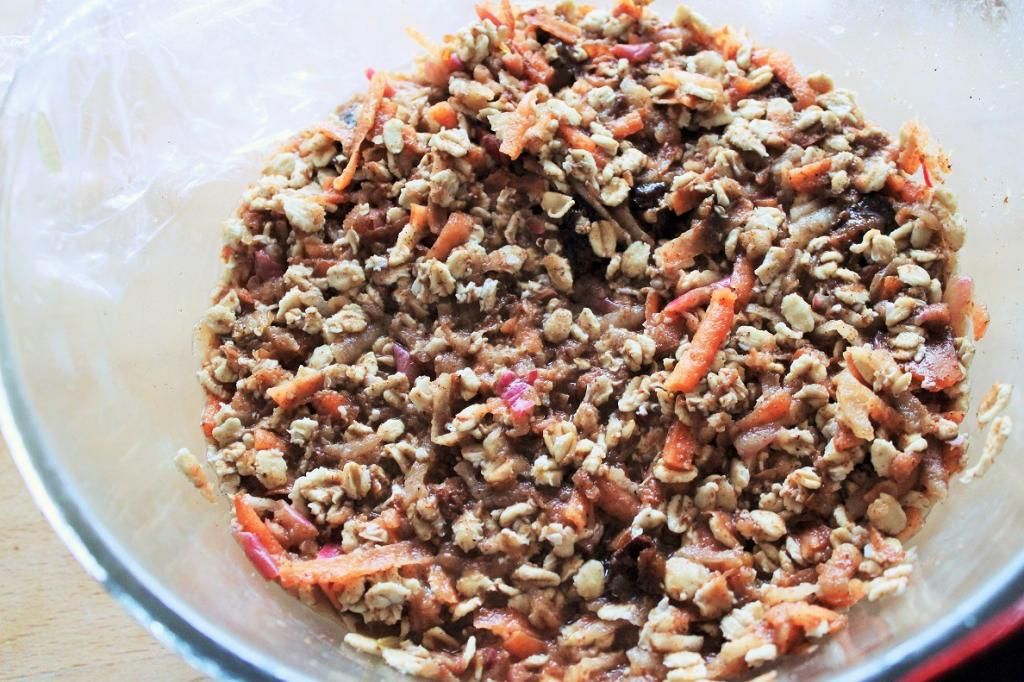
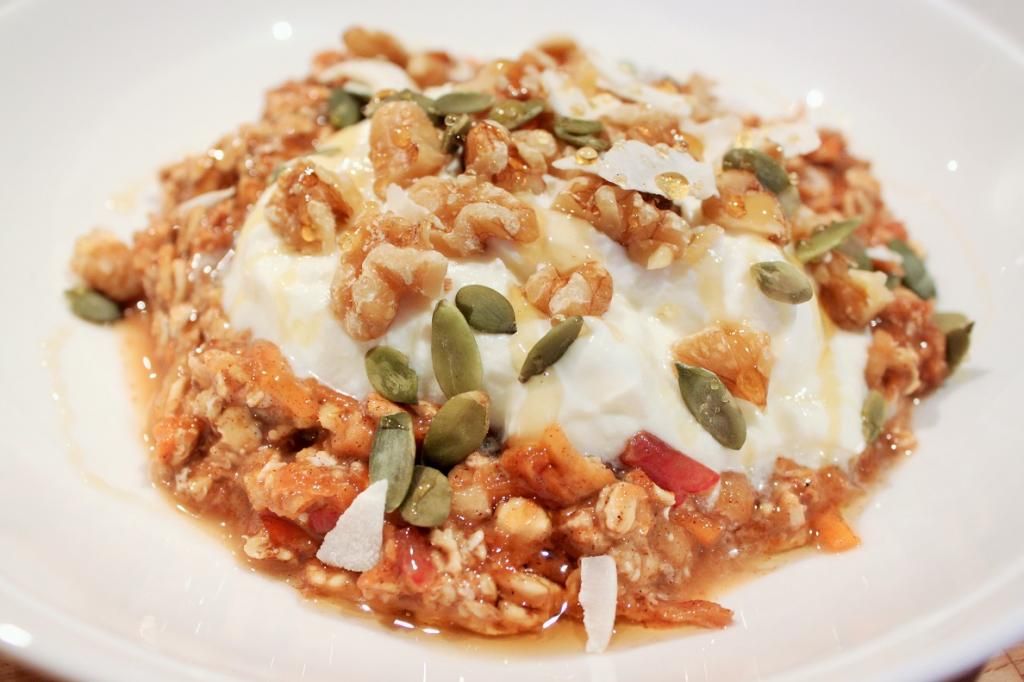
I’m a big fan of carrot cake. It’s not my favourite cake (not actually sure what that would be), but it’s generally a good safe cake. If you’re spoiled for choice and aren’t leaning towards anything in particular, it’s always going to be there. In all it’s cream-cheese-icinged glory. There’s a reason it’s a classic. Now that I’ve been getting up and it’s not entirely dark and you can feel the hint of Spring just over there, I’ve gone off of my coffee porridge just a little. And instead of going back to just soaking the oats in coffee, I decided I wanted something a bit fresher. A bit fruity. A bit carrot cakey. This is just my riff on the traditional Bircher muesli, where you soak your oats in grated apple and apple juice to soften them, and then served with yoghurt and nuts.

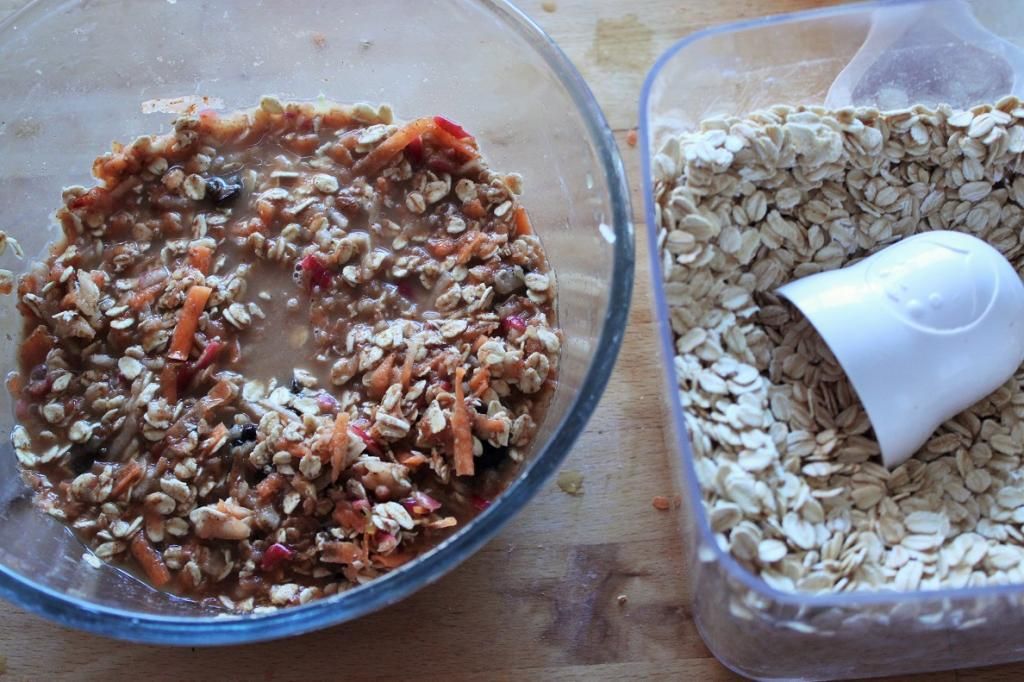
The traditional carrot cake flavours are there, cinnamon and ginger and orange. I’ve used earl grey tea to help the soaking process rather than apple juice so I’m not overwhelming the muesli with the apple flavour. Or sugar. The bergamot is subtle here, but really adds a little something. I cover one teabag with cold water and leave for 2 hours.

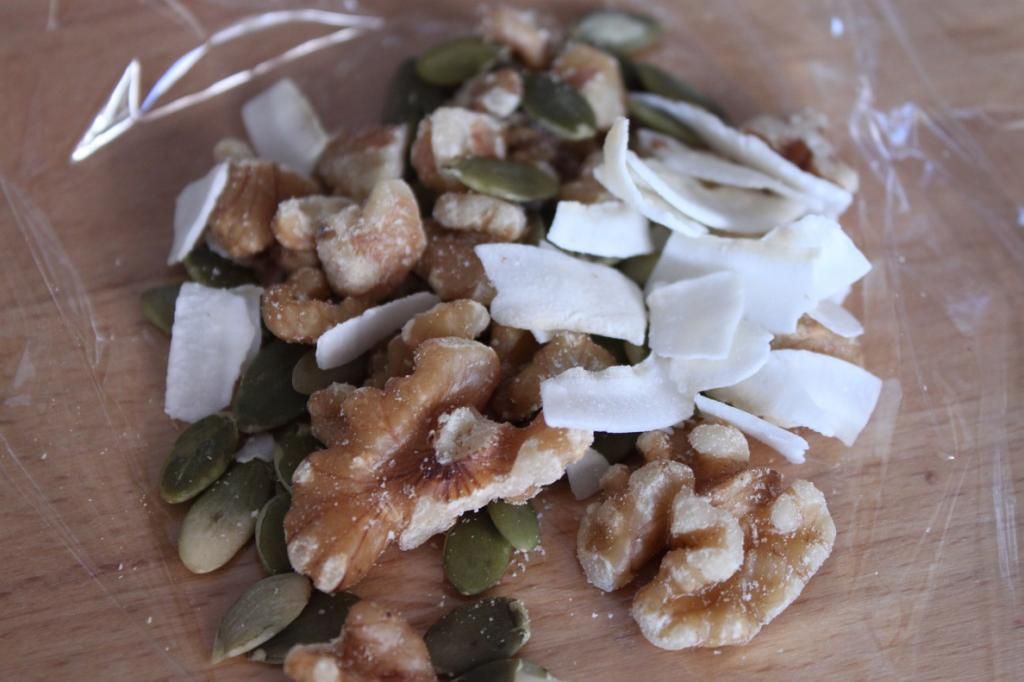
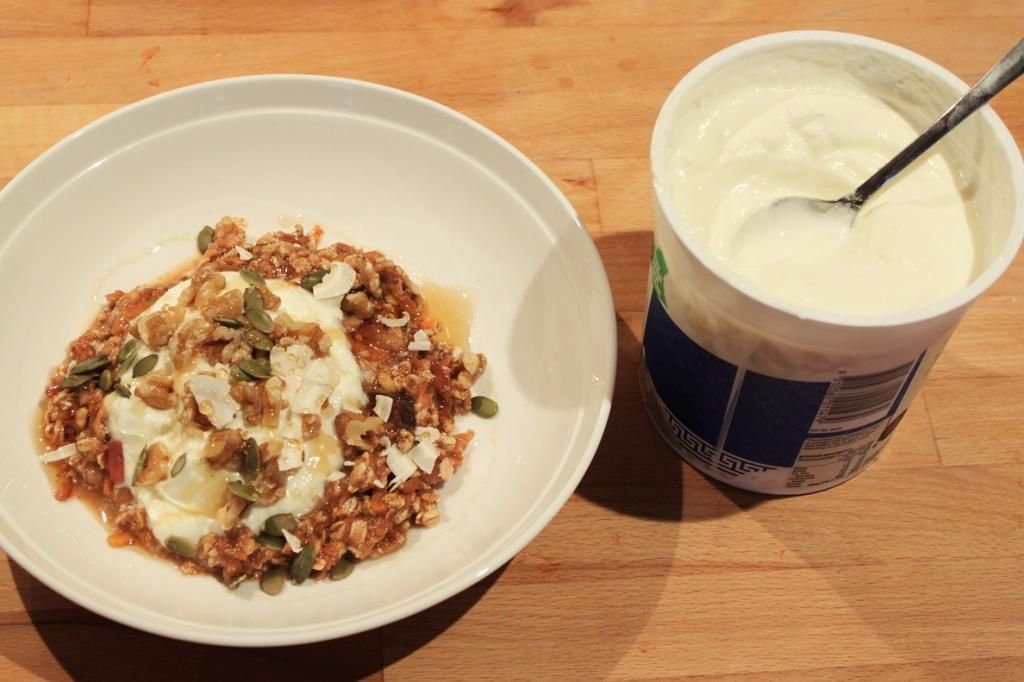
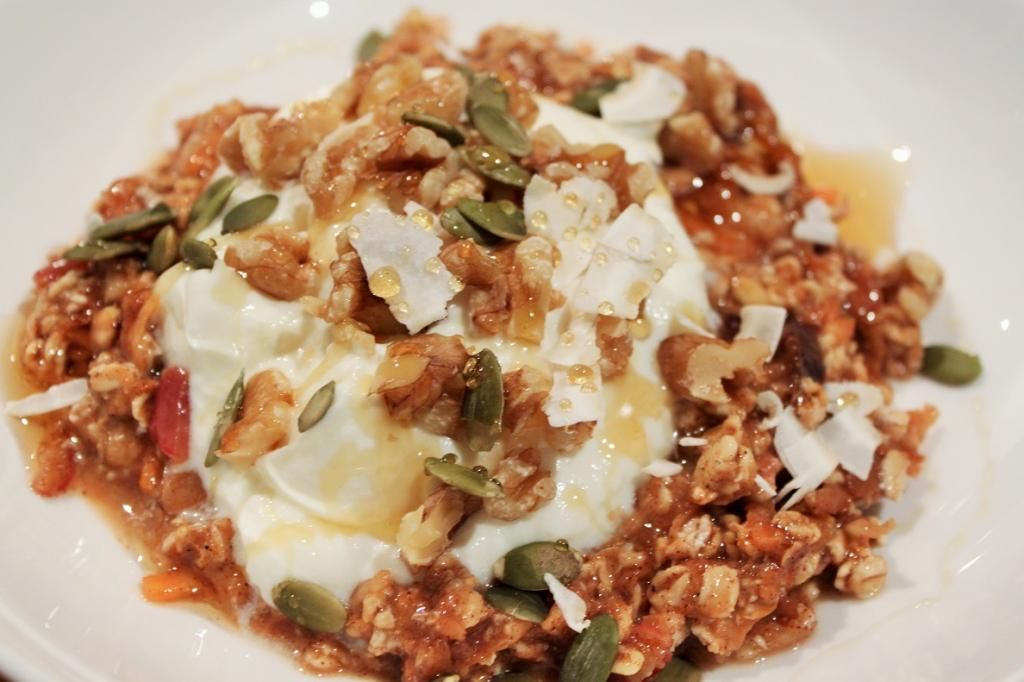
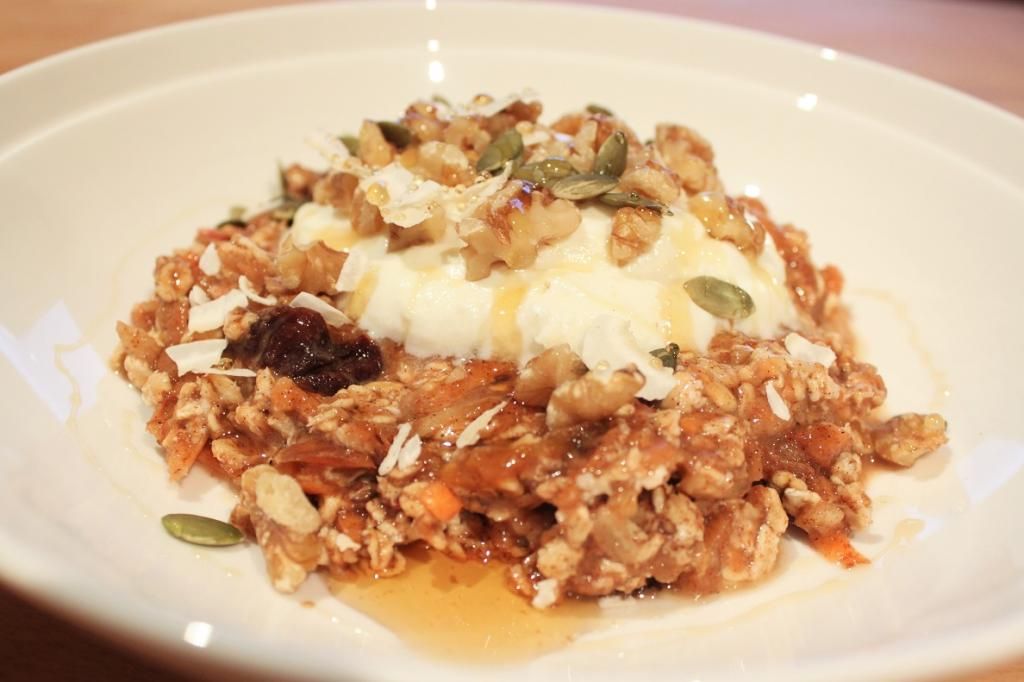
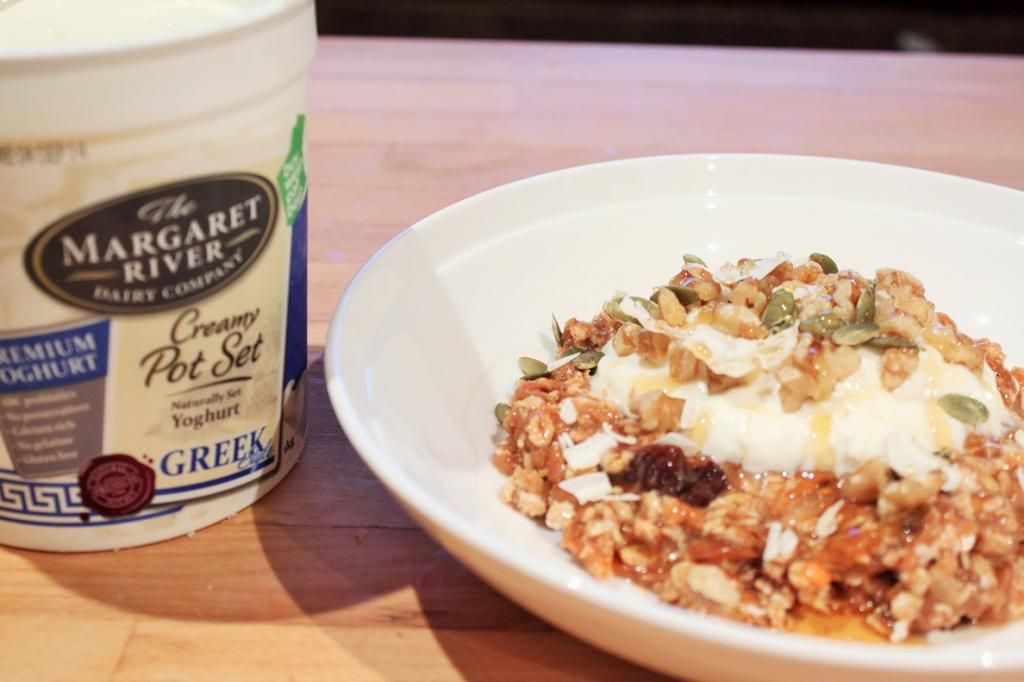
Instead of the tangy cream cheese icing, I’ve still just used greek yoghurt, then drizzled a nice bit of honey over the top and topped it with more traditional toppings – walnuts, coconut and pumpkin seeds. The muesli itself is vegan, to keep it that way, just substitute Co-Yo for the normal yoghurt. It can also be gluten free if you use GF certified oats.
Breakfast of Champions - Carrot Cake Bircher Muesli

Carrot Cake Bircher Muesli

(serves 2)
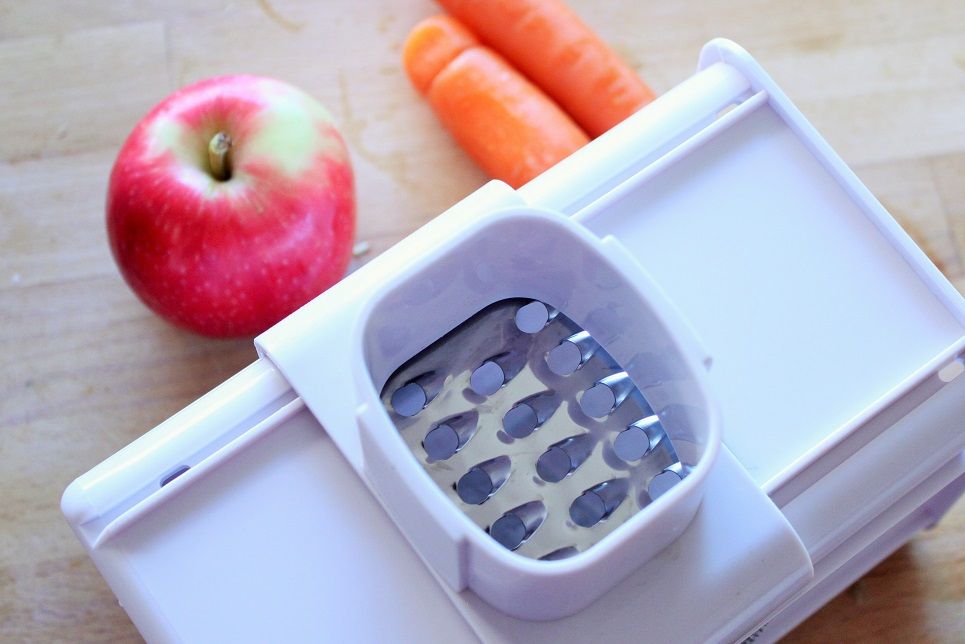
1 cup grated carrot
1 large Pink Lady Apple (or similar tart apple)
2 tbsp sultanas
4 dates, chopped into small pieces
1 cup rolled oats
1 cup cold-brewed earl grey tea
Juice and zest from one orange
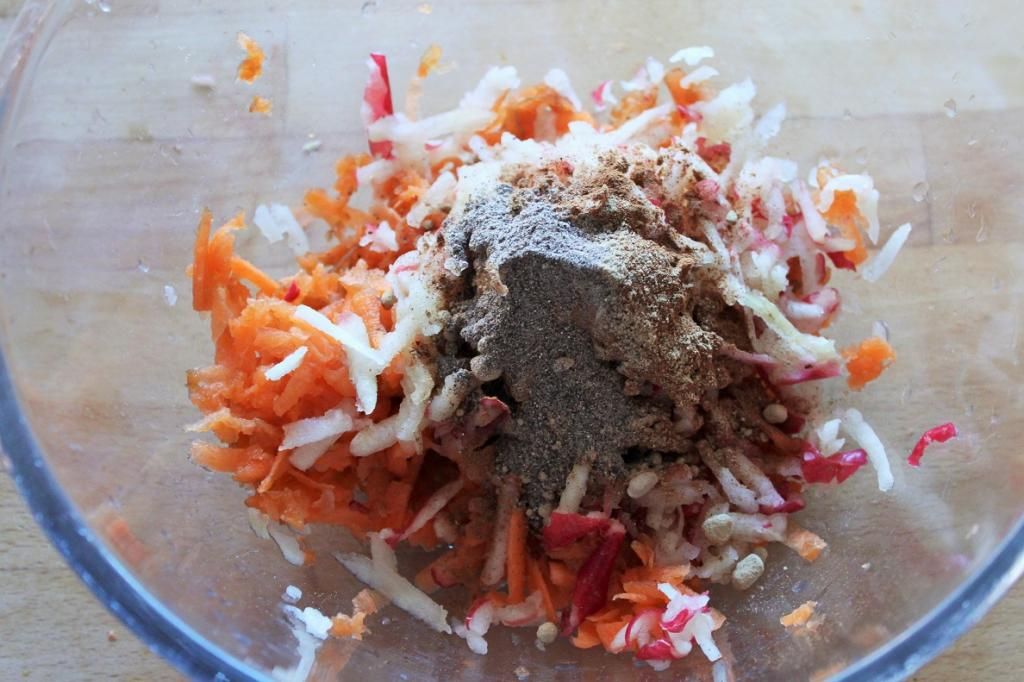
2 tsp cinnamon
1 tsp ground ginger
1/4 tsp nutmeg
¼ tsp ground cardamom
¼ tsp salt

To serve
½ cup Greek yoghurt
Drizzle honey
Chopped walnuts
Pumpkin seeds
Toasted coconut flakes

Breakfast of Champions - Carrot Cake Bircher Muesli