Showing posts with label rum. Show all posts

Tuesday, August 26, 2014

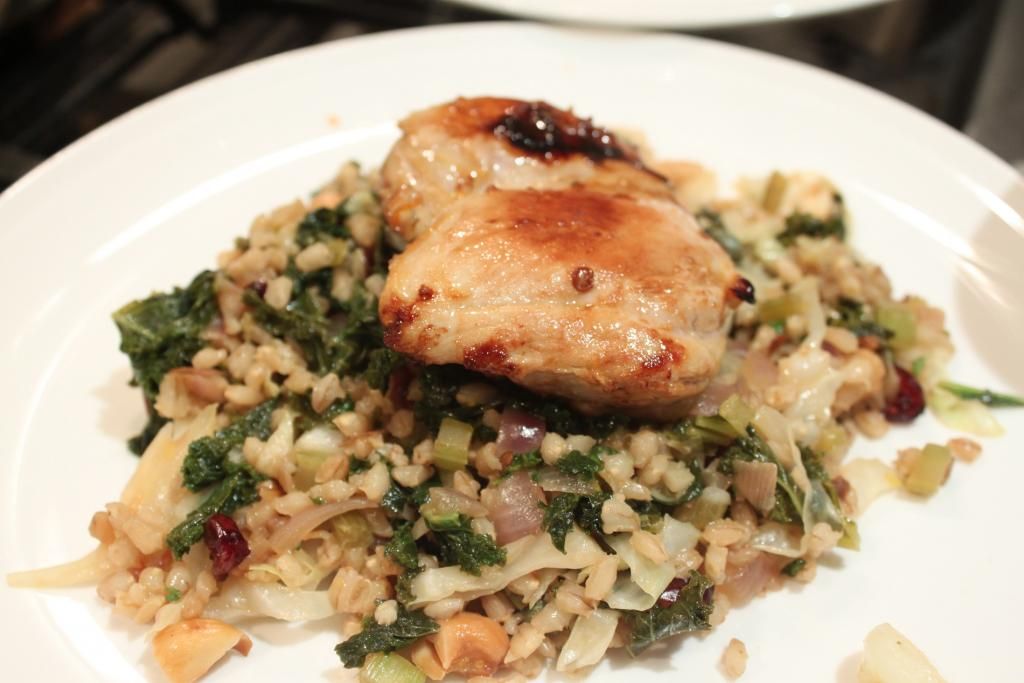
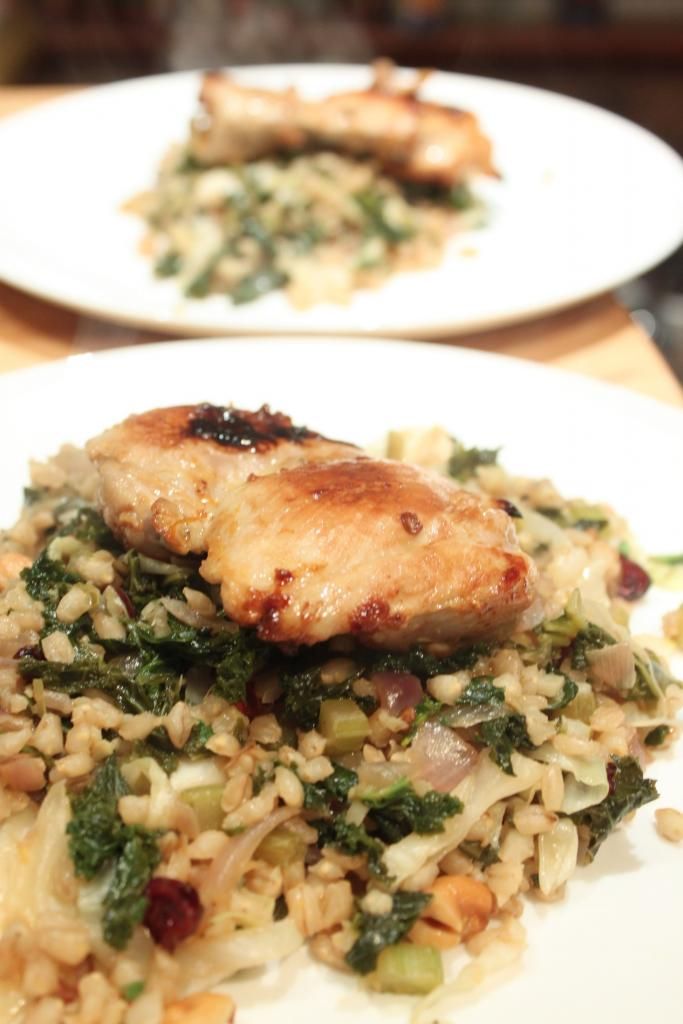
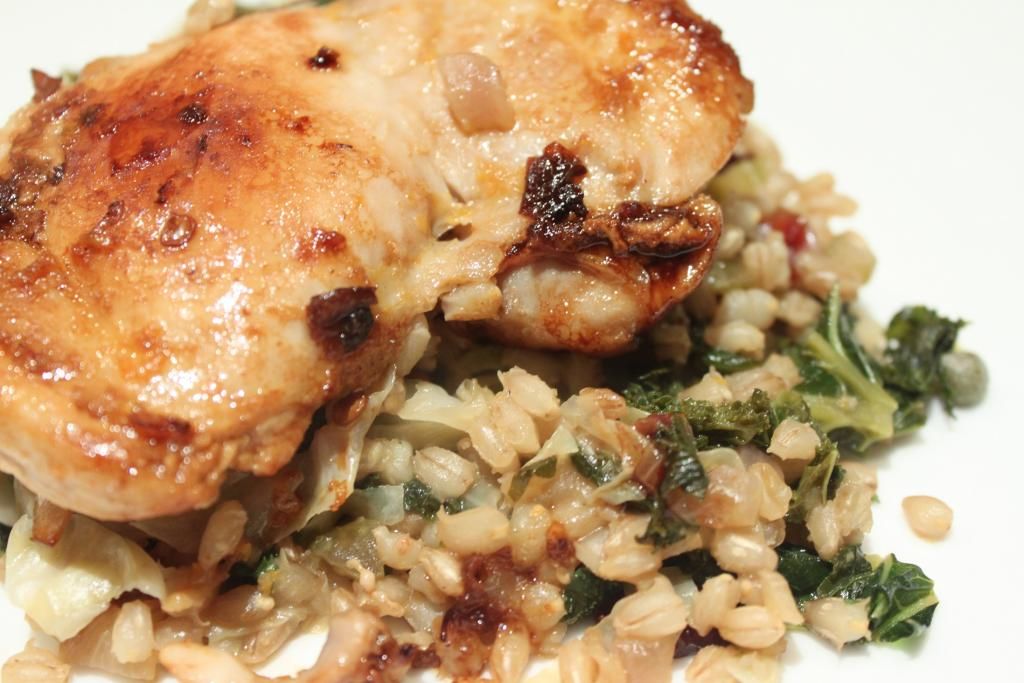
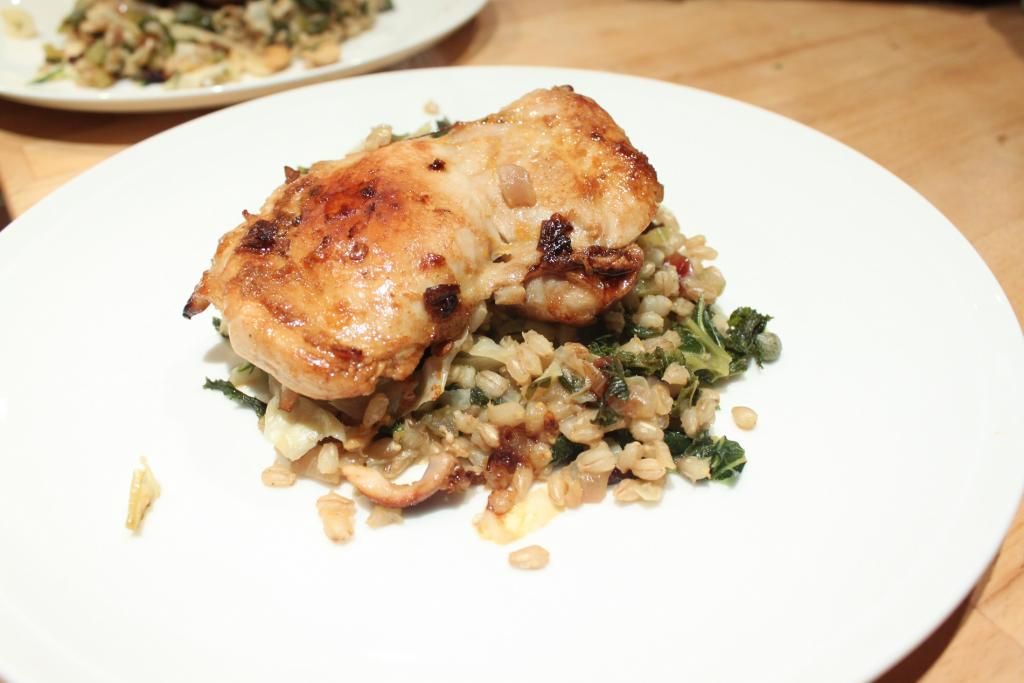
Marinaded to Perfection - Orange Chipotle Chicken with Braised Greens and Barley

Marinaded to Perfection - Orange Chipotle Chicken with Braised Greens and Barley

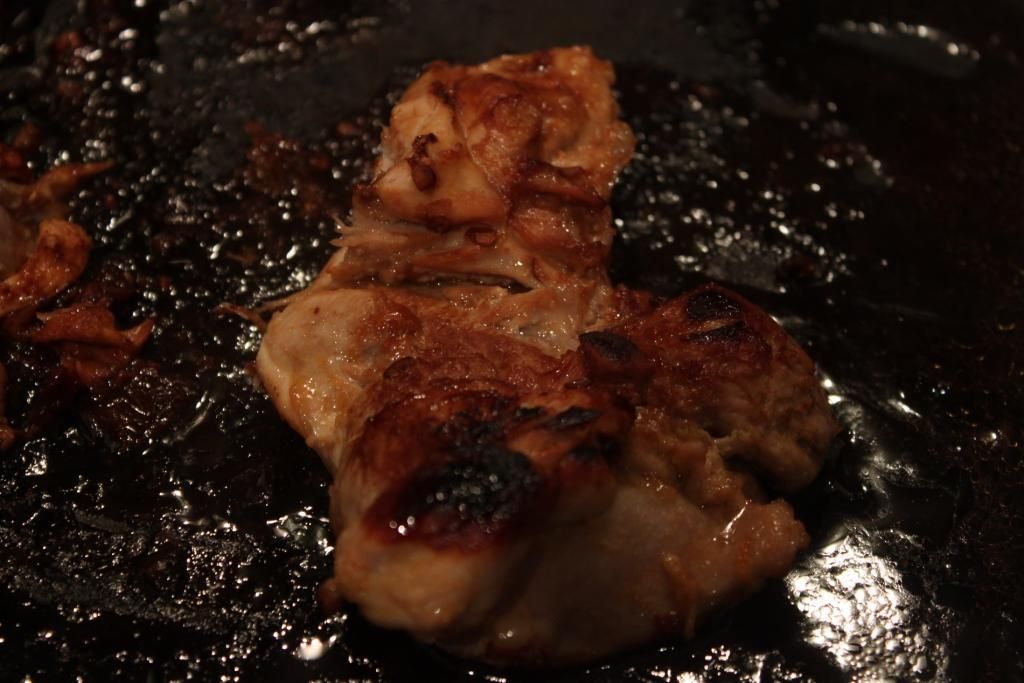
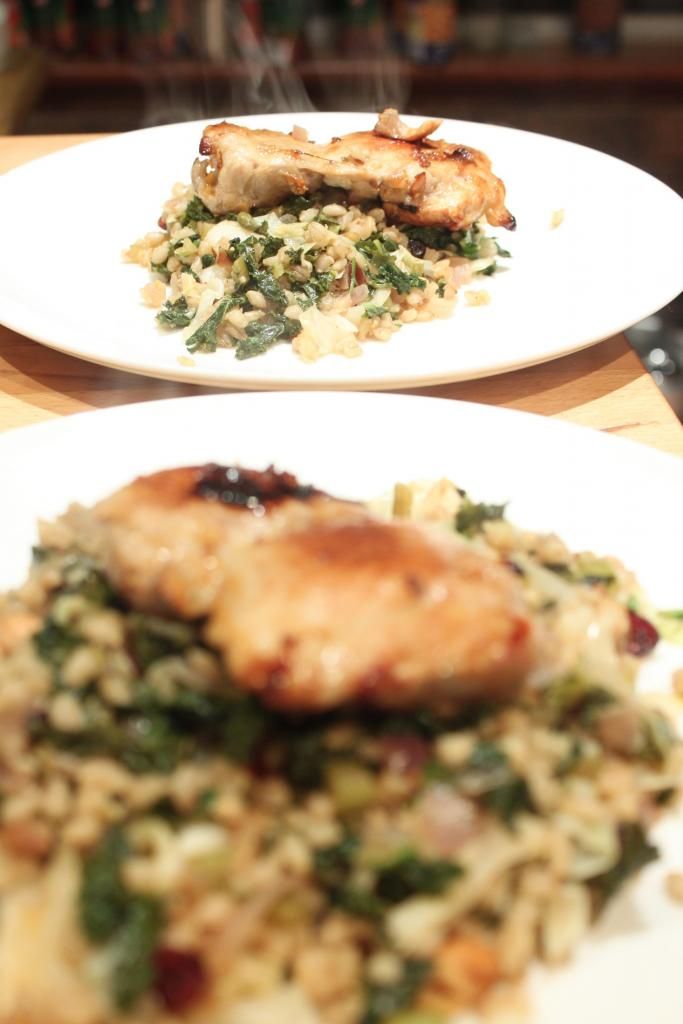
With the exception of slow-cooked meats, it’s very rare that the meat is the main star of our everyday meals. If I’m BBQing or grilling meat, I tend to leave it plain and cook it well, then make salads and sides that shine. Or make a kick-arse sauce to go on it. That tends to be the same when you eat out as well. It’s *just* a steak (albeit a good quality one) until they add the mushroom sauce or pepper sauce or red wine jus. Partly at home, it’s a cleaning issue. And partly a timing issue. I rarely think ahead enough to marinade the meat before I cook it. But the acid and booze in this orange juice marinade only needs a small amount of time to make a big impact on the chicken. So you can marinade the meat for half an hour while you prep the veges and get the barley cooking. You then use the same marinading liquid to braise some kale and cabbage and bam! Flavourful dinner with zero wastage. Cook the chicken over a medium-high heat to get a nice crispy brown outer layer and still have the centre juicy.

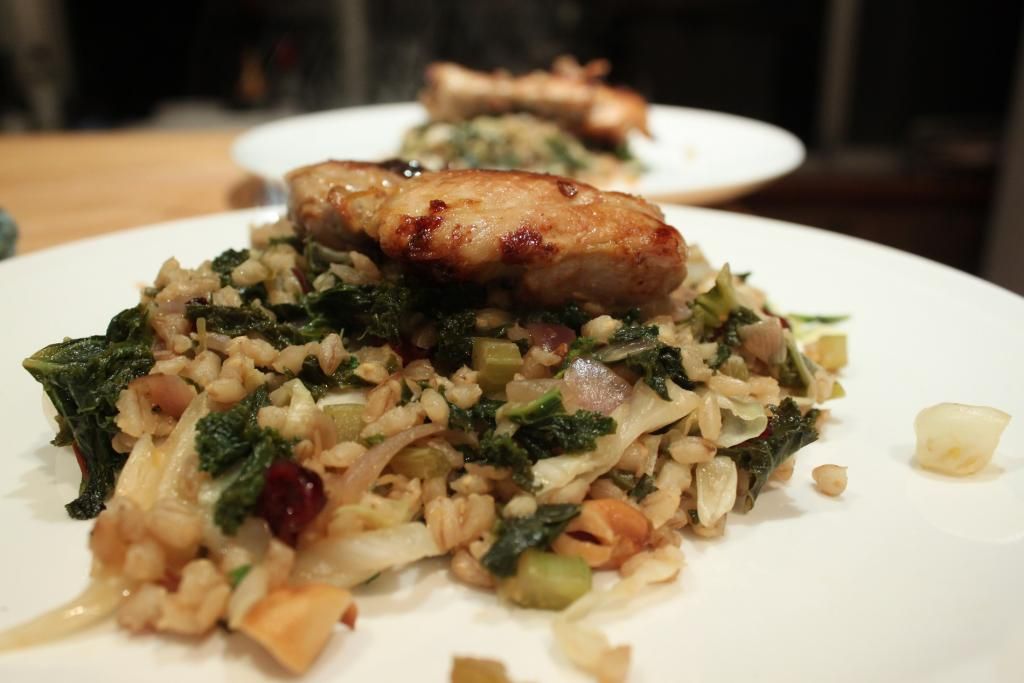
The barley with greens still is kinda the star here, with it’s tart/sweet pops of cranberries, briny capers, crunchy cashews and sweetly braised greens – but the chicken holds it’s own without any further accompaniment if you served just the chicken. And that is a rarity in my household!

Marinaded to Perfection - Orange Chipotle Chicken with Braised Greens and Barley


Orange Chipotle Chicken with Braised Greens and Barley

Marinade

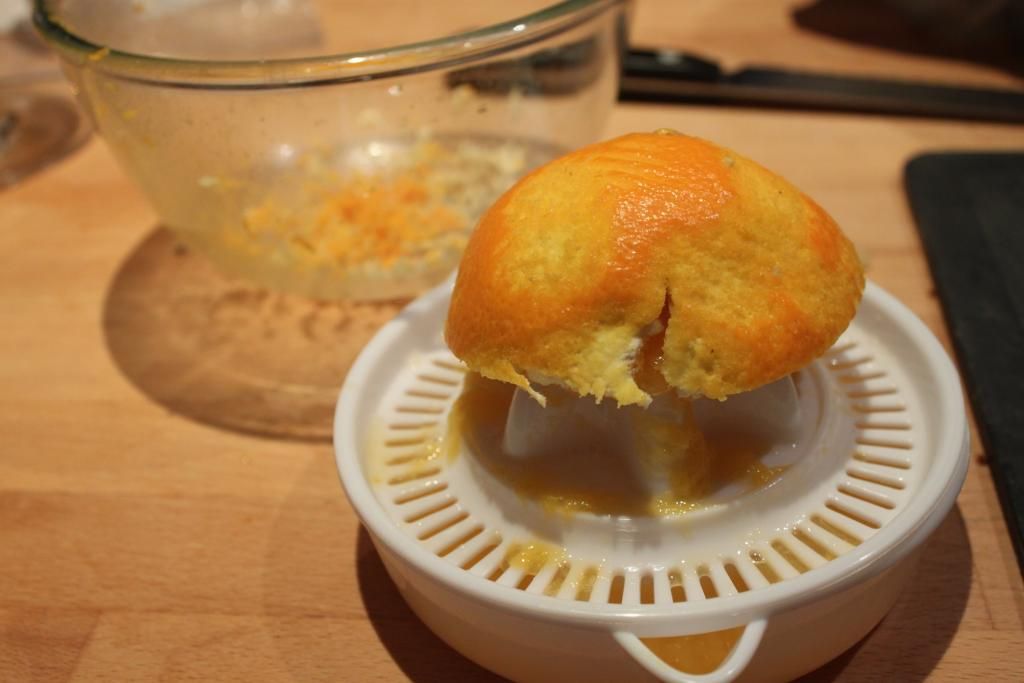
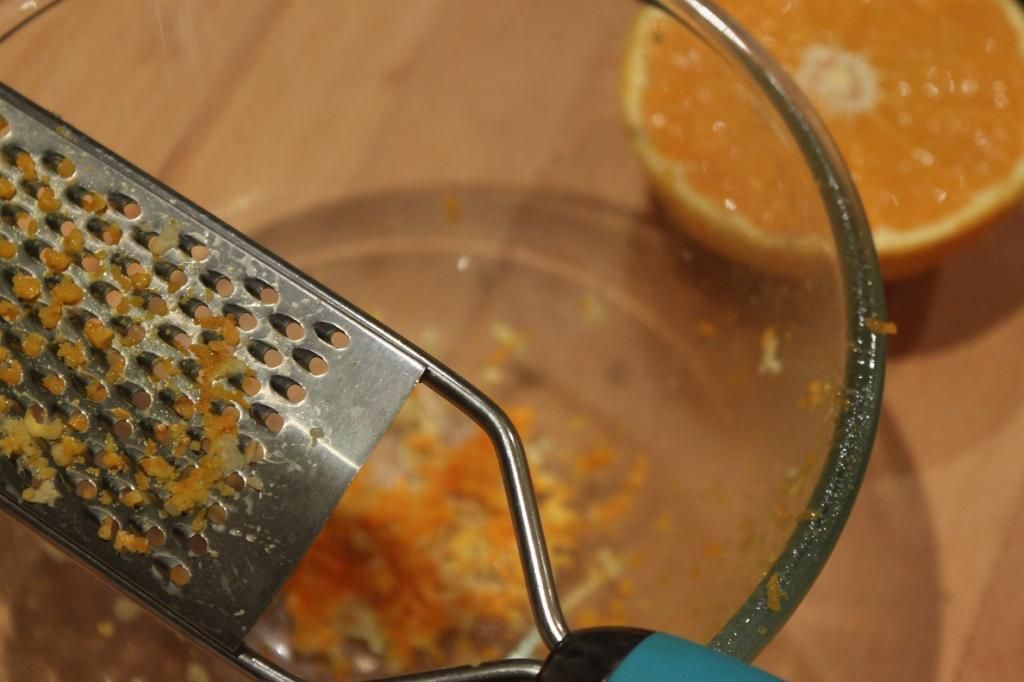
Zest and juice from one orange
Thumb tip size piece of fresh ginger, finely grated
30mL dark rum
1 chipotle in adobo, minced
3 tbsp olive oil

3 chicken thighs
¾ cup barley
1 ¼ cups water
¾ tsp vegetable stock powder (or salt)
Olive oil
1 onion, diced
2 cloves garlic, minced
2 stalks celery, diced
½ bunch kale, ribs removed and shredded
¼ cabbage, shredded
2 tbsp dried cranberries
1 tbsp capers
¼ cup roasted cashews
2 tbsp minced fresh parsley

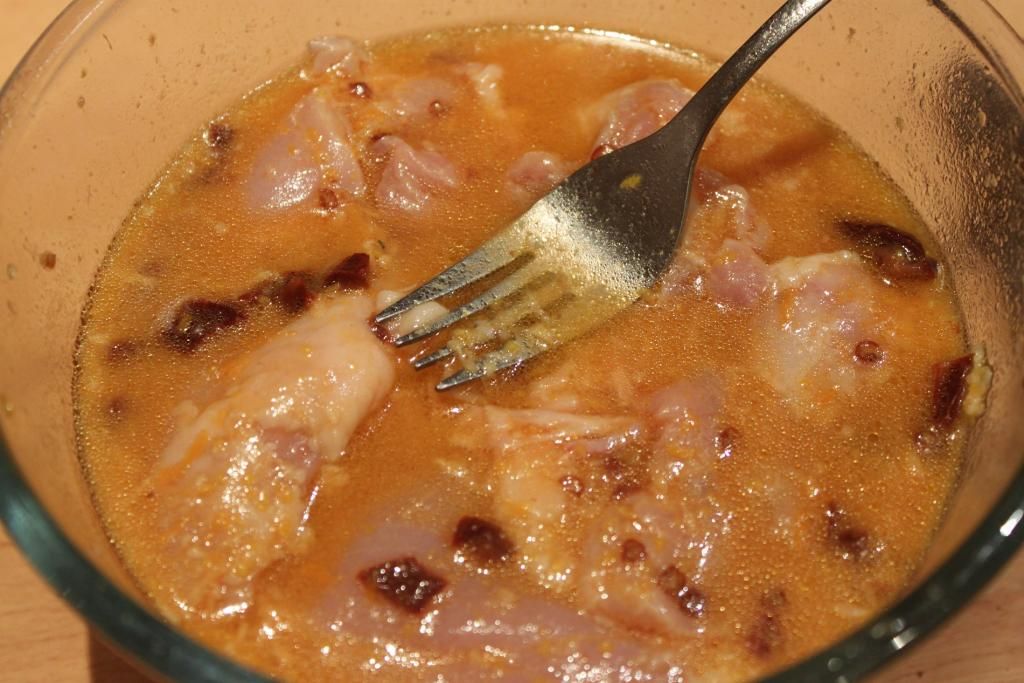
Mix all of the marinade ingredients in a glass or other non-reactive bowl add the chicken thighs, toss to coat. Cover with plastic wrap and leave to marinade for 30 minutes. Drain the chicken, reserving the marinade.

In a medium size pot, mix together the vegetable stock powder or salt. Add the barley. Cover, bring to the boil, then reduce to a simmer. Cook until the barley is tender, but still retains it’s shape and a slight ‘chew’ – around 25 minutes.

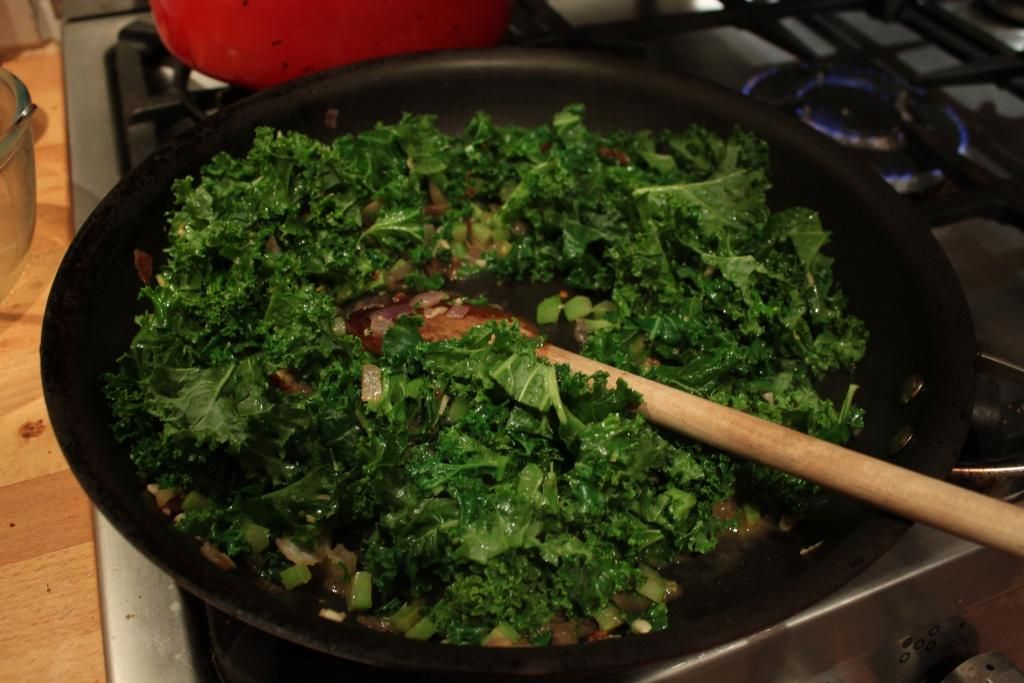
While the barley is cooking, heat a splash of olive oil in a frypan over medium heat. Add the onion and cook 10 minutes until softened and golden. Add the garlic and celery and cook a further 5 minutes or until the celery has softened. Add the kale and cabbage, stir it through to coat in the onion mixture, add the marinade and braise for 10-15 minutes until the kale and cabbage is wilted and cooked through.

Heat a second pan or a BBQ grill to high and add the chicken pieces. Cook for 5 minutes until nicely brown on the outside and half cooked through, then turn and cook on the other side for 3-5 minutes until cooked through and brown on the other.

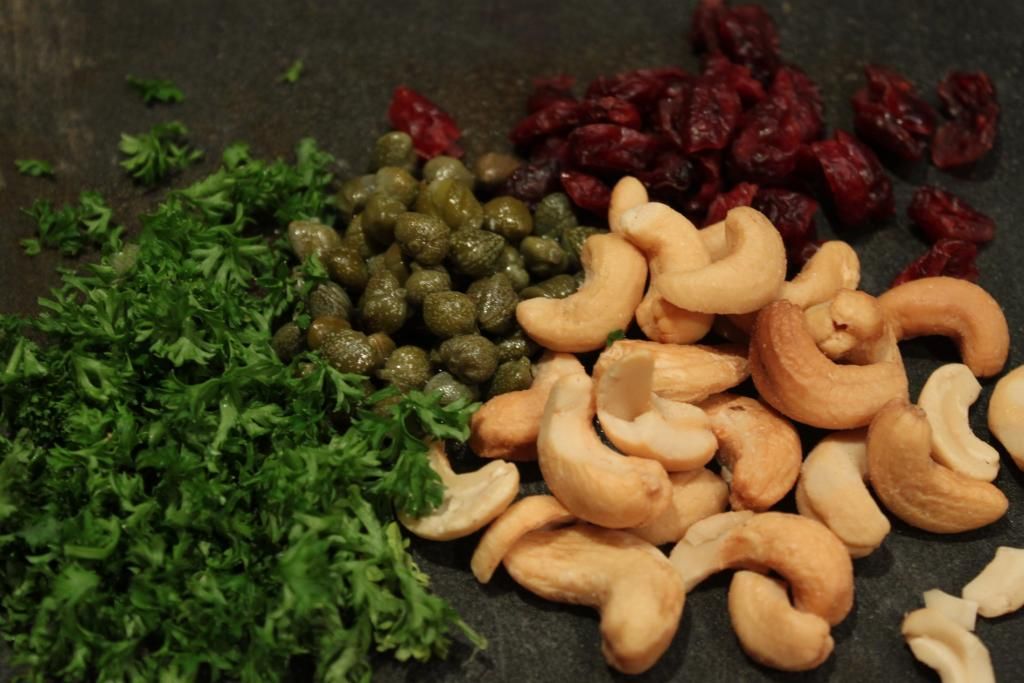
Stir the cooked barley through the braised greens, take off the heat and stir through the cranberries, capers, cashews and parsley.

Plate up the barley, then place a grilled chicken piece on top

Marinaded to Perfection - Orange Chipotle Chicken with Braised Greens and Barley

Monday, July 7, 2014

Christmas in July - Chocolate Peppermint Coquito

Christmas in July - Chocolate Peppermint Coquito


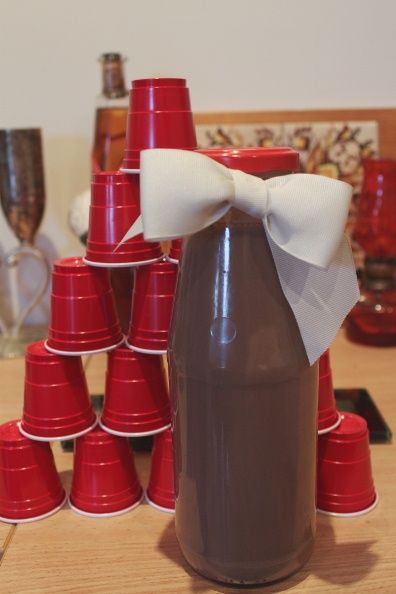
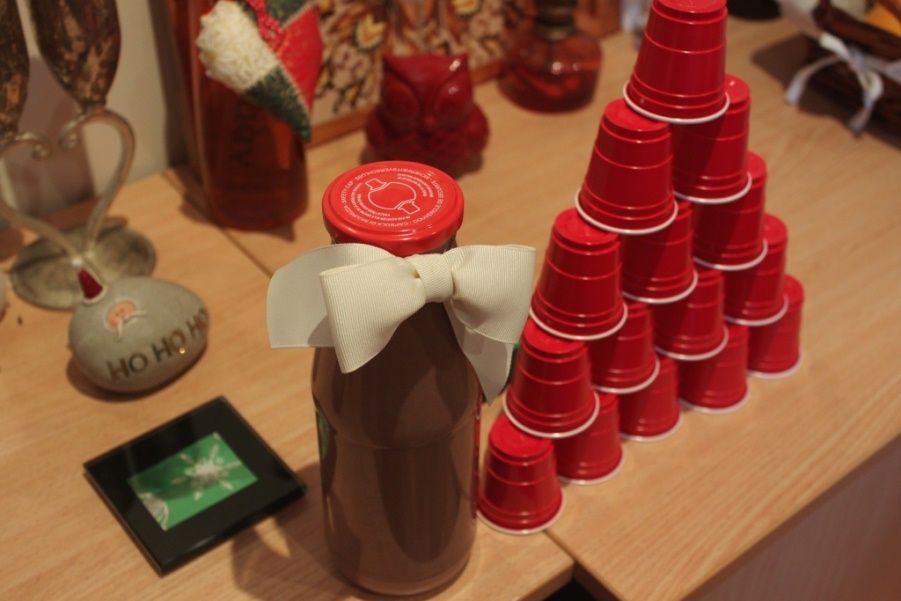
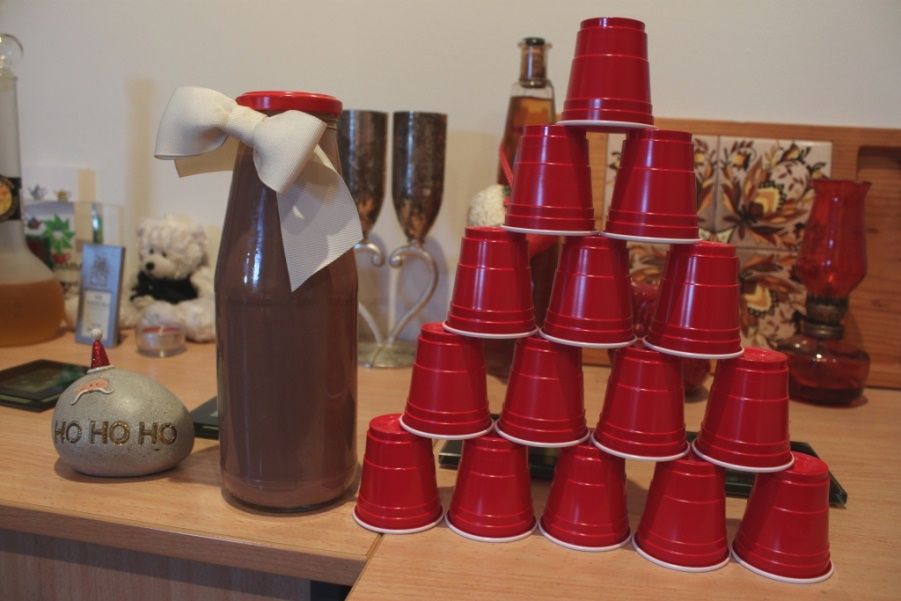
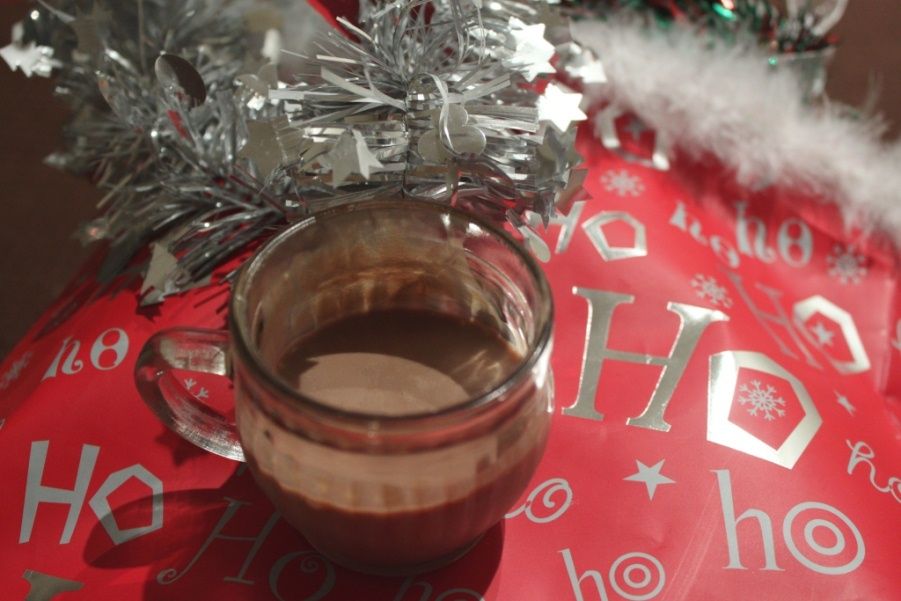
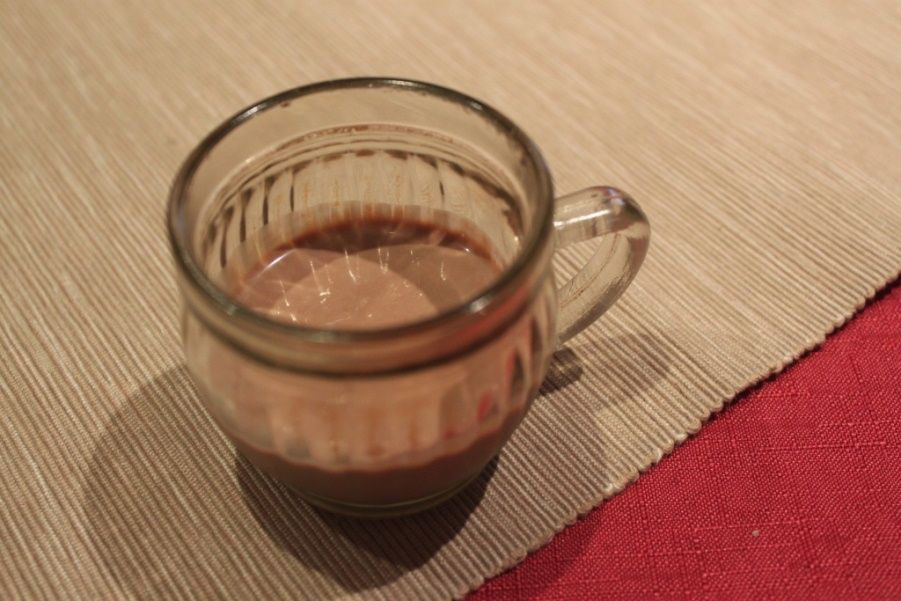
As part of Christmas in July, Lance and I offered a mulled cider that we served as people arrived. A nice warm mug of spicy deliciousness welcoming them in from the cold. Stay tuned for that recipe! Then with dessert I served this chocolate peppermint coquito and my sister in law made egg-nog. Traditional Puerto Rican coquito is sort of a rummy coconut egg-nog. This chocolate version is barely adapted from Always Order Dessert's recipe for a chocolate coquito. I made mine minty as peppermint is such a "Christmas" flavour and it's impossible to find candy canes this time of year. They would make awesome swizzle sticks if you make this for your December Christmas. You could use Creme de Menthe instead of a peppermint extract but it would add extra sweetness and it would be the only reason for me buying a whole bottle of Creme de Menthe. The only other change is that I used unsweetened coconut cream instead of the sweetened version, I don't really drink super-sweet drinks.

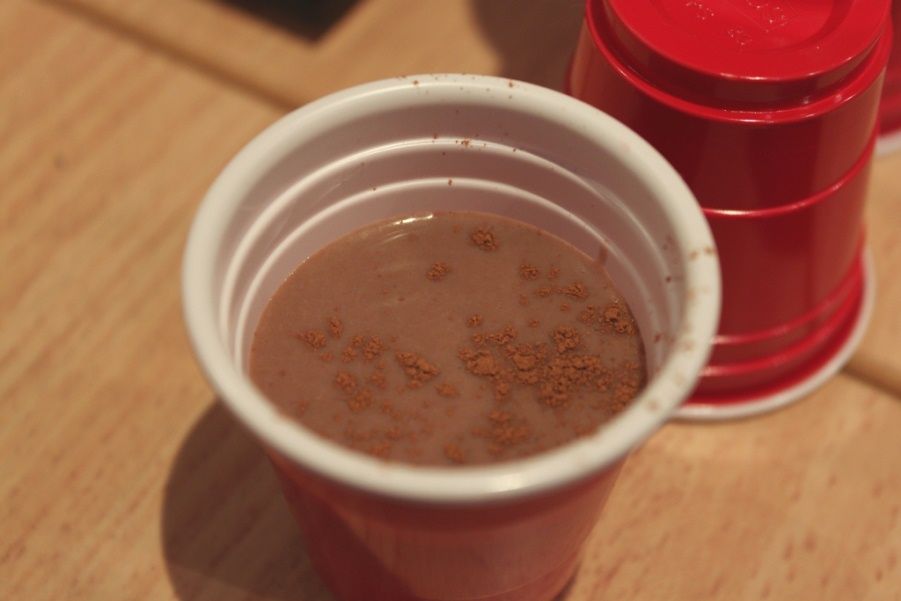
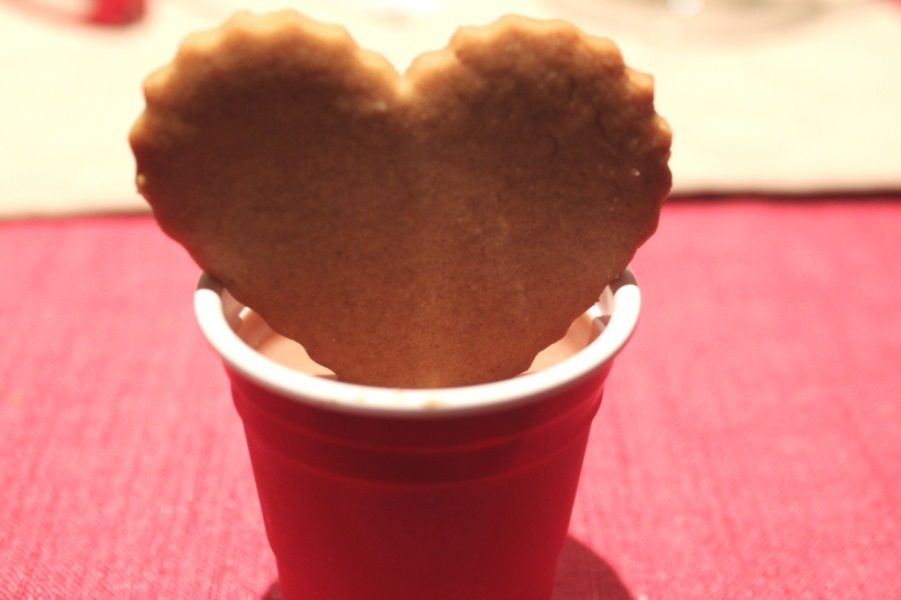
The end result is a sort of more grown-up version of a peppermint Baileys. Perfect for sipping on the rocks and dunking your gingerbread into. I served them in cute little red shot glasses to add to the festivities (and take away from dishes).

This makes a little over a litre and lasts in the fridge for around 2 weeks.


Christmas in July - Chocolate Peppermint Coquito


Chocolate Peppermint Coquito


1 can coconut milk
100g dark chocolate (I used Lindt 85%)
1 can sweetened condensed milk
1 can coconut cream
2 cups rum (I used Havana Club Anejo)
1/4 - 1/2 tsp peppermint extract
2 cinnamon sticks
2 tsp vanilla extract

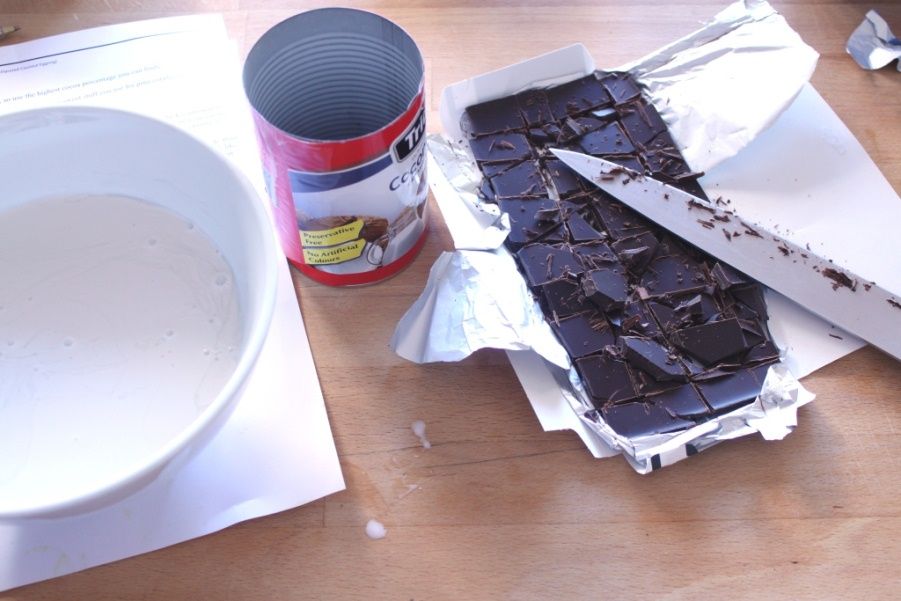
In a small pot, add the coconut milk and roughly chopped dark chocolate and place over a low heat. Stir to melt the chocolate and form a ganache. When completely amalgamated, set aside to cool to room temperature.

When cool, place the coconut cream, sweetened condensed milk and rum in the blender, blend to combine. Add the chocolate ganache and vanilla extract. Blend well to combine. Add 1/4 teaspoon peppermint extract, mix then taste to see if it needs extra.

Pour into glass bottles with lids (like leftover rum bottles), add a cinnamon stick and pop in the fridge until it's really cold. Serve dusted with cinnamon if you'd like.


Christmas in July - Chocolate Peppermint Coquito


Monday, April 14, 2014

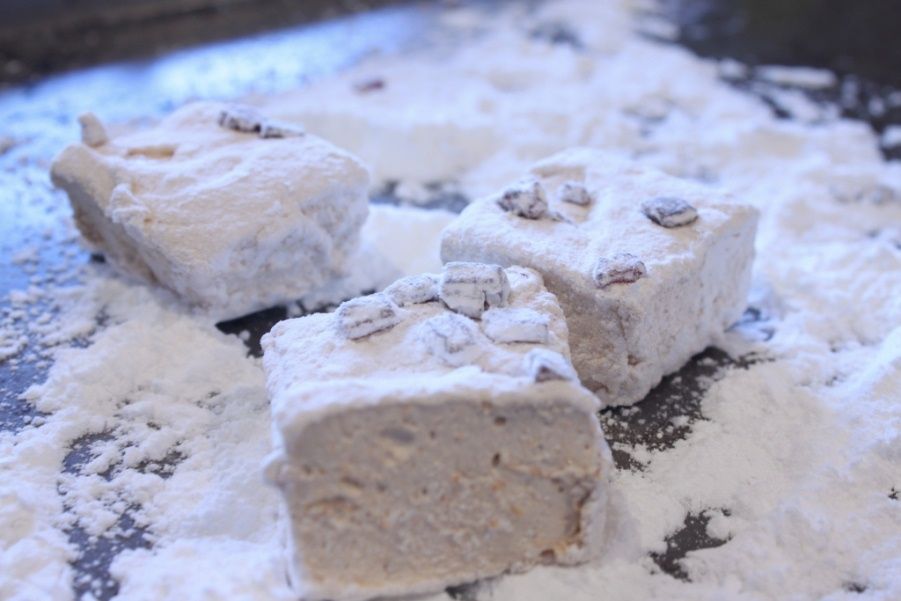
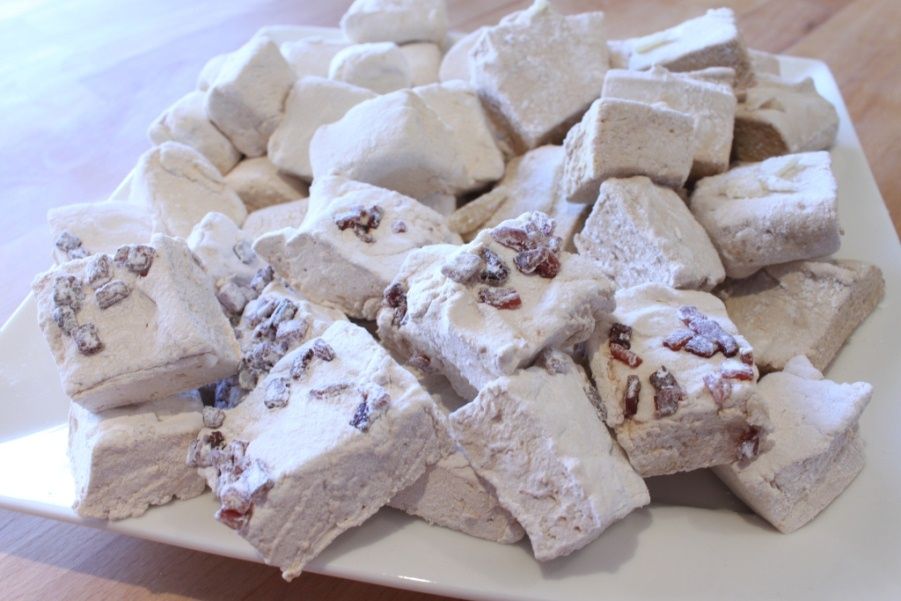
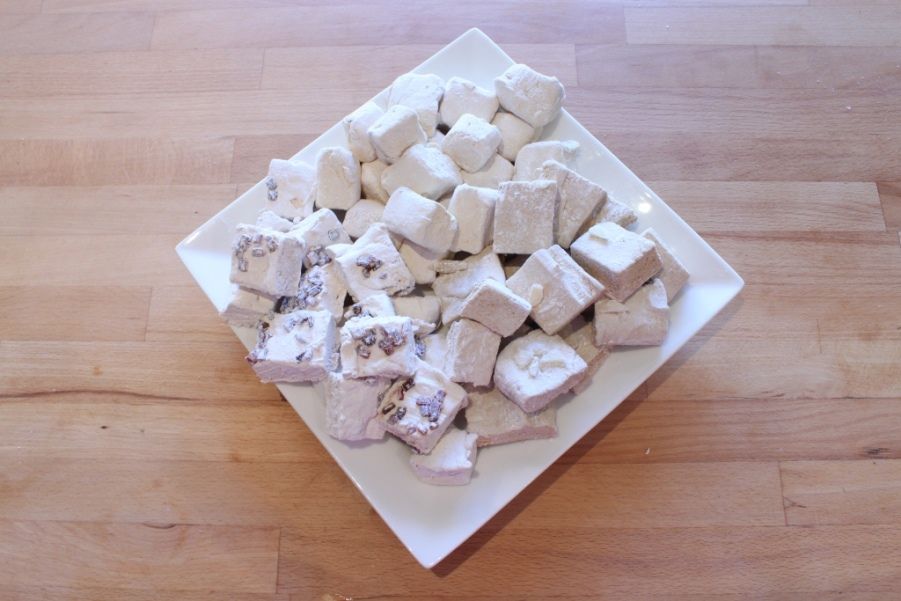
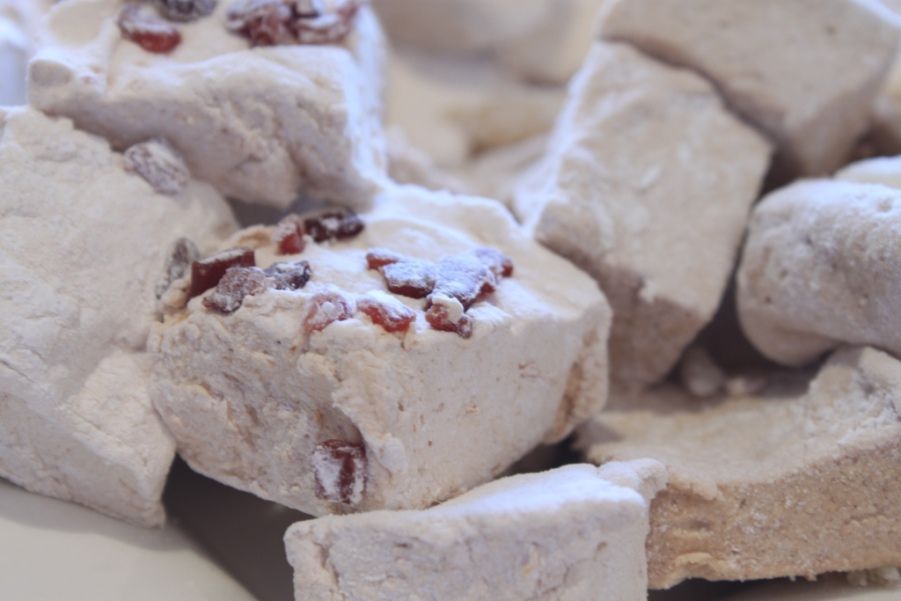
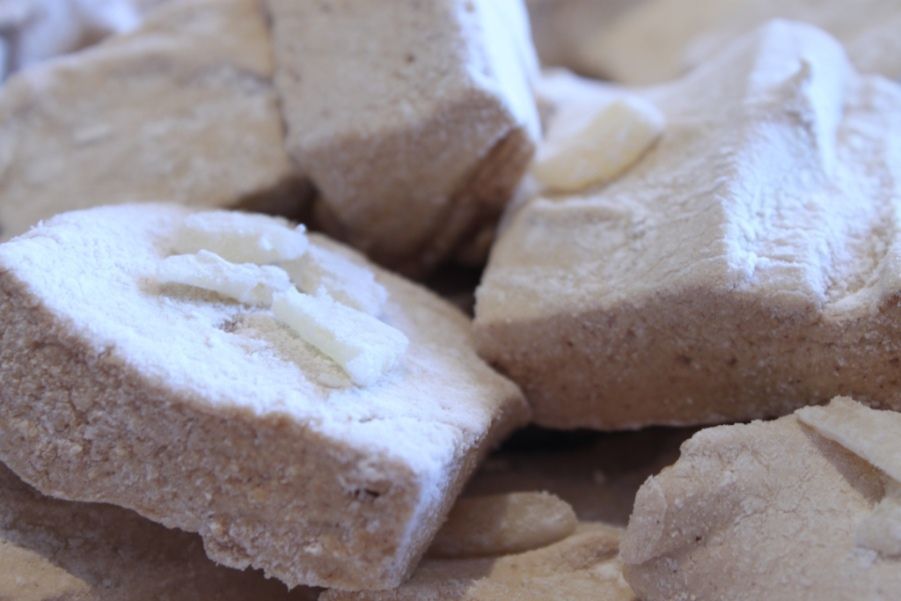
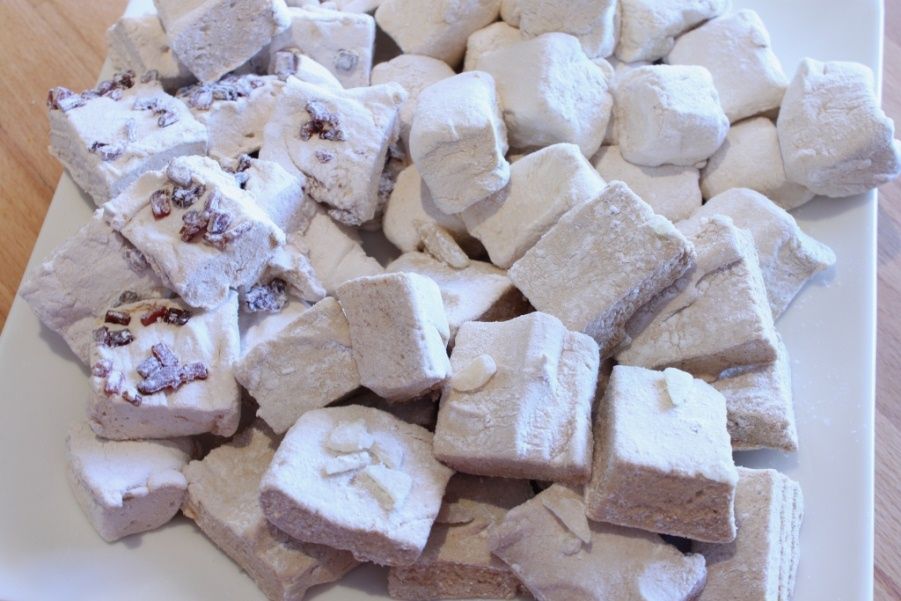
Veronica Mars(hmallow) Movie Snacks - Gingerbread Marshmallows, Pumpkin Maple Marshmallows and Rum & Raisin Marshmallows


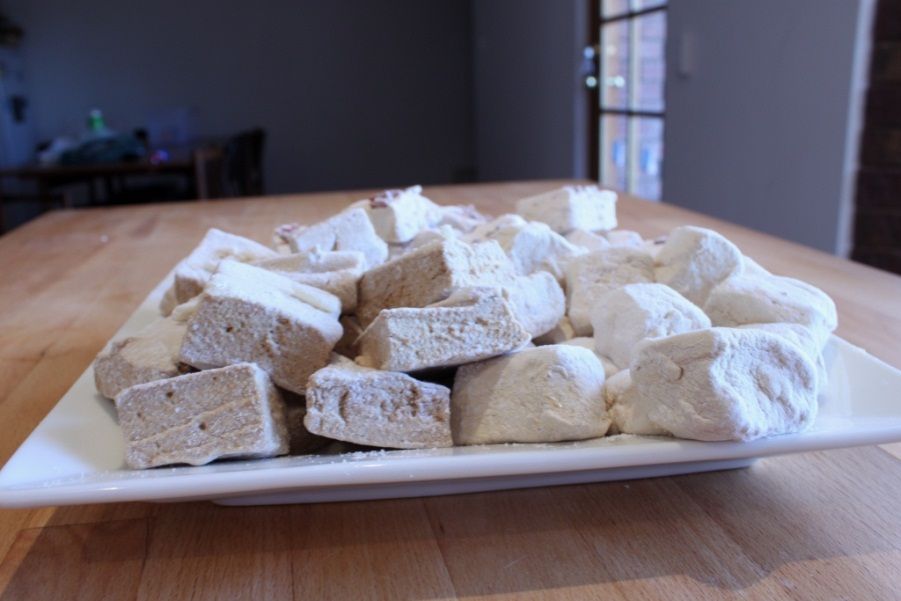
After the success of my “Much Ado About Joss Whedon” movie afternoon, I decided to have another at-home cinema experience when the new Veronica Mars movie was released. Last time we arranged various couches upstairs to create a two level cinema that seated 6. This time we went bigger and moved more couches upstairs to create a 10-seat, 2 level couch cinema. I was pretty stoked with how it turned out! It made lugging furniture up and down stairs totally worth it! Obviously such an occasion also requires snacks. And there was a quote in the original tv series about Veronica being a marshmallow (which was then echoed in the movie’s kickstarter package, and the movie)…so what a perfect excuse to experiment with making marshmallows.
 
Gelatin is something that has always freaked me out. Most of my cooking is in a pinch of this, dash of that sort of style, and from what I gathered, you can’t do that with gelatin. It’s much more scientific than that in order for it to set. So it was with trepidation I approached marshmallow making. I looked up a whole bunch of recipes for marshmallows before cutting and pasting the common elements together and working out that it’s actually super, super easy. The only thing you do need is to have a candy thermometer to ensure you get the sugar part to the right temperature. And a standmixer. I made the first batch gingerbread flavoured, because, well, I like gingerbread. That turned out so easy that I immediately cleaned out my bowls and made two more batches. Pumpkin maple (with candied bacon) and rum and raisin. These were in honour of the fact that the screening day was also my brother’s birthday and he enjoys all of those things.

The basic idea of making marshmallows also makes it really easy to adapt the flavours. Take cold liquid of pretty much any description (alcohol will require more experimentation as that affects the gelatin) and add powdered gelatin. Boil sugar, water and a liquid sugar to 130C. Pour together and blend until really fluffy, try to spread it out without covering yourself and the kitchen in marshmallowy goo. Then throw icing sugar all over your entire kitchen dusting them! If you try any new and exciting flavours, let me know!

But this is an awesome and easy sweet and non-chocolate Easter treat to gift. Or if you want a chocolate-y Easter treat to gift, maybe my Bacon Bark or the chocolate Salami I made for Easter last year?


Gingerbread Marshmallows
Liquid Mix
½ cup water
1 ½ tsp ground ginger
1 ½ tsp ground cinnamon
1 clove
pinch nutmeg
23g gelatin

Sugar Mix
1 ½ cups brown sugar
150mL golden syrup
½ cup water
¼ tsp salt

Dusting powder mix
(enough for all marshmallows)
1 cup icing sugar
½ cup corn flour

Chopped candied ginger for decorating

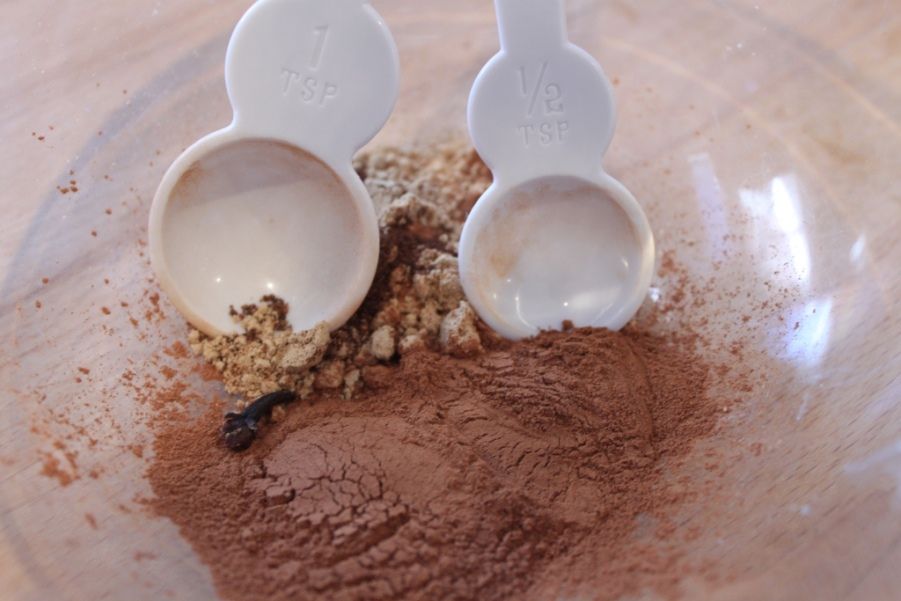
Add the spices and to ½ cup of hot water and leave aside to steep until it’s completely cold. Remove the clove.

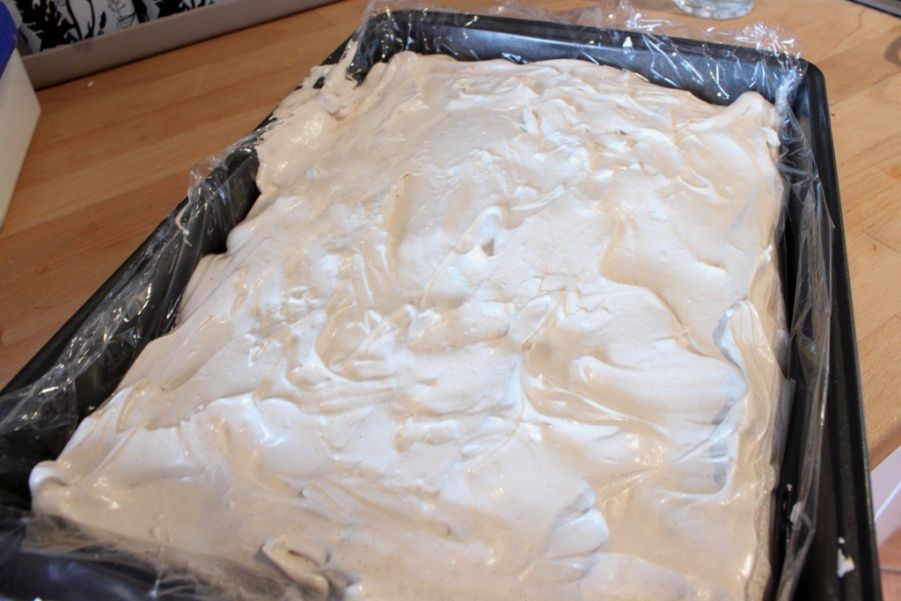
Line a lamington tray or baking dish with baking paper or cling film. Make it big enough to overhang on all sides. Spray with oil to prevent sticking.

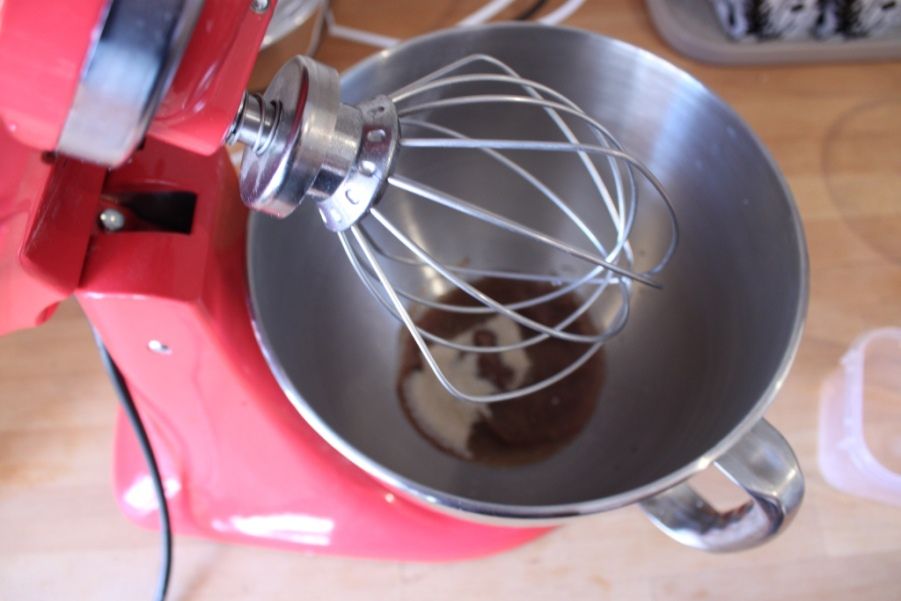
In your standmixer bowl, put the cold spice liquid and sprinkle the gelatin over the top. Leave to stand.

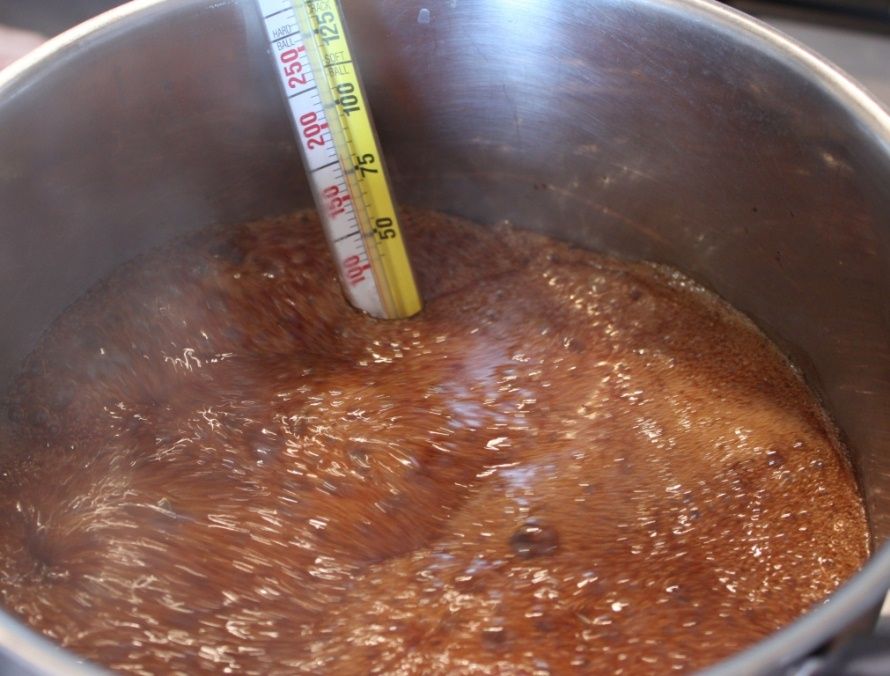
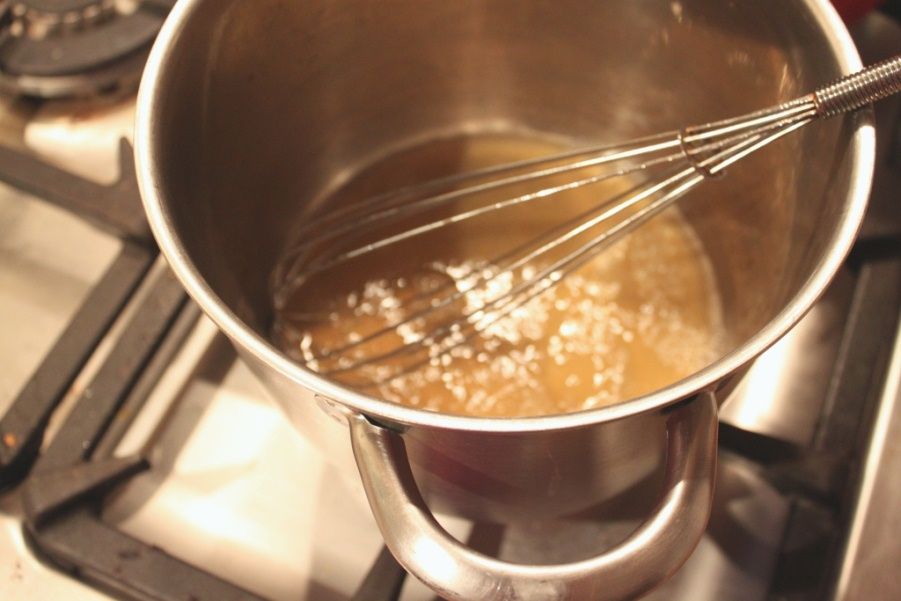
In a medium saucepan with tallish sides to cope with the bubbling, combine the golden syrup, salt, sugar and ½ cup of water. Cook over a medium heat and stir gently to dissolve the sugar. Raise the heat and boil until it reaches 130C on your candy thermometer. Keep it moving by swirling the handle, but don’t stir. When it reaches 130C, remove from the heat.

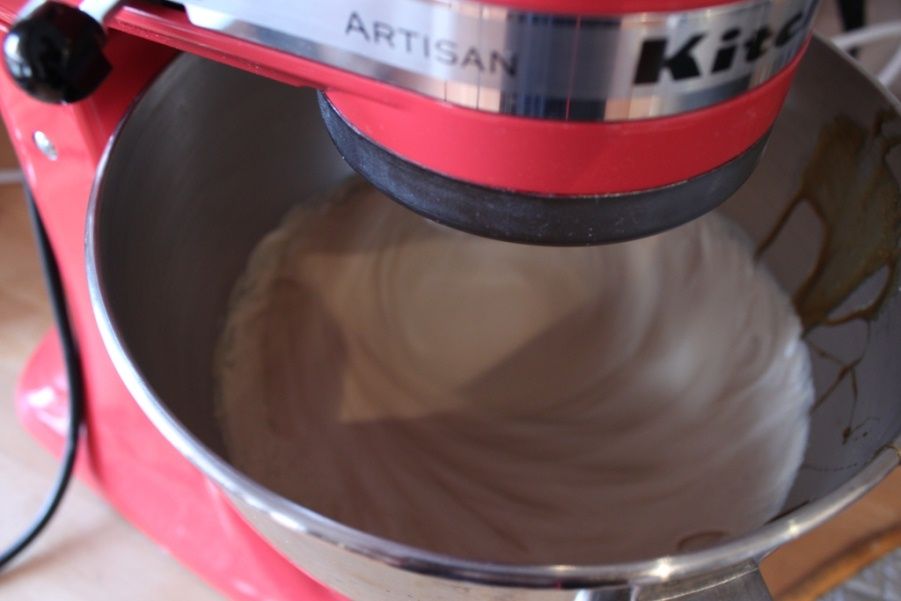
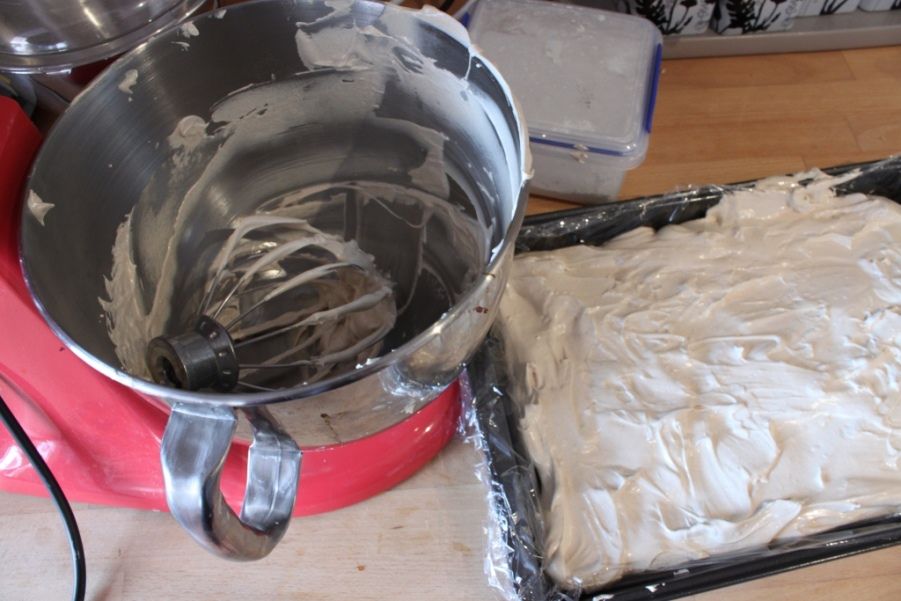
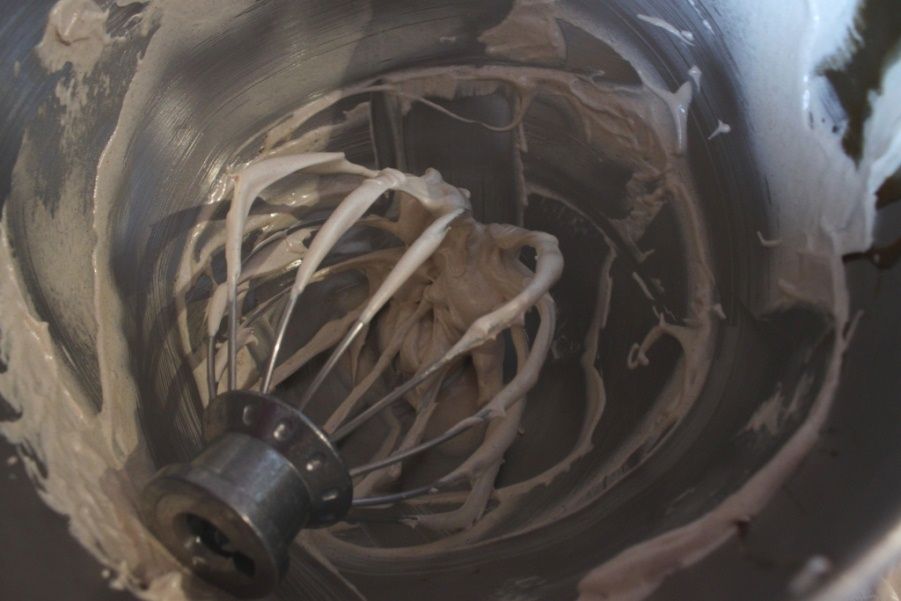
Attach the whisk to your standmixer and turn on low, mix the gelatin mixture for 1 minute, then turn the mixer up a bit faster and slowly drizzle the hot sugar mix down the side of the bowl with the mixer still going. Don’t let it touch the whisk. Increase the speed to medium/high and leave it to whisk until the mixture is pale and fluffy and looks like really sticky meringue. This will take at least 5 minutes. As it whisks, it’ll have bubblegum looking strands pull away.

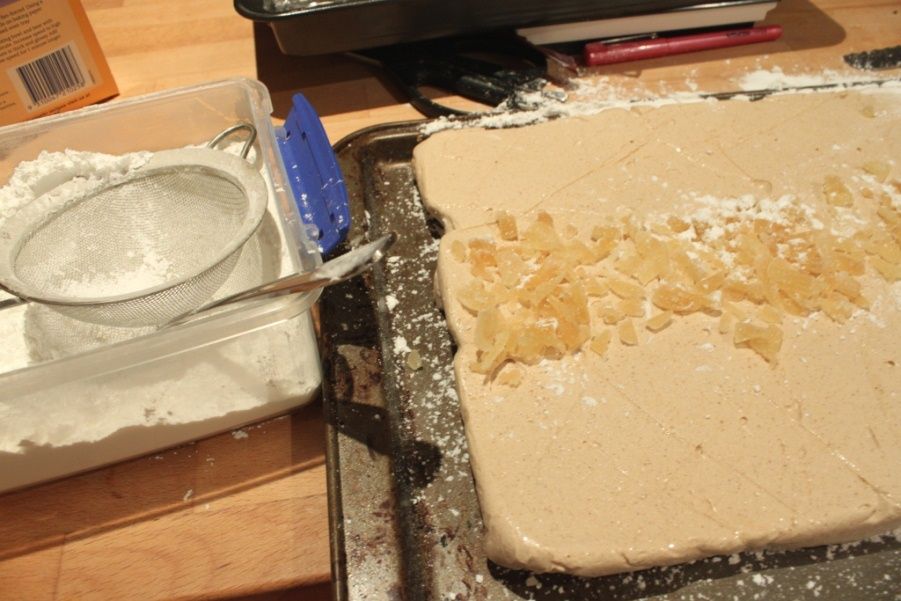
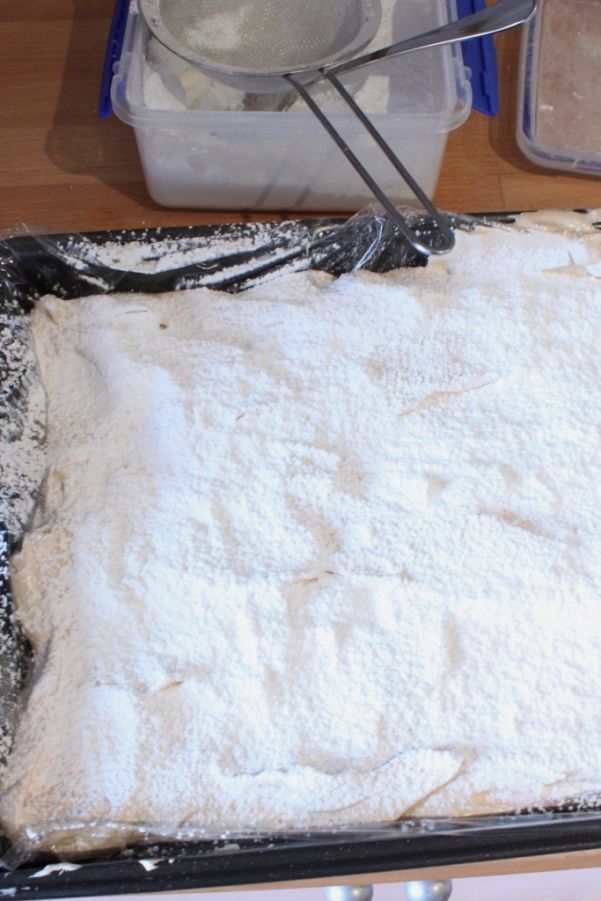
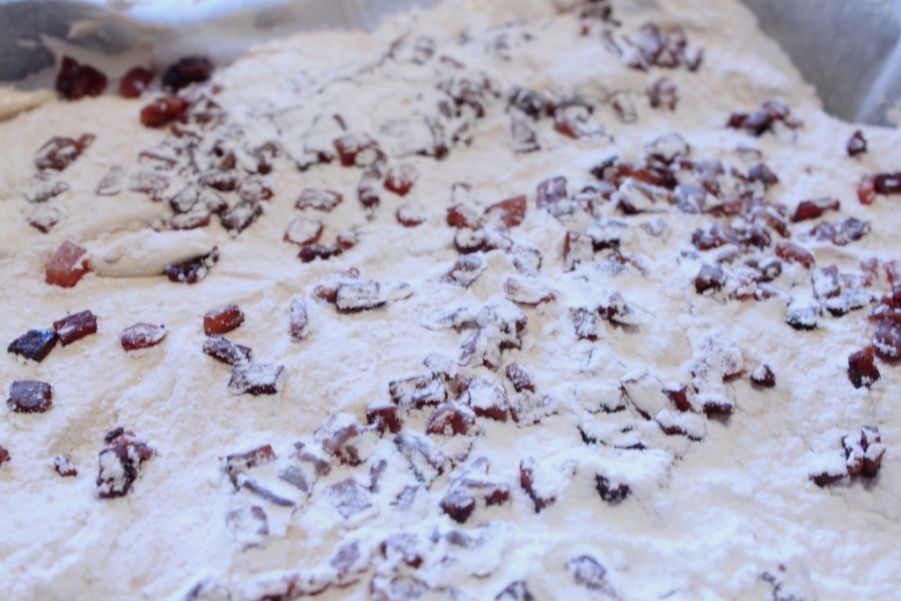
Pour the mix into the lined pan and use a spatula to smooth the top. I sprayed oil on the spatula to help it not stick. Sprinkle candied ginger on top, then dust with the dusting mix generously on top. Set aside to set, it’ll take around 4 hours.

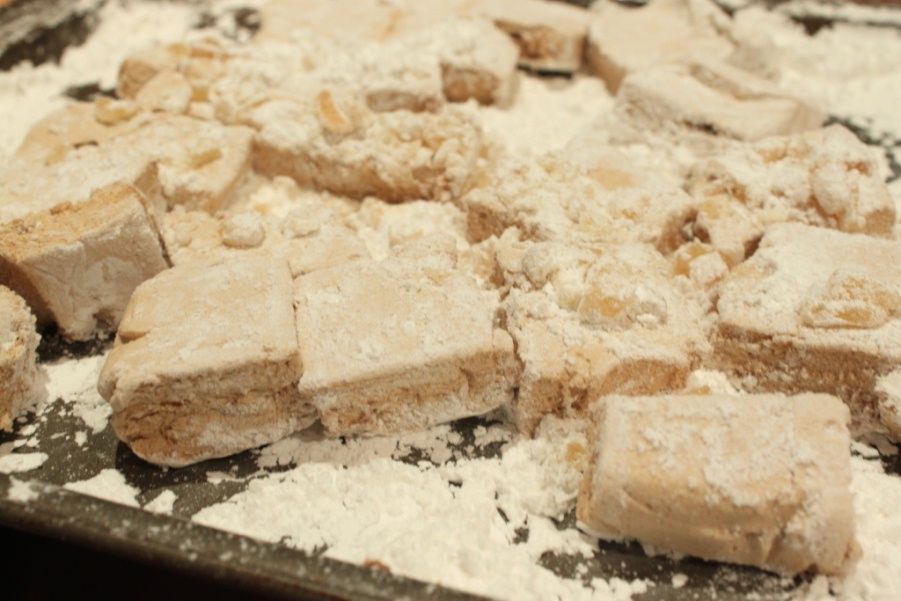
In a baking try, dust a layer of dusting mix, invert the tray and tip out the marshmallow onto it. Cut up the marshmallows and dust all exposed sides. Shake off the excess and store in airtight containers in a cool dark place. Should last around 3 weeks. If you live in a humid area (such as Perth where it’s April and still 35C), store in the fridge.
Pumpkin and Maple
Liquid Mix
½ cup pureed pumpkin
2 tbsp water
½ tsp ground cinnamon
pinch nutmeg
23g gelatin

Sugar Mix
1 cup white sugar
½ cup dark brown sugar
150mL maple syrup
½ cup water

Dusting mix
3 rashers bacon
1 tbsp maple syrup

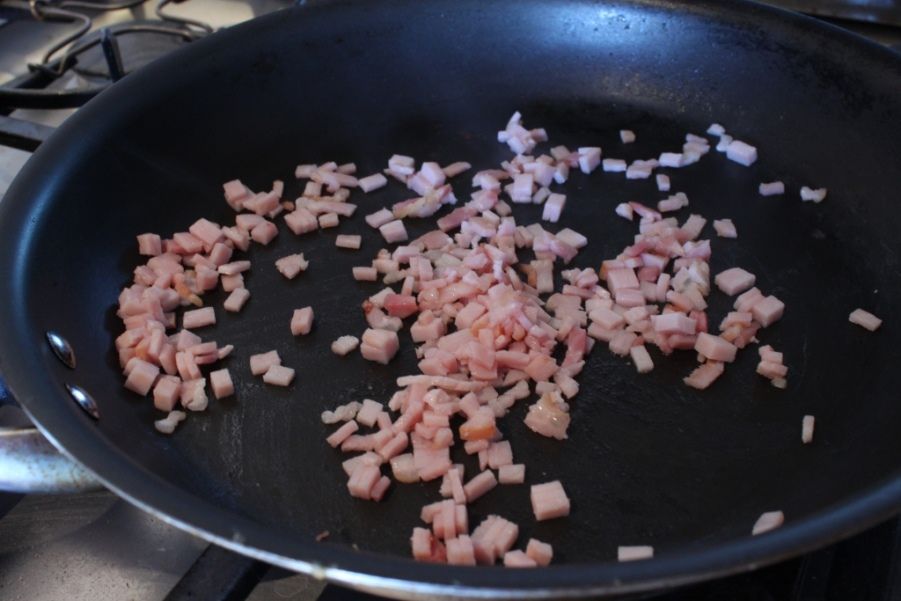
Finely dice the bacon then fry until crispy in a pan. Pour off excess oil, then add a tbsp maple syrup and cook for a further 3 minutes. Set aside to cool, spreading out on a plate to prevent it from sticking too much.

Line a lamington tray or baking dish with baking paper or cling film. Make it big enough to overhang on all sides. Spray with oil to prevent sticking.

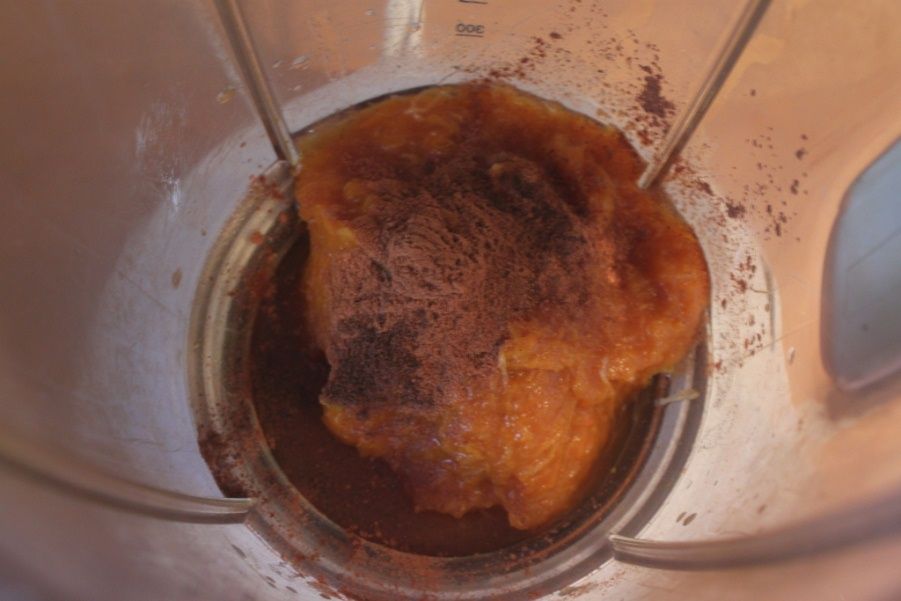
In your standmixer bowl, put the pumpkin puree, 2 tbsp water and spices. Using the whisk attachment, blend for 1 minute until well combined. Sprinkle the gelatin over the top. Leave to stand.

In a medium saucepan with tallish sides to cope with the bubbling, combine the maple syrup, sugars and ½ cup of water. Cook over a medium heat and stir gently to dissolve the sugar. Raise the heat and boil until it reaches 130C on your candy thermometer. Keep it moving by swirling the handle, but don’t stir. When it reaches 130C, remove from the heat.

Attach the whisk to your standmixer and turn on low, mix the gelatin mixture for 1 minute, then turn the mixer up a bit faster and slowly drizzle the hot sugar mix down the side of the bowl with the mixer still going. Don’t let it touch the whisk. Increase the speed to medium/high and leave it to whisk until the mixture is pale and fluffy and looks like really sticky meringue. This will take at least 5 minutes. As it whisks, it’ll have bubblegum looking strands pull away.

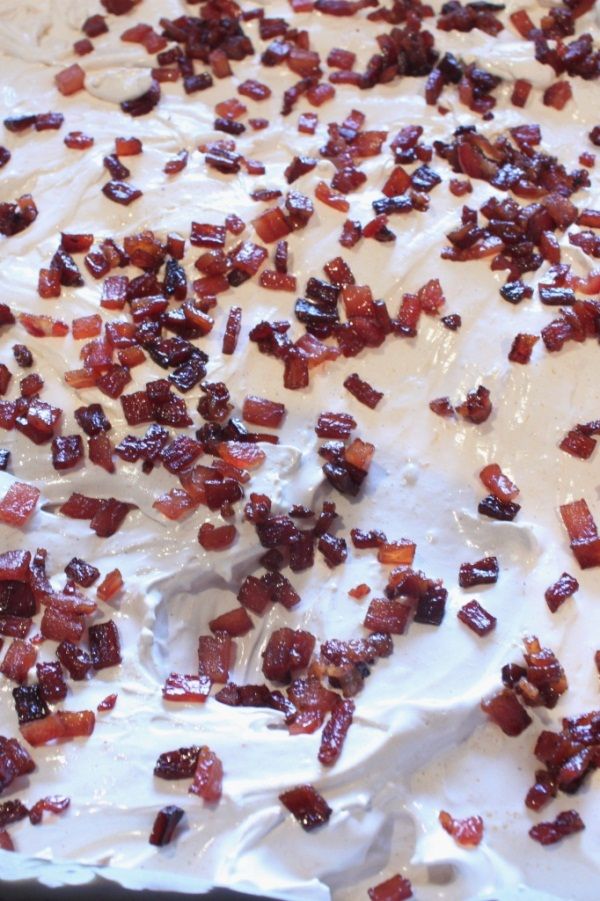
Pour the mix into the lined pan and use a spatula to smooth the top. I sprayed oil on the spatula to help it not stick. Sprinkle candied bacon on top, then dust with the dusting mix generously on top. Set aside to set, it’ll take around 4 hours.

In a baking try, dust a layer of dusting mix, invert the tray and tip out the marshmallow onto it. Cut up the marshmallows and dust all exposed sides. Shake off the excess and store in airtight containers in a cool dark place. Should last around 3 weeks. If you live in a humid area (such as Perth where it’s April and still 35C), store in the fridge.


Rum and Raisin Marshmallows
Liquid Mix
½ cup water
2 tsp rum essence
1/3 cup raisins
23g gelatin

Sugar Mix
1 ½ cups white sugar
150mL golden syrup
½ cup water

Dusting powder mix

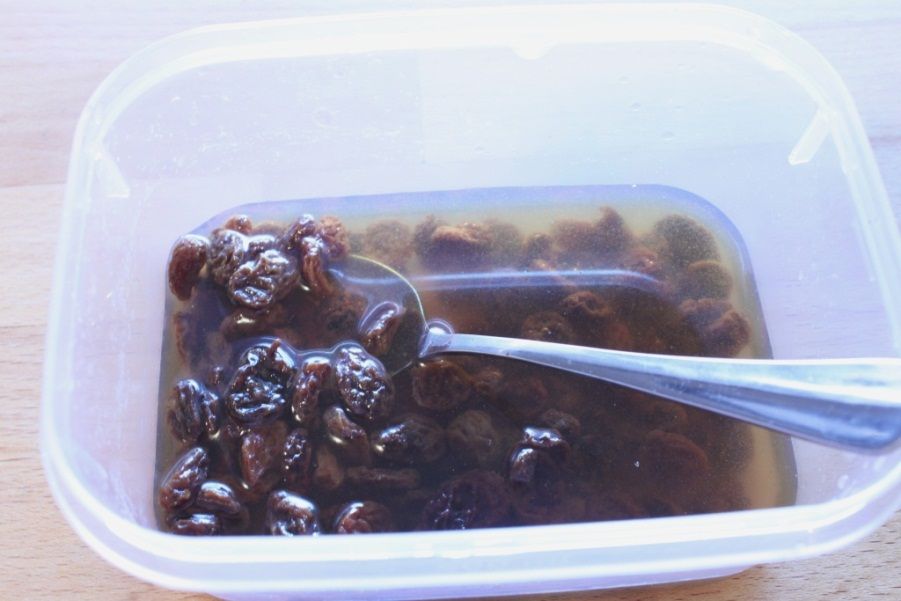
Add the sultanas and rum essence to ½ cup of hot water and leave aside to steep until it’s completely cold. Puree until a combined raisin moosh.

Line a lamington tray or baking dish with baking paper or cling film. Make it big enough to overhang on all sides. Spray with oil to prevent sticking.

In your standmixer bowl, put the cold raisin liquid and sprinkle the gelatin over the top. Leave to stand.

In a medium saucepan with tallish sides to cope with the bubbling, combine the golden syrup, salt, sugar and ½ cup of water. Cook over a medium heat and stir gently to dissolve the sugar. Raise the heat and boil until it reaches 130C on your candy thermometer. Keep it moving by swirling the handle, but don’t stir. When it reaches 130C, remove from the heat.

Attach the whisk to your standmixer and turn on low, mix the gelatin mixture for 1 minute, then turn the mixer up a bit faster and slowly drizzle the hot sugar mix down the side of the bowl with the mixer still going. Don’t let it touch the whisk. Increase the speed to medium/high and leave it to whisk until the mixture is pale and fluffy and looks like really sticky meringue. This will take at least 5 minutes. As it whisks, it’ll have bubblegum looking strands pull away.

Pour the mix into the lined pan and use a spatula to smooth the top. I sprayed oil on the spatula to help it not stick. Sprinkle candied ginger on top, then dust with the dusting mix generously on top. Set aside to set, it’ll take around 4 hours.

In a baking try, dust a layer of dusting mix, invert the tray and tip out the marshmallow onto it. Cut up the marshmallows and dust all exposed sides. Shake off the excess and store in airtight containers in a cool dark place. Should last around 3 weeks. If you live in a humid area (such as Perth where it’s April and still 35C), store in the fridge.


Tuesday, February 25, 2014

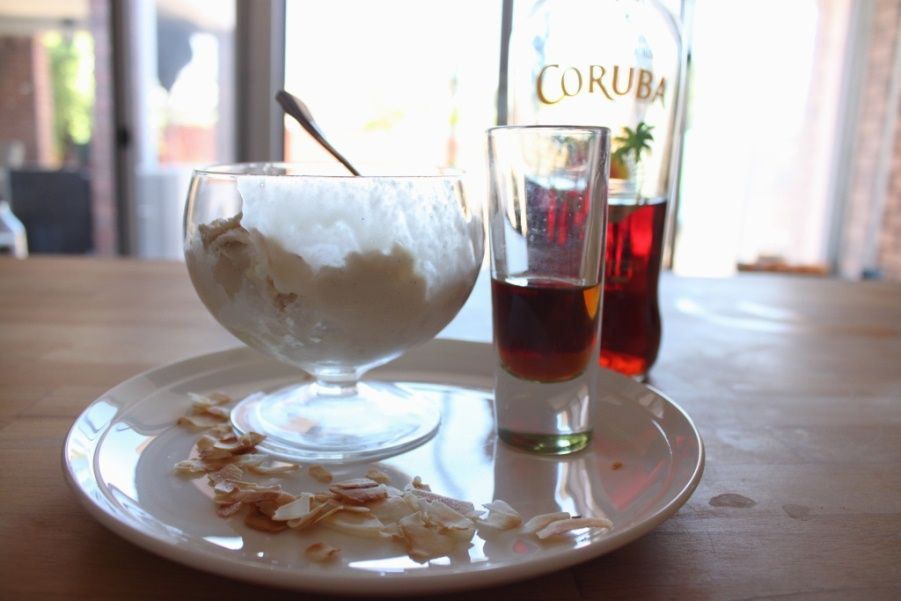
The Lost Ice Cream - Vegan Pina Colada Ice Cream


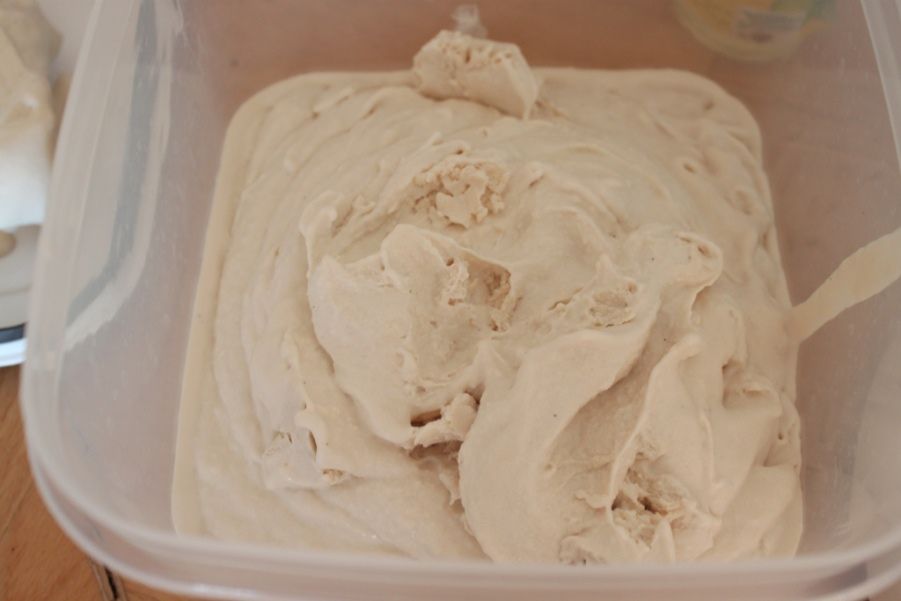
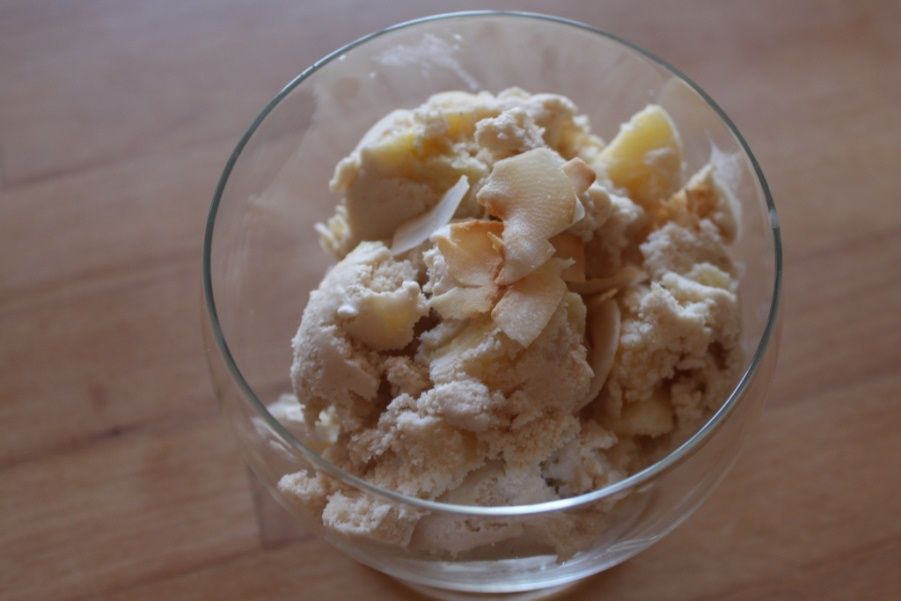
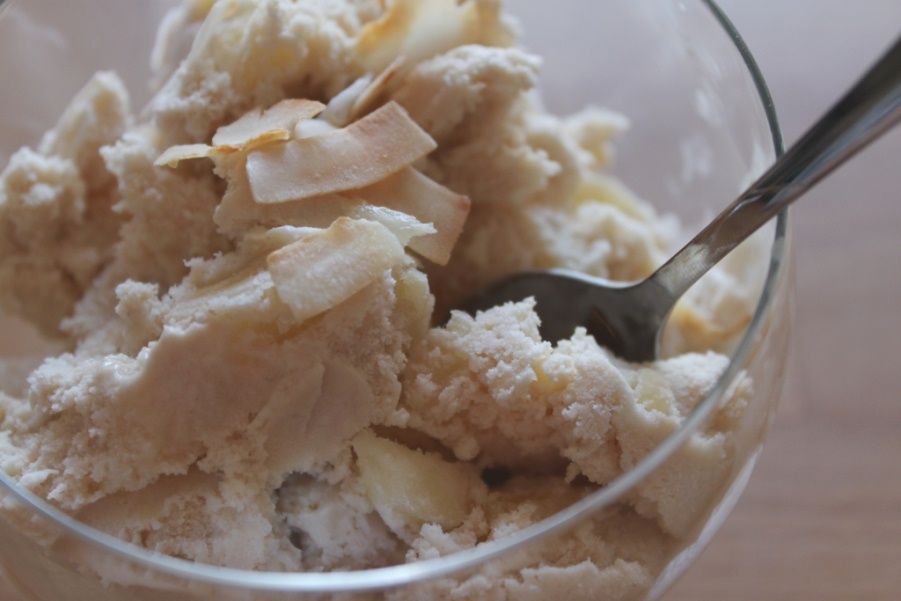
I was going through my various food photos and I discovered I'd missed a post! So, completely coincidentally, I am now posting two vegan recipes in a row. Given that it is still definitely summer in Perth, it's not too late for another ice cream recipe. This is a coconut ice cream, with pineapple added to make it pina colada. That's now two pina colada desserts, one for winter, one for summer!
This freezes quite hard if you leave it in the freezer for too long. If it's gone hard, simply pop it in the fridge for about an hour before serving. I have heard that arrowroot powder is good for preventing overhardening, but I haven't tried it myself. Maybe next time. Likewise, adding the rum to the ice cream mixture would help - but i quite like it drizzled over the top. Feels that little bit more naughty and decadent!


Vegan Pina Colada Ice Cream
440g tin pineapple pieces in juice, separated into fruit/juice
½ tsp vanilla paste
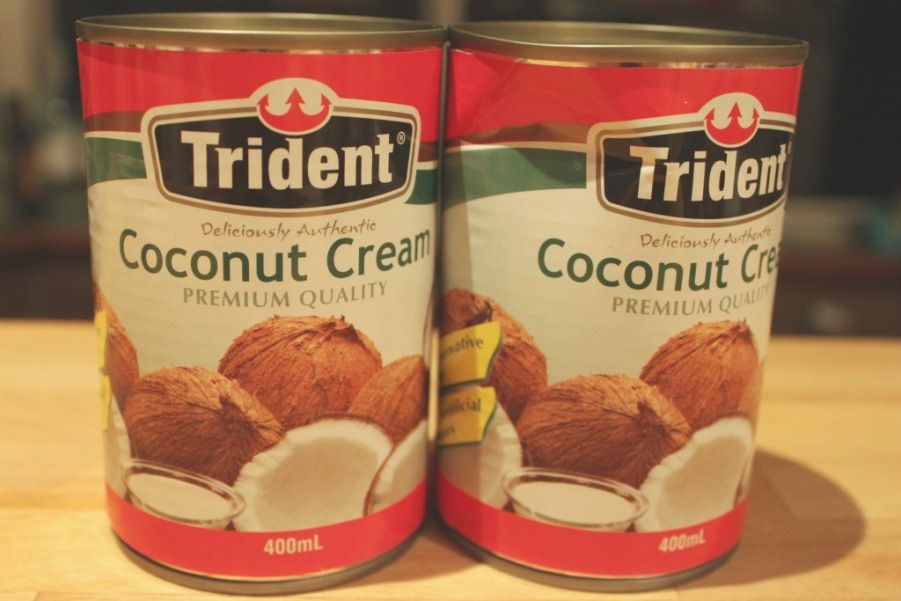
2x 400ml tins coconut cream
1/3 cup dark brown sugar
To serve
toasted coconut
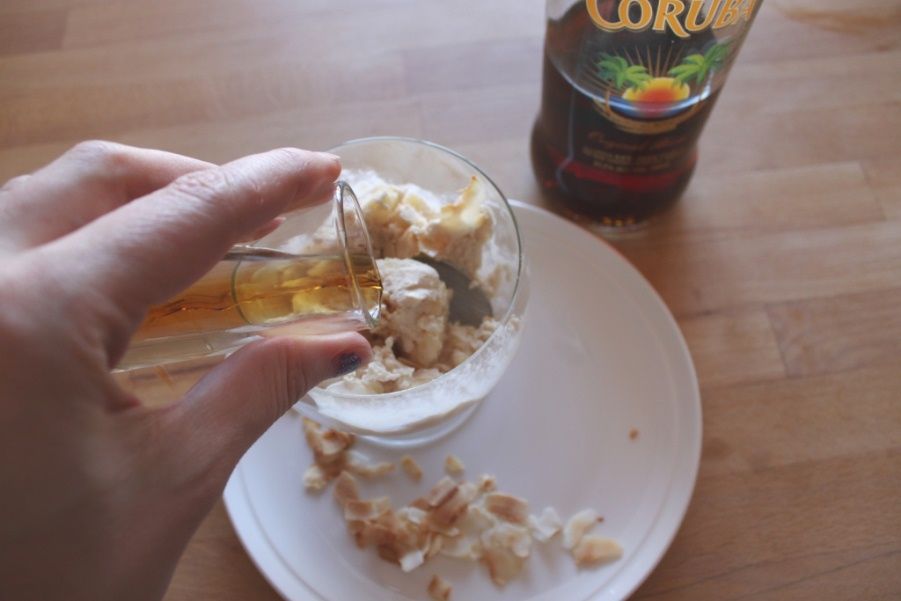
dark rum

 
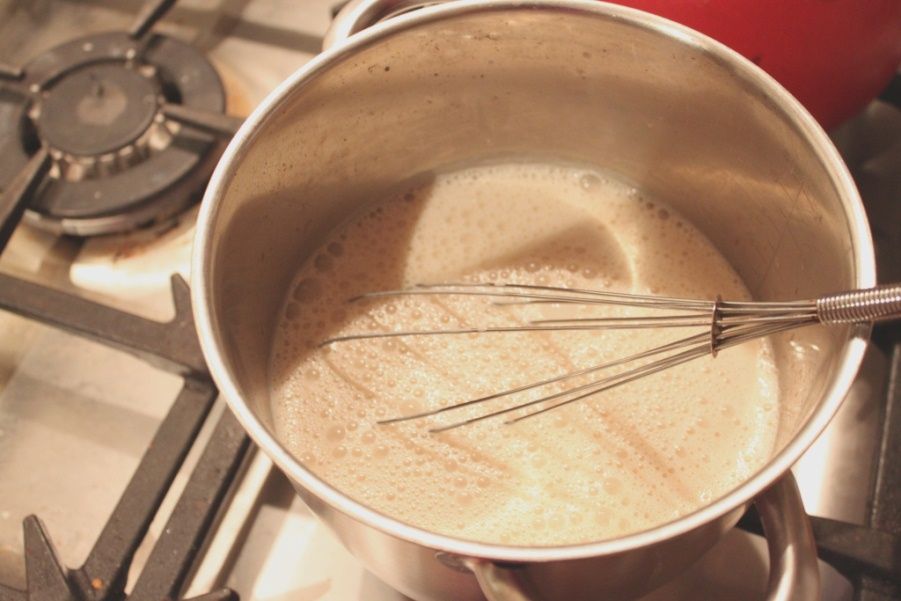
Puree half the pineapple pieces in a food processor. Put pineapple juice, puree and dark brown sugar and vanilla into a medium saucepan and heat to medium, bubble it away on a simmer until it reduces by half and becomes syrupy. Add the coconut cream and whisk to combine. Whisk and heat on a gentle simmer for 10 minutes to infuse. Pour into a glass bowl, cover with plastic wrap pressed to the surface to stop a skin forming and refrigerate until completely cold. Overnight is good.

 
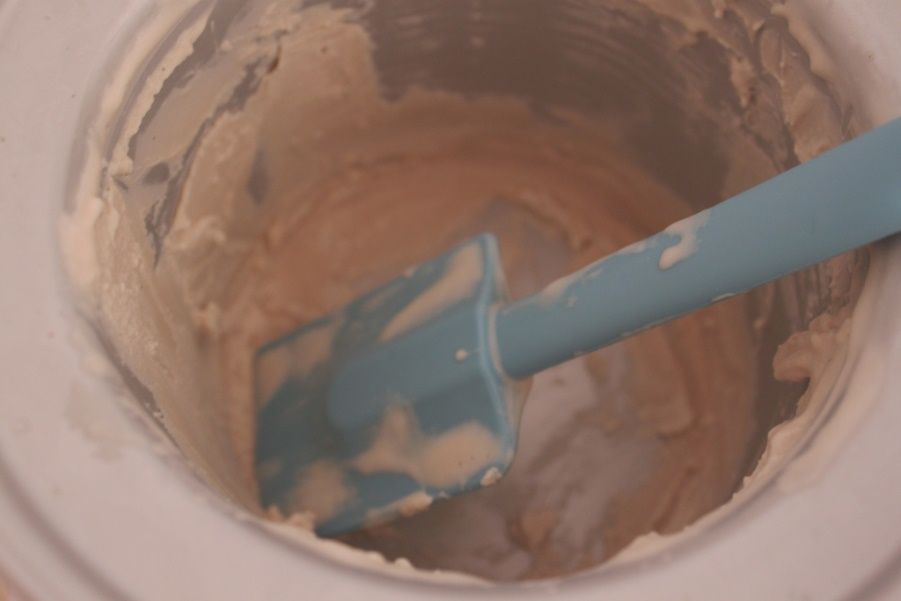
Churn according to your ice cream makers instructions. Transfer to a sealed container and freeze to harden a further 2 hours or so before serving. Serve with leftover pineapple pieces, a shot of dark rum and some toasted coconut!