Showing posts with label entertaining. Show all posts

Thursday, September 10, 2015

Entertaining with the Skamp - Wine Tasting Party


Entertaining with the Skamp - Wine Tasting Party


As you may have gathered from the plethora of recipes that use it, or tales of my trips down to the Margaret River region, I’m a big fan of wine. Like most people, I started on sweet white wines before my palate developed and now I’m a solid red drinker, with forays back into white and rose usually weather dependent. (I loved seeing the hashtag #summerwater as a reference to rose over the Northern Summer. Such a cute name!) And whilst I really enjoy my wine, and I’ve reached a point where although I am fussy about drinking bad wines…I’m certainly no expert. So when Lance and I decided to host some wine tasting parties, I knew it would have to be a little bit different to the usual.
My first experience with wine tasting events was as a white wine only drinker in my early 20s. There was a group at my workplace who met after work once every few months with a wine seller who would bring wines to taste and snacks to eat and we’d sample away. The more experienced wine drinkers of the group would discuss all of the technical aspects of the wine – the tannins, the length, the flavours. The two of us youngens would discuss the wine in terms of how we’d drink it. This red feels like you’d be wearing a smoking jacket, sitting in front of the fire. This white feels like a summer lunch, flash-fried prawns and crispy greens. And that remains to this day the way that I approach wine tasting at cellar doors, or just generally out and about. That helped broaden my taste in wines and introduced me to the wonders of reds.
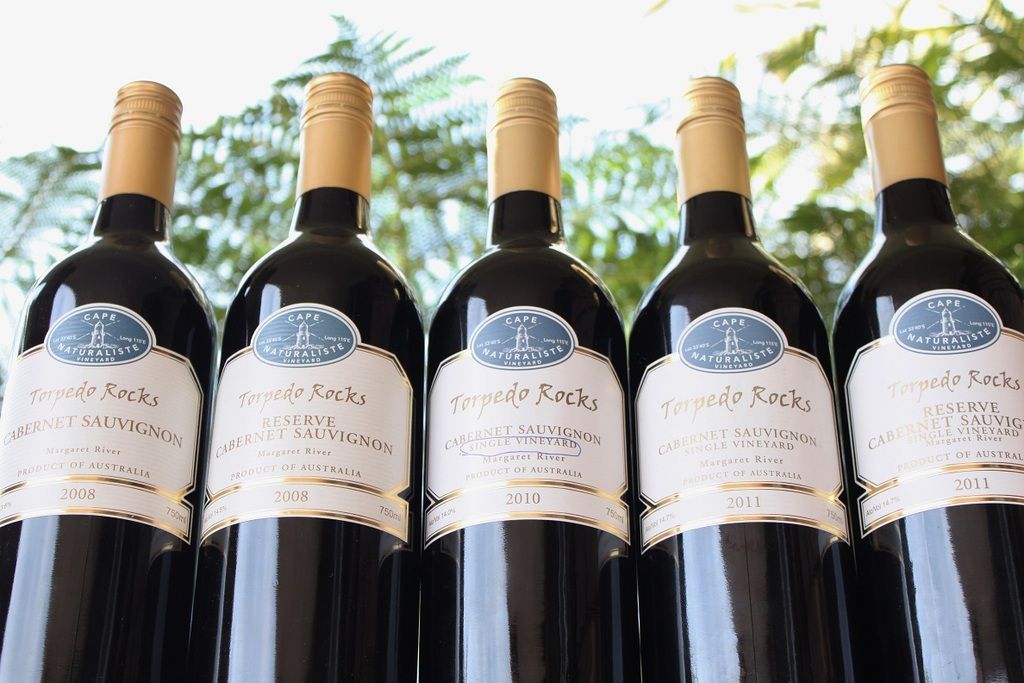
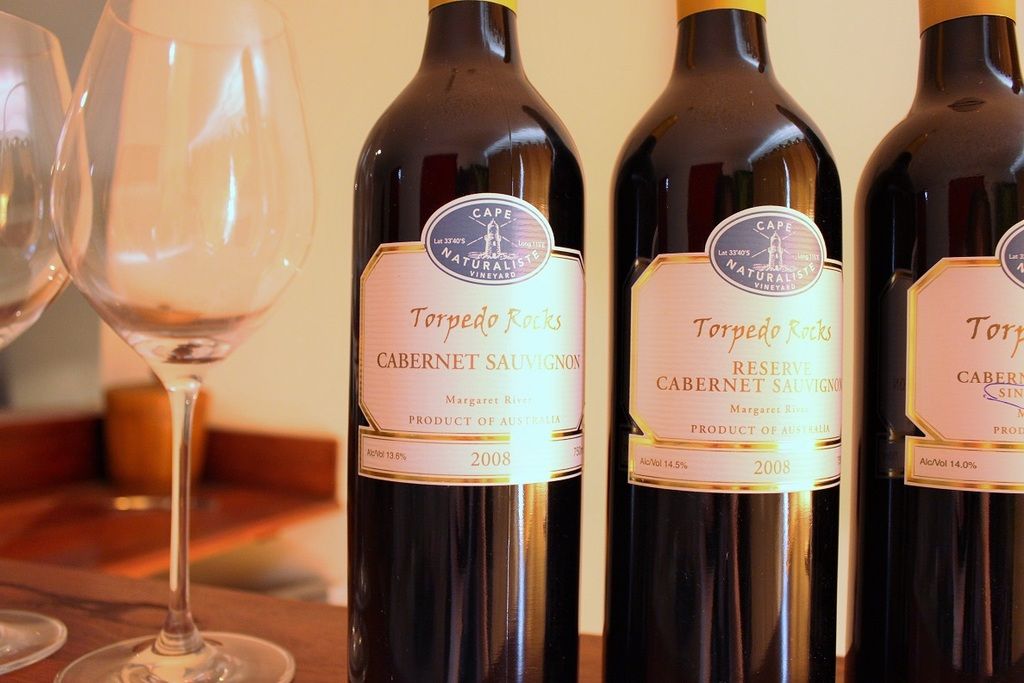
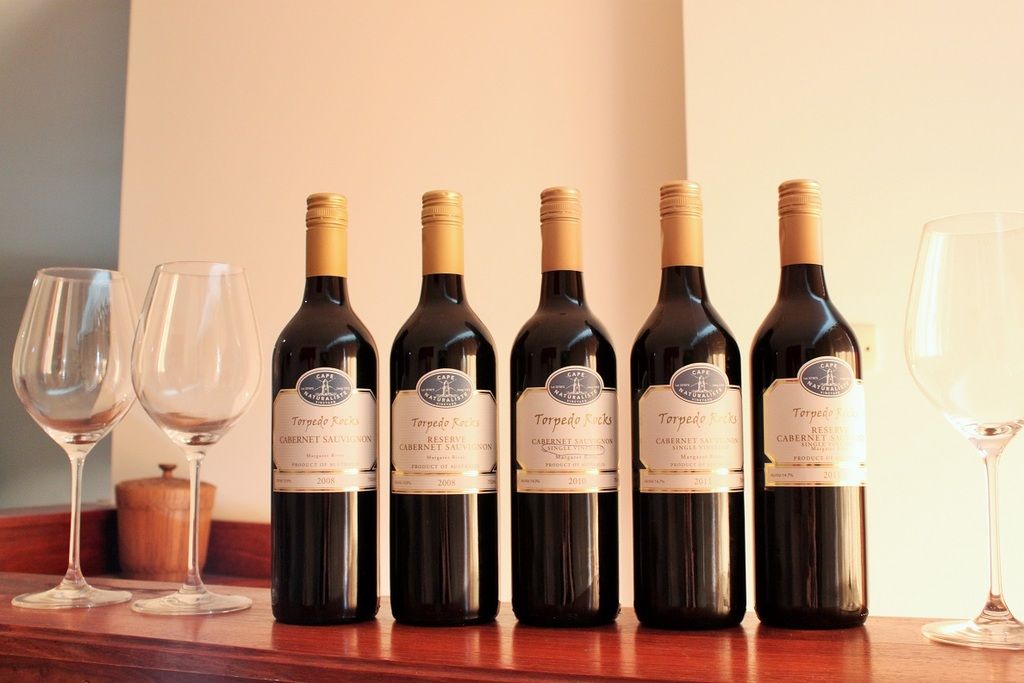
I’ve spoken of my love of Cape Naturaliste Winery before. Many times. One of the wines Lance and I fell in love with and bought on our first trip here (on our honeymoon) was the 2008 Cabernet Sauvignon. We bought (a few of) both the reserve and non-reserve and decided we would drink them side-by-side to compare them. Then have a lovely meal to go with it. So into the “cellar” it went, ready for that special occasion. Then we bought the 2010 Cab Sauv, so that one was going to become part of the tasting. And then we bought the reserve and non-reserve 2011 Cabernet Sauvignon. 5 wines - all the same, but different. That was going to require us enlisting some help to taste and drink! A wine tasting party it was!

Entertaining with the Skamp - Wine Tasting PartyEntertaining with the Skamp - Wine Tasting Party

Entertaining with the Skamp - Wine Tasting Party

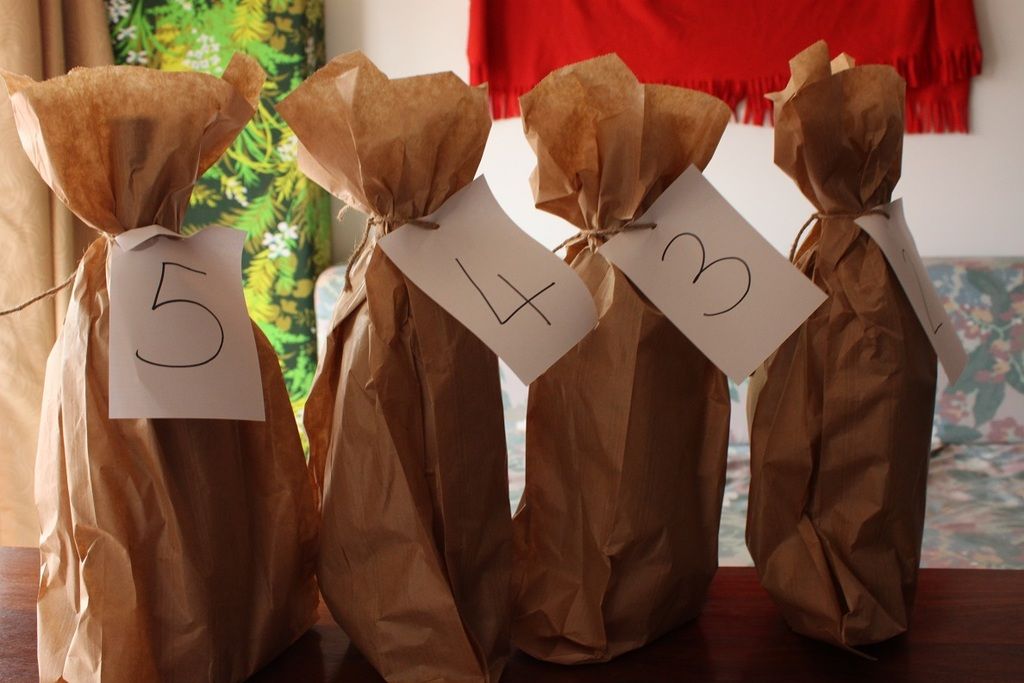
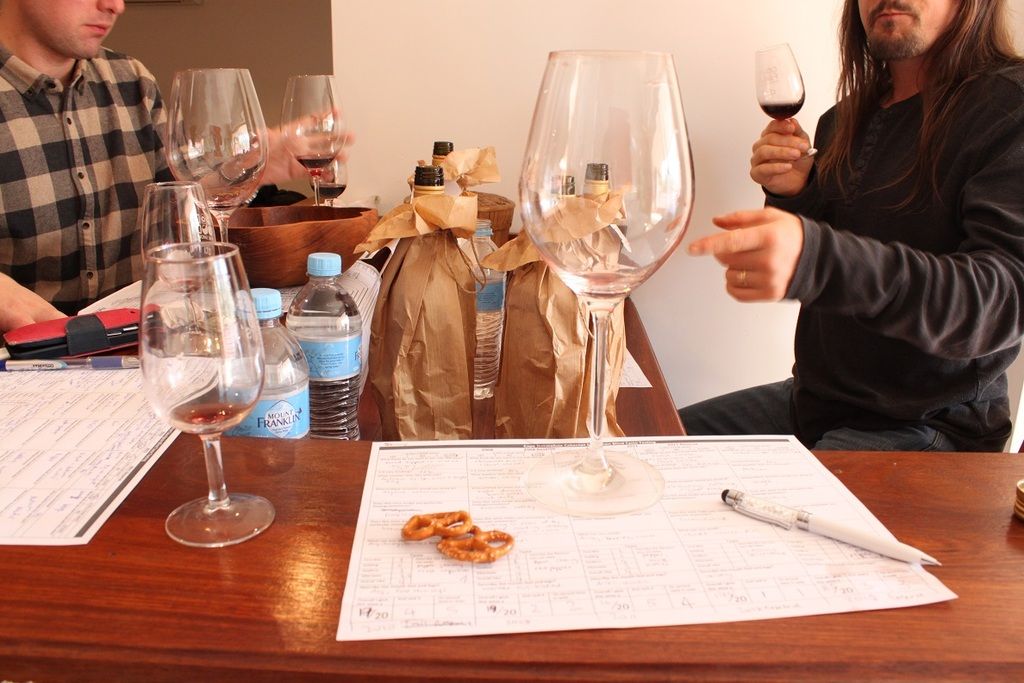
We decided to host it as a blind tasting. We put all of the bottles in brown paper bags and numbered them at random. We’d taste them blindly, making notes and then taste them again, knowing which one was which. We had plain water crackers for cleansing the palate – you don’t want anything with heavy flavours as a snack between wines or it will affect the taste.
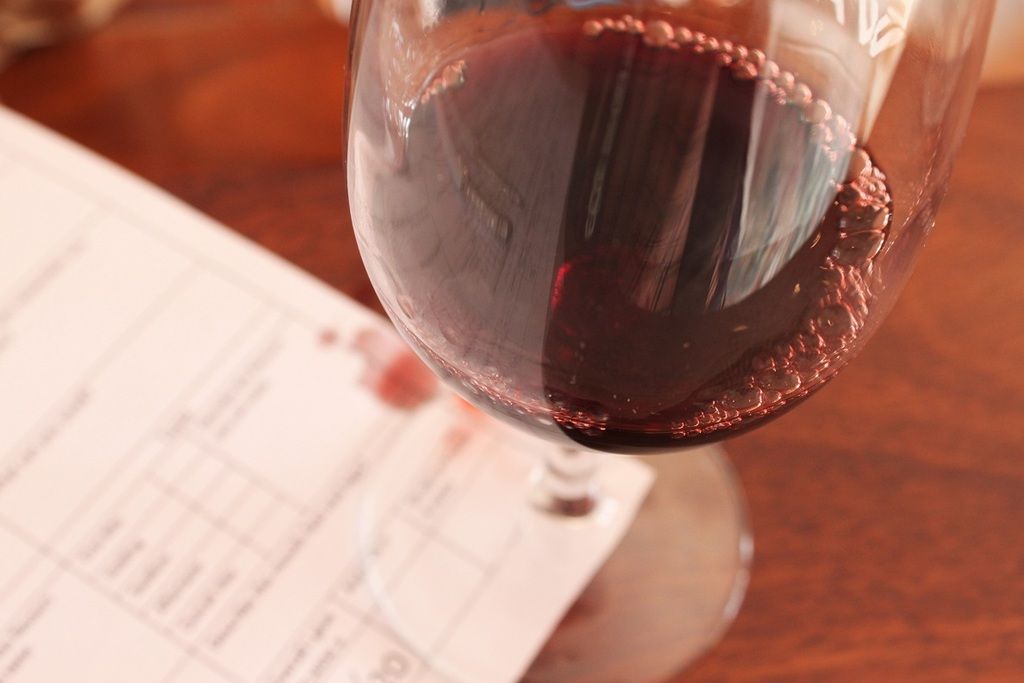
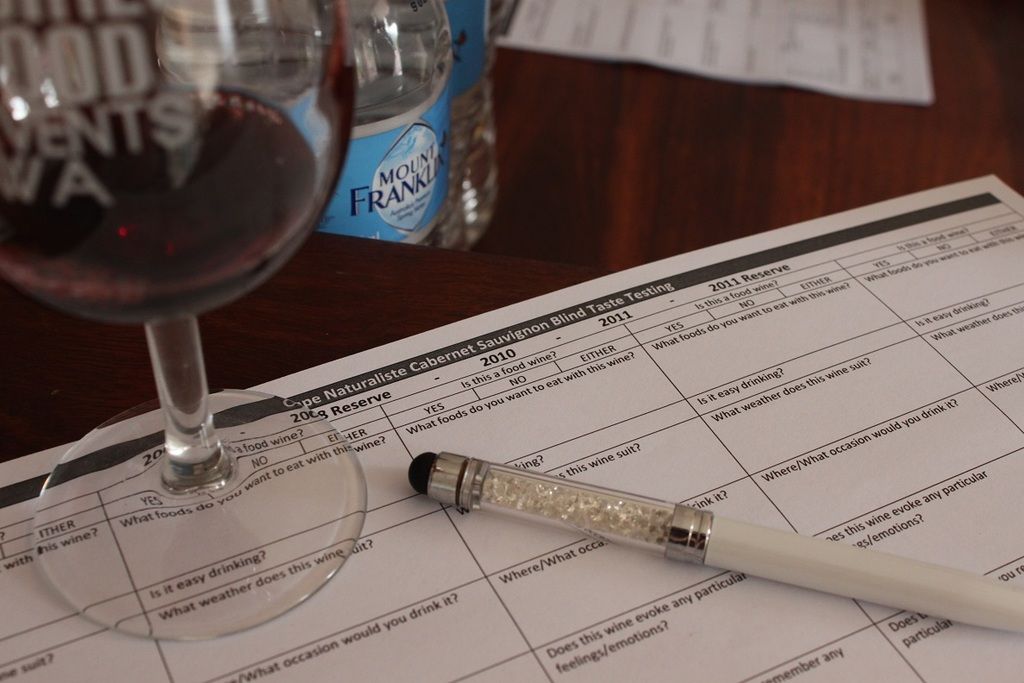
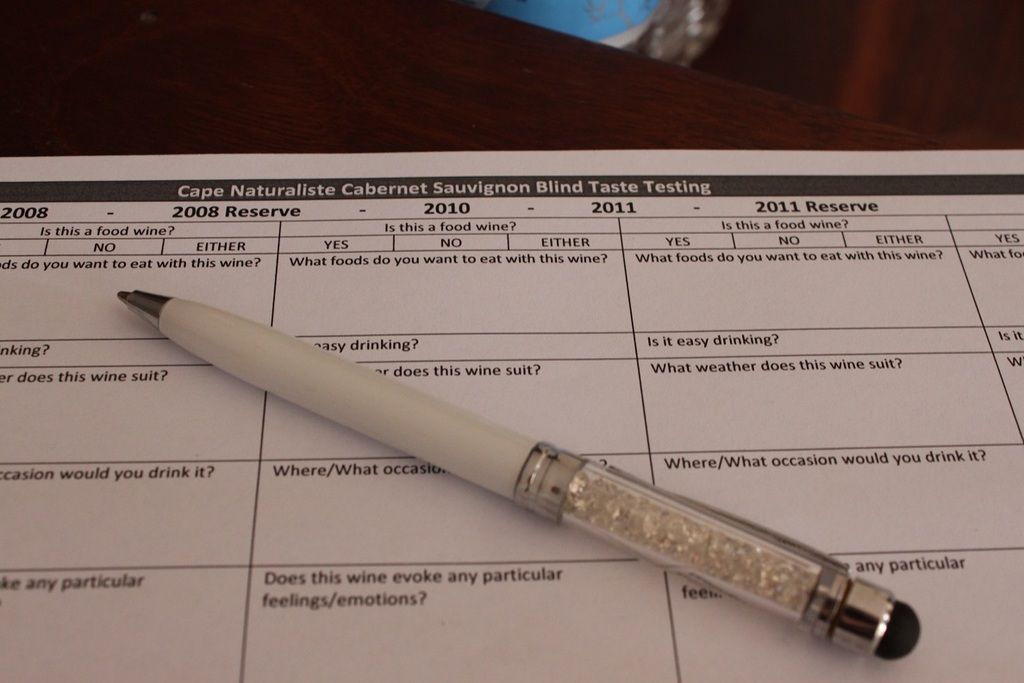
The 5 of us at the tasting were all seasoned Cape Naturaliste drinkers – we often take a little picnic and have a glass or two on Jen’s balcony watching the vineyard – but none of us are wine experts. So the tasting notes page Lance and I designed looked a little different. We had the usual spaces for the flavours and smells we could discern. We even printed out a little sheet with terms that might spurn on ideas. We had a little space for the mouthfeel. Lance suggested we had a place for a breakdown of the drinking process. What was the “first bite”, when you held it in your mouth, what it was like to swallow, the aftertaste. These are all things that we have noted whilst drinking that can greatly vary and influence your overall experience of a wine. But the think that set ours apart was the experiential questions. Is it a food wine? What would you eat with it? What’s the ideal day/occasion for it. Does it evoke any particular memories?

Entertaining with the Skamp - Wine Tasting Party
Entertaining with the Skamp - Wine Tasting PartyEntertaining with the Skamp - Wine Tasting Party


Whilst it might be obvious because of how many shared memories our group had with each other and with wine, I was still surprised at how similar our experiential tasting notes were. One wine we all said would be best drunk on a crisp afternoon down south “Luxury Fishing” (for reference, luxury fishing is everyone with a line in the water in the river, deck-chairs, a cheese platter and some wine while Lance baits our lines and does all the other dirty jobs. I then handfeed him cheese crackers so his baity grossness doesn’t mean he can’t eat). We also all imagined eating with a variation of fresh bread, olive oil and dukkah. And although I was biased because I knew what was coming, it didn’t stop 3 of us thinking that the same wine would go particularly well with sticky ribs.

Entertaining with the Skamp - Wine Tasting Party - HamburgerEntertaining with the Skamp - Wine Tasting Party - Hamburger

We finished up the wine tasting with a DIY Hamburger lunch, then continued listening to music, chatting and finishing off the bottles. Basically just creating more shared wine memories for the next tasting day. Being a hostess-with-the-mostest, in our admittedly “happy” state by the end of the night, I made sure there was a good dinner. There were no photos by that point, but I previously slow-cooked some pork in the cherry ribs sauce (good thing we left the 2011 Reserve til last!!) and re-heated that and served it with some freshly steamed buns and cucumber and radish slices. This is such a good party option as all the hard work is done before-hand. We stood around the kitchen island and assembled them as each batch of buns came out of the steamer.


We've also used the same approach with three 2013 Sauvignon Blancs from the Margaret River region (Cape Naturaliste, Leeuwin Estate and Cullen) and one $5 2013 Sauvignon Blanc from South Australia and the cheap bottle was unquestionably the least liked.


Have you held a wine tasting party? I’d love to hear how you do it, or if you like our approach to it.
Entertaining with the Skamp - Wine Tasting Party

Thursday, July 30, 2015

Christmas in July - Honeycake

Christmas in July - Honeycake

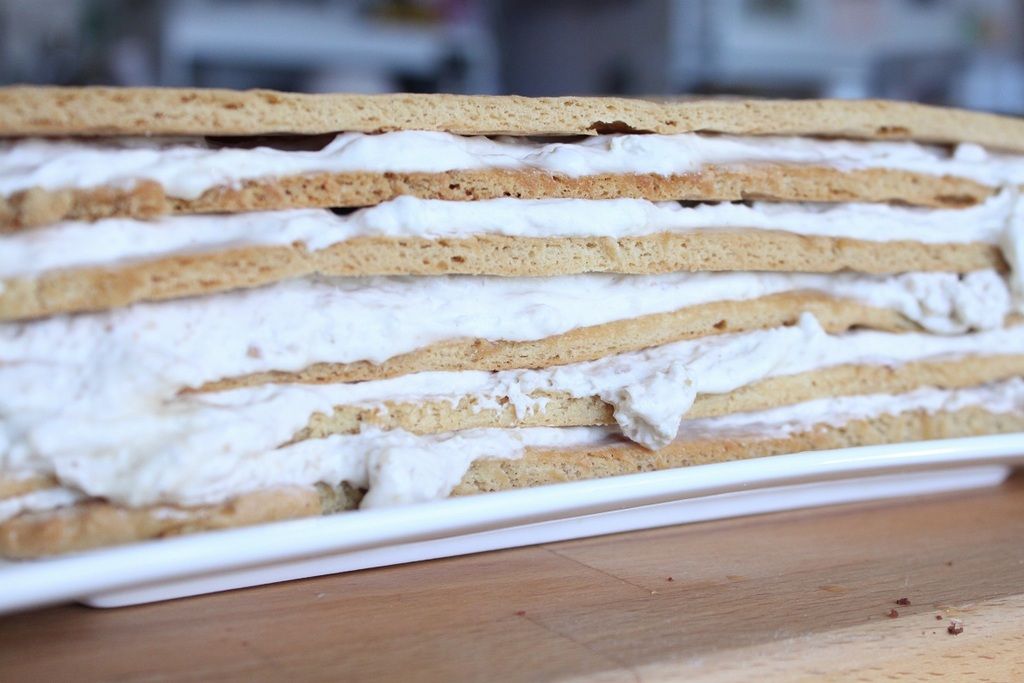
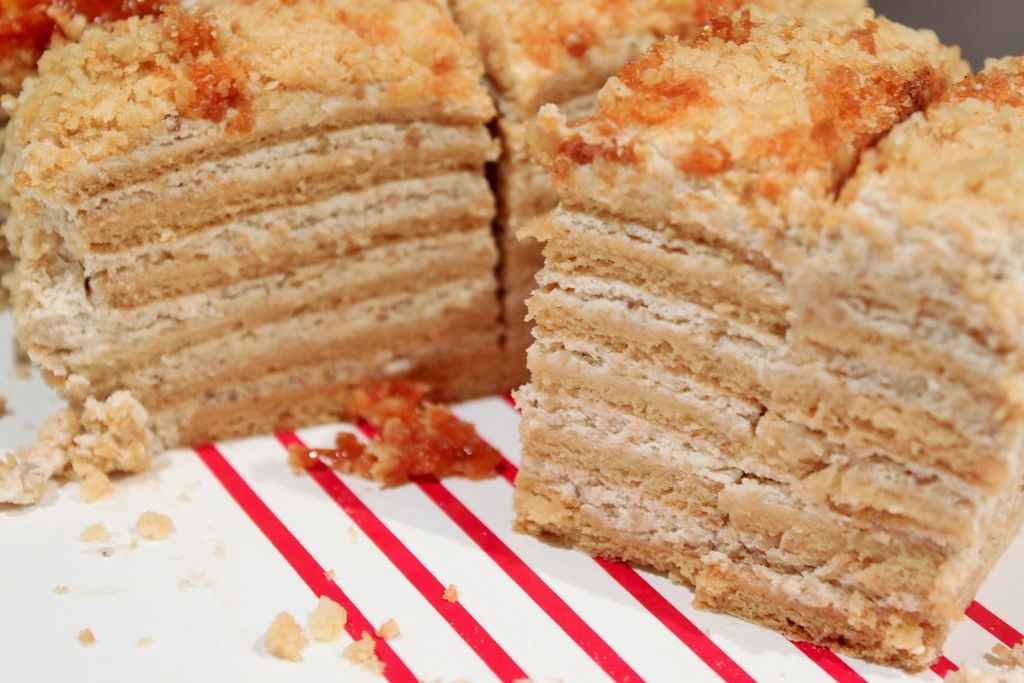
When my brother first started doing Cake Club at his work about three years ago, he talked up this traditional Russian cake that a guy at his work brought in. Honeycake. He said it was lots of layers and one of the best cakes he'd ever had. I googled Russian Honeycake and had a recipe sitting in my "to-try" folder for years. It is a little fiddly, as it's basically a bunch of honey biscuit layers, softened into a more traditional cake texture by a cream filling that soaks into the cake. Before the cream is added, the layers are sort of the texture of gingerbread cookies. Being fiddly, it was pushed to the back of the pile when deciding on what cake to make.

But honeycake started popping up in my Instagram feeds as The Honeycake market stall became more and more popular. People in Perth were becoming obsessed with it. I was tempted to try it at last year's Taste festival, but I'd eaten so much by that point, I knew I wouldn't be doing it justice. Come the Good Food and Wine Festival this year, I finally got my chance. And it was good. Really good. But much more caramelly than I was expecting a Honeycake to taste. Especially as I knew the basic recipe for it.
Enter Google once more for answers! According to The Honeycake folk, they use a traditional Czech Recipe. The recipe I originally sourced was for a traditional Russian cake. So, what's the difference? Essentially, it is the caramel that I wasn't expecting. The Russian cake uses a sweetened sour cream filling. The Czech version uses two fillings, one a caramel cream, one a condensed milk cream. Given I'm less partial to super sweetness, It's still a sweet cake, but the honey is the much more dominant flavour.

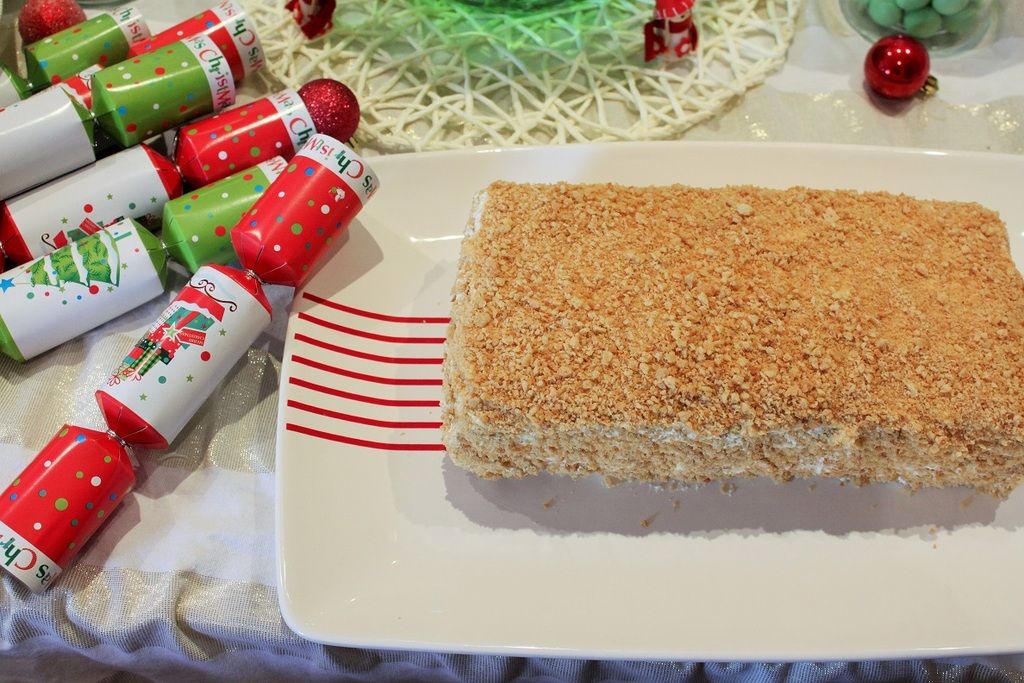
I decided to stick to the original Russian version, with a few tweaks. Being Russian, a lot of recipes use vodka, I decided to switch to rum because I think the spicy flavour profile combines with the honey perfectly. Make sure you use a good dark rum, such as Angostura or Captain Morgan and not Bundaberg. The rest of the recipe is mixed and matched from around 7 different "traditional family recipes", and I think it is perfect. Which makes this now my traditional family recipe. Because I am definitely making this again. It is a little time-consuming, rolling and baking all the layers, but it needs to be made ahead of time for the cream filling to soak into the cake layers and soften them which makes it perfect for parties. And the effort is totally worth it. Definitely one of my favourite cakes ever, too! 
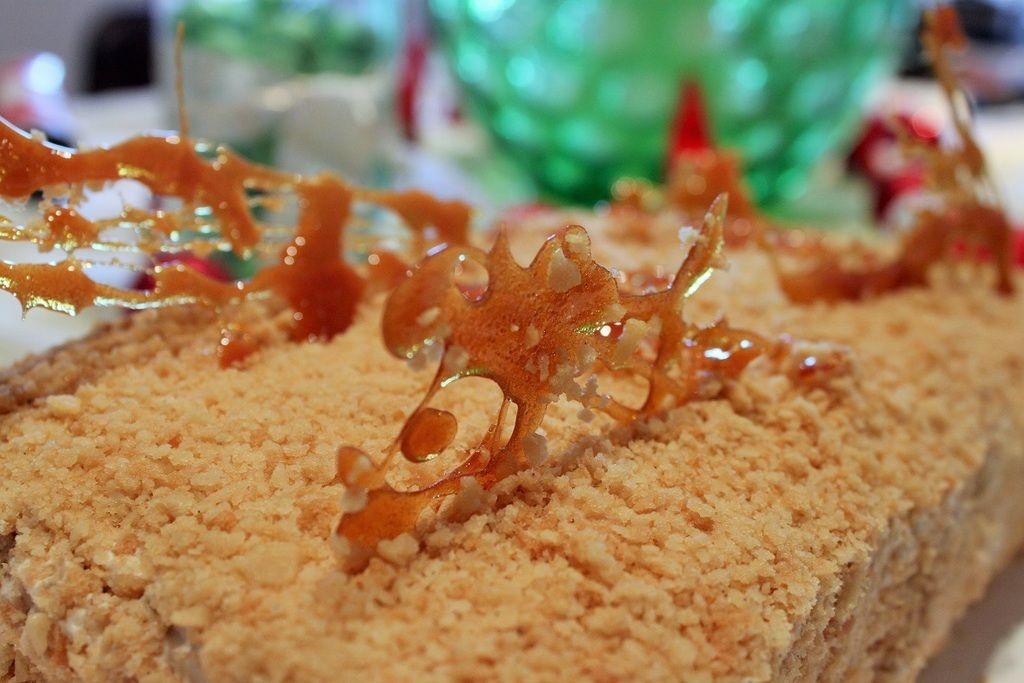
The caramel shards are made by melting together 1/2 cup of sugar with 1 tbsp lemon juice, heated over low temperature until the sugar dissolves, then turns caramel in flavour, drizzled onto baking paper to set into hard shards. Add these just before serving, otherwise they will soften too.

Christmas in July - Honeycake


Honeycake

Cake

75g butter, softened
1 cup sugar
3 tbsp honey
3 eggs
2 tsp vanilla extract
2 tbsp dark rum (optional, but delicious)
1 1/2 tsp baking soda
1/2 tsp salt
3 cups flour

Syrup

3 tbsp honey
3 tbsp water (room temperature or slightly warm)
2 tbsp dark rum (optional, but delicious)

Filling

500g sour cream
1 tbsp honey
1/2 cup icing sugar
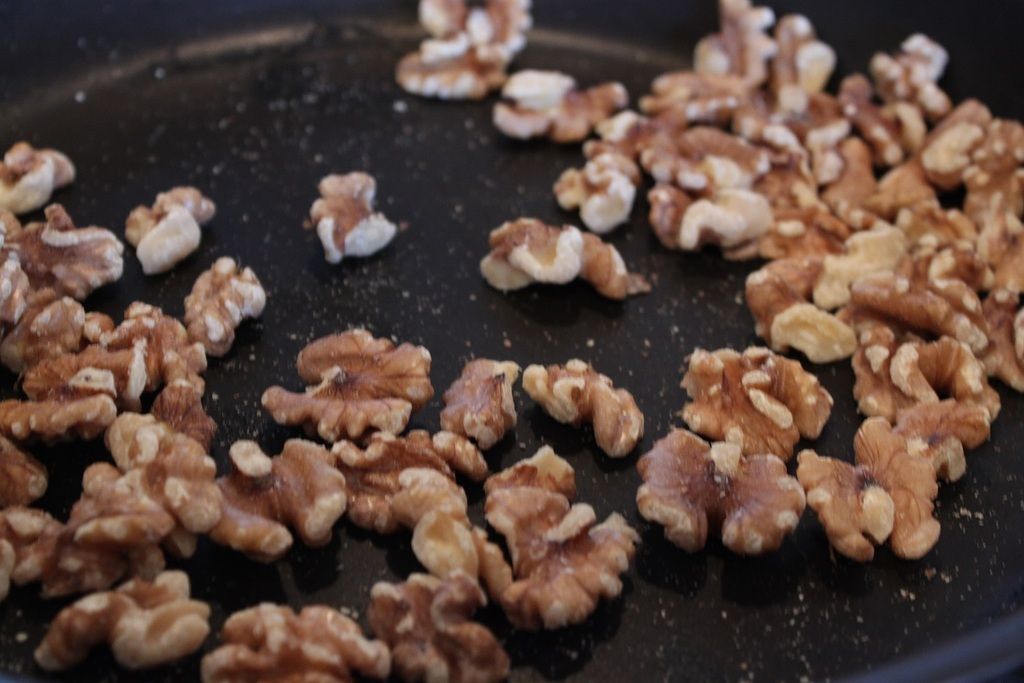
125g walnuts, toasted in a pan and processed until fine

Preheat your oven to 170C

Set up a double boiler situation using a large saucepan of water over a low simmer with a large metal or glass bowl in the top - ensuring the bottom doesn't touch the water.

In a small bowl, whisk together the eggs,and vanilla.

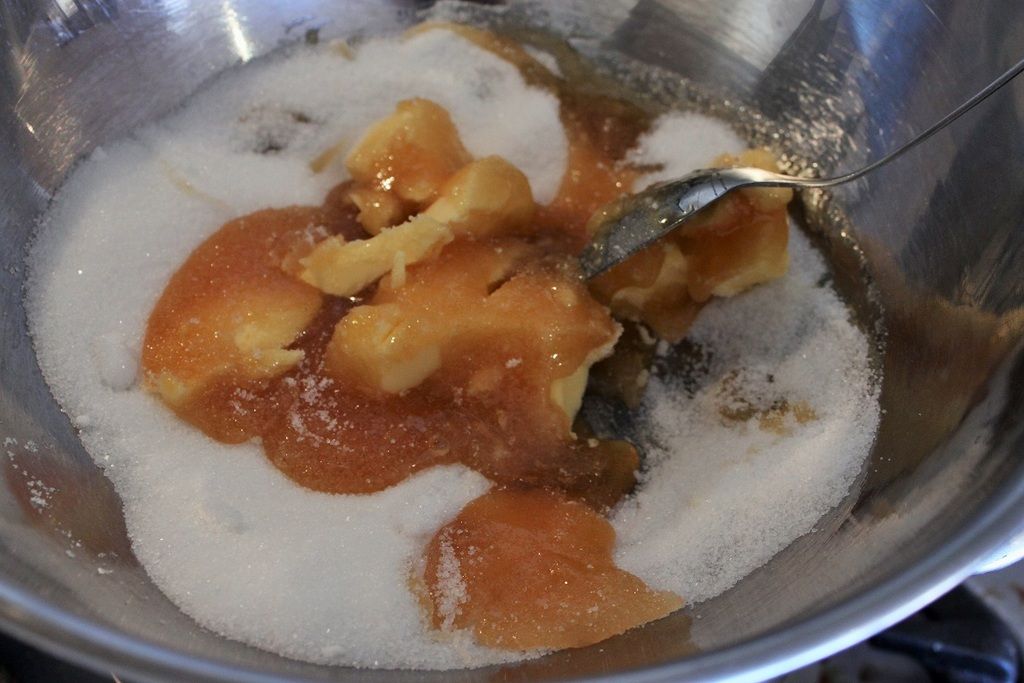
Melt the butter, sugar and honey in the double-boiler. Stir, until the sugar dissolves.Very slowly, add the egg mixture to the butter, whisking as you add it so it incorporates and doesn't scramble. Then whisk in the rum, baking soda and salt.

Switch to a wooden spoon and add about a quarter of the flour, mixing in fully before adding more. It'll turn into a rollable biscuit-type dough and give your mixing arm a good work out. When all of the the flour is added, take the bowl off the heat and allow to cool to room temperature.

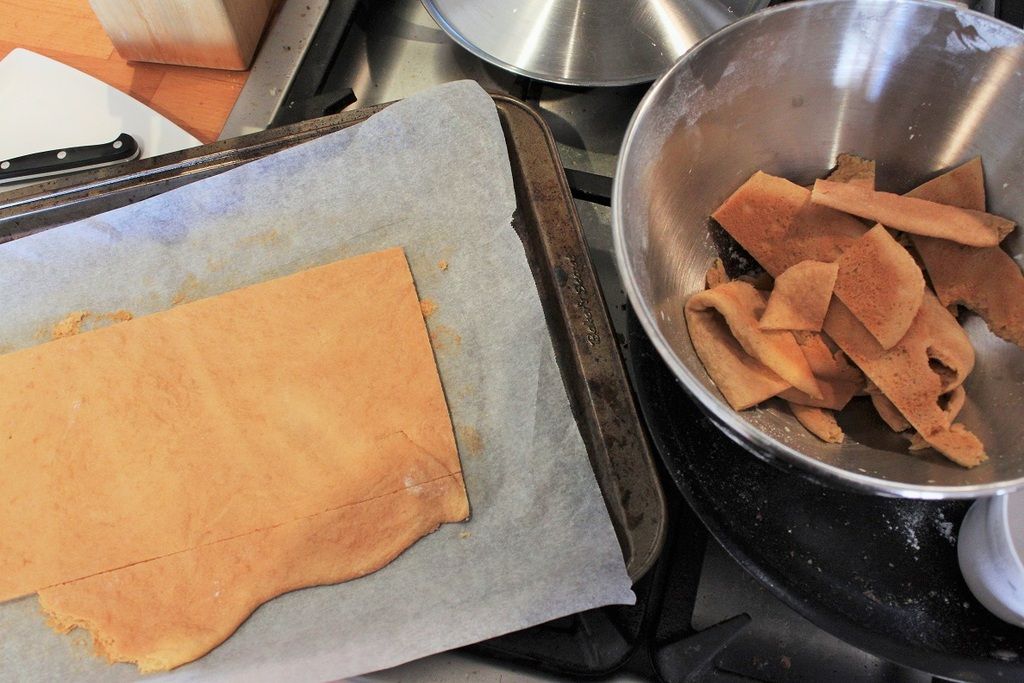
Get together your tools for making the cake. You need to decide what plate you are going to serve it on and then find a plate or cake ring just smaller than that so you cut all of the layers the same size and that it fits on the serving plate. Grab as many baking trays as possible, and line them with baking paper. Divide the dough into 6 equal pieces, covering the ones you aren't working on with a clean tea towel so it doesn't dry out. Roll the dough to 2mm thick and slightly larger than the cutter plate. Bake for around 4-5 minutes or golden, then remove from the oven and cut around the cake layer while it's still warm, then leave to cool and crisp up. Keep the offcuts.

Repeat with the remaining dough pieces.

For the syrup, mix all of the ingredients together with a pastry brush.

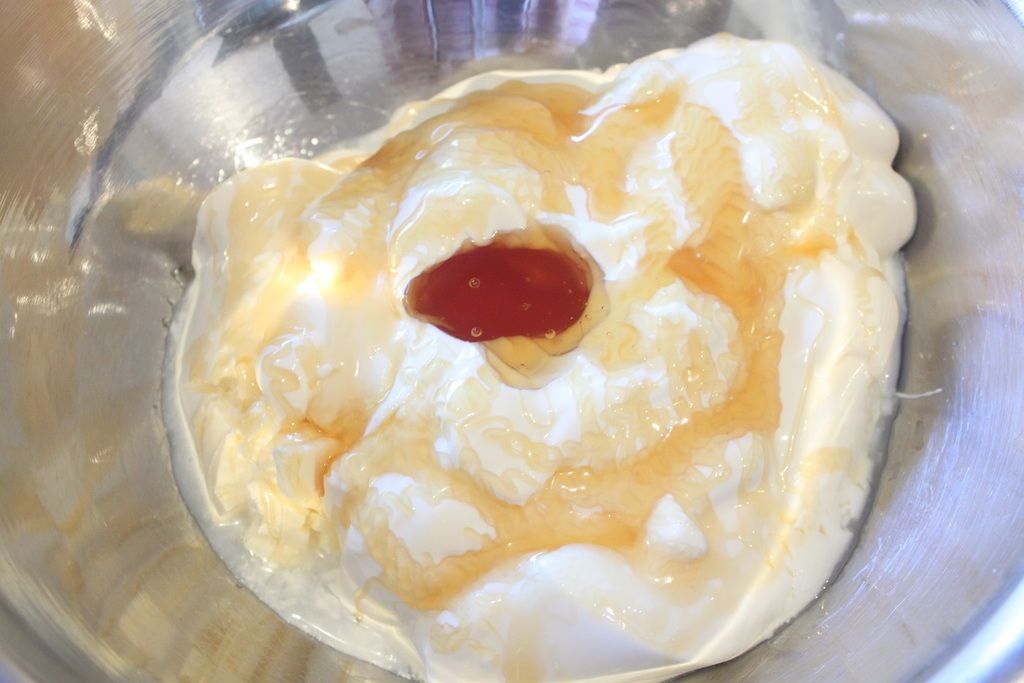
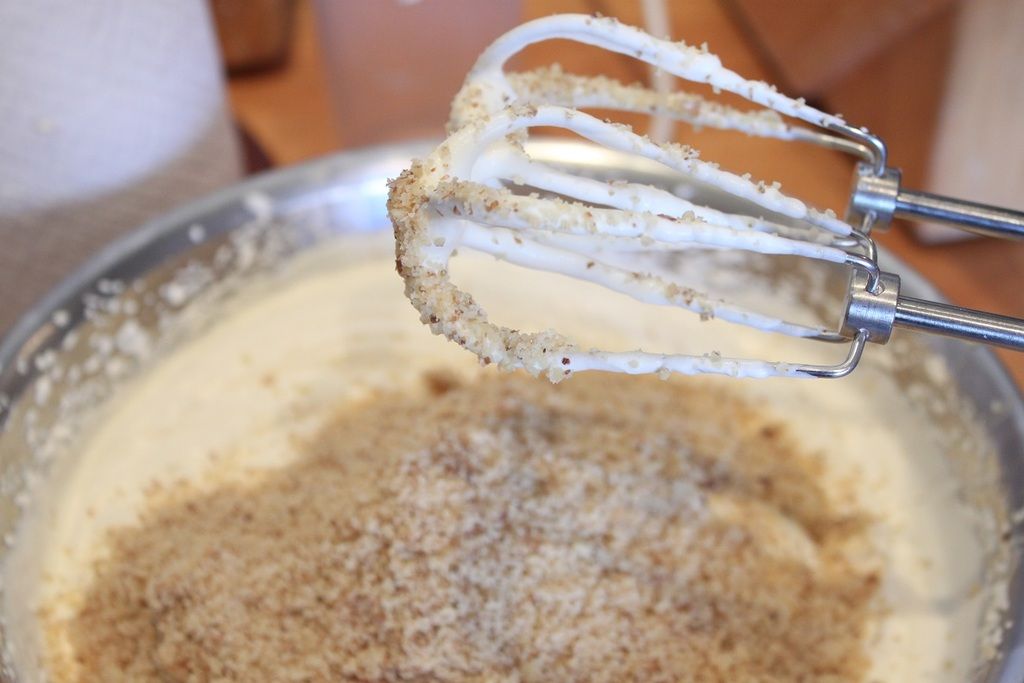
For the filling, whip the sour cream, sugar and honey together with an electric handbeater until soft and fluffy - it fluffs up almost like normal cream. Mix in the toasted crushed walnuts.

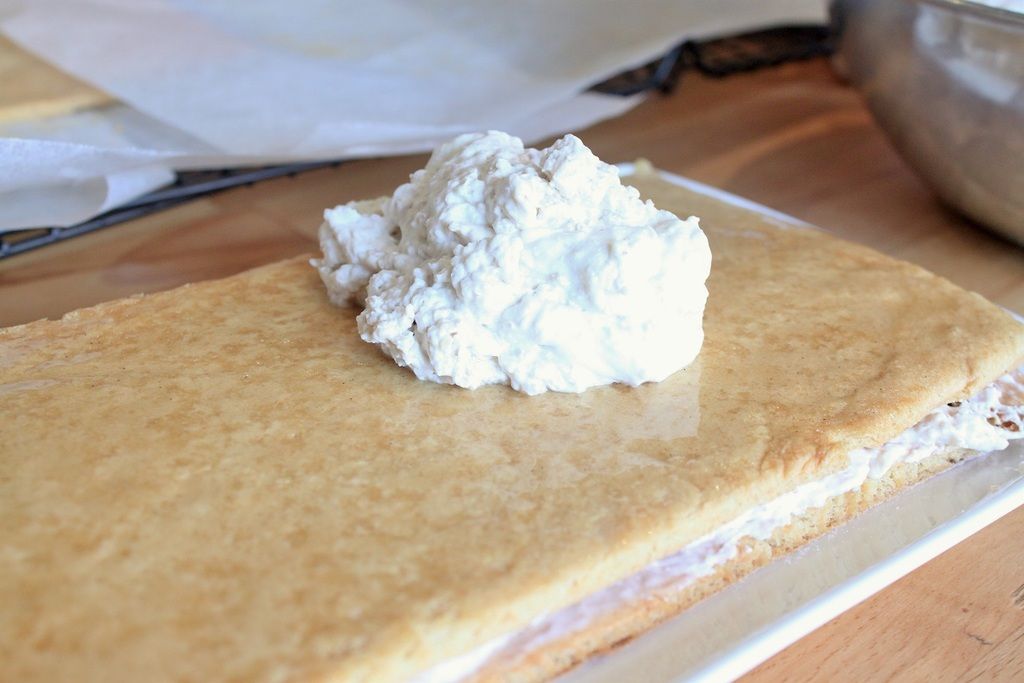
To assemble, place a layer on your serving plate, then brush with the syrup. Top with a few dollops of sour cream filling, spread right to the edges. Repeat the process, then cover the top and sides with the remaining sour cream filling and smooth.

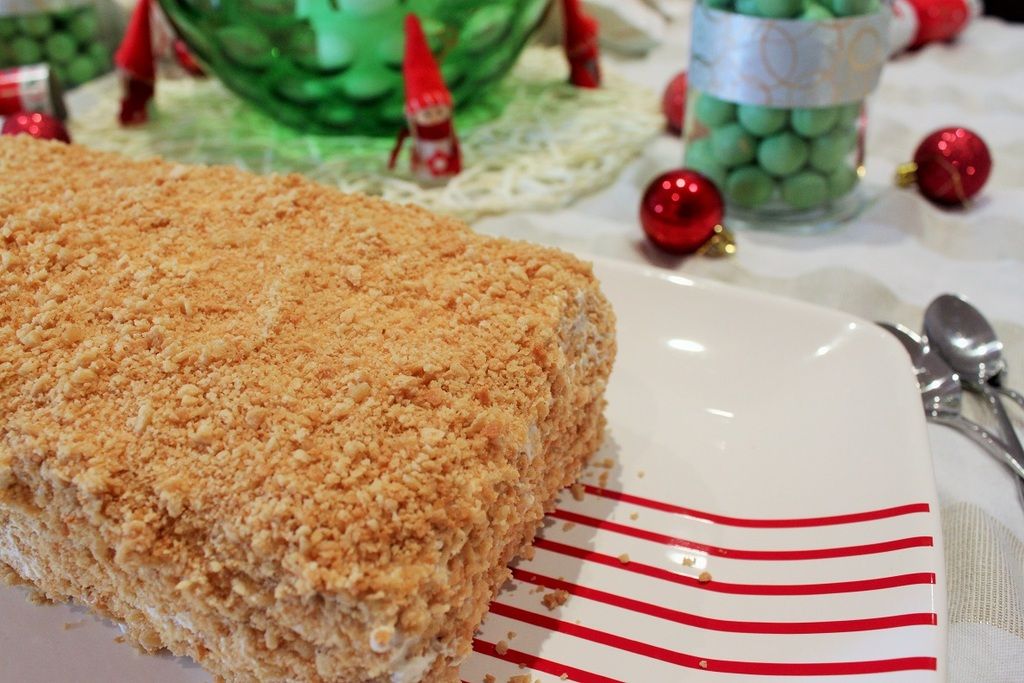
Process the biscuit offcuts into crumbs and gently coat the sour cream layer, pressing in to cover completely. Wrap with plastic and refrigerate at least 4 hours, preferably overnight. Take out of the fridge 30 minutes before serving to take the chill off.

Decorate with caramel shards if desired.

Christmas in July - Honeycake

Christmas in July - Honeycake


Tuesday, July 28, 2015

Christmas in July - Mulled Wine Chocolate Cake

Christmas in July - Mulled Wine Chocolate Cake

Another July come and gone, which means another Christmas in July come and gone! This year has just flown by! And in some exciting news, at Christmas in July whilst there was already bubbles flowing, we also got to toast my new job! I am really happy and can’t wait to start!

Christmas in July - Mulled Wine Chocolate Cake


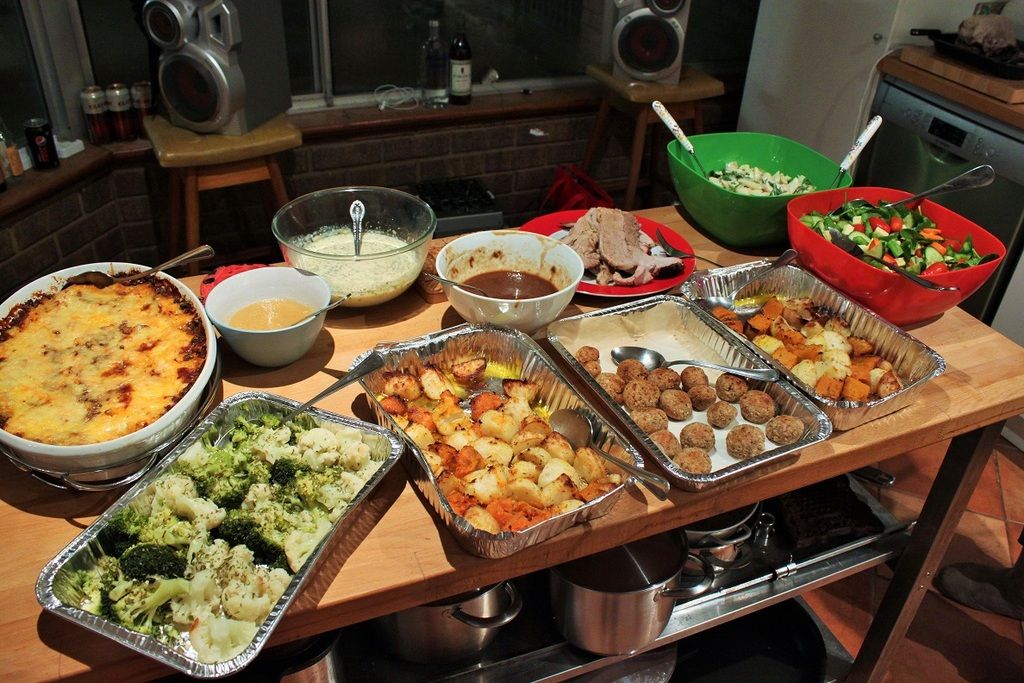
As usual, our Christmas in July is a bring-a-dish affair. Lance smoked a leg of pork and I made two cakes. This was the spread – how good does it look? I can assure you that it tasted even better!

Christmas in July - Mulled Wine Chocolate Cake


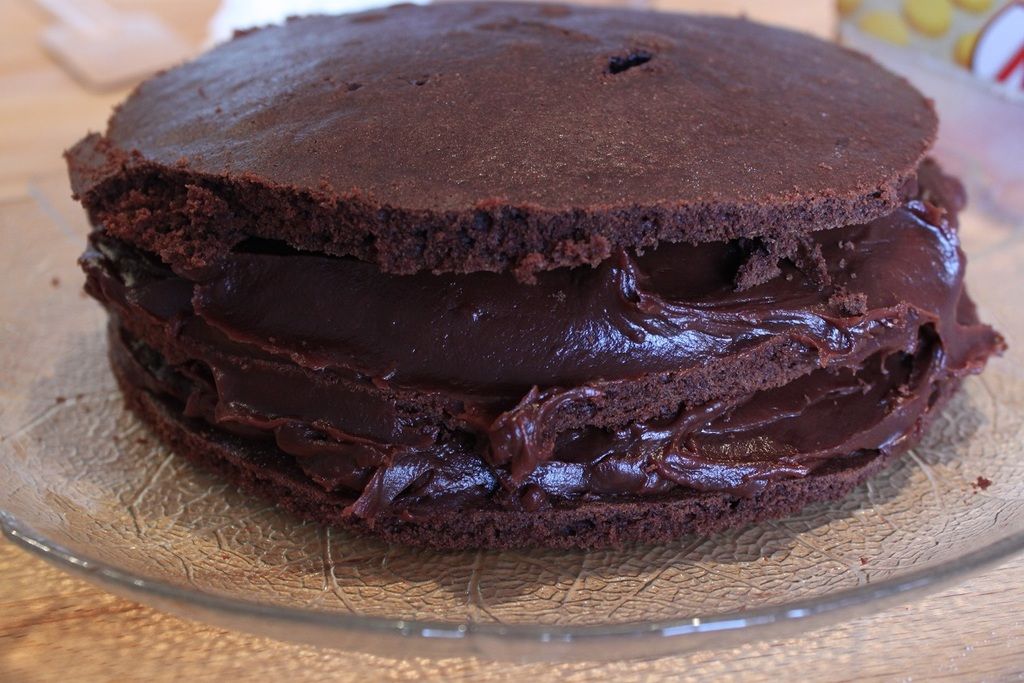
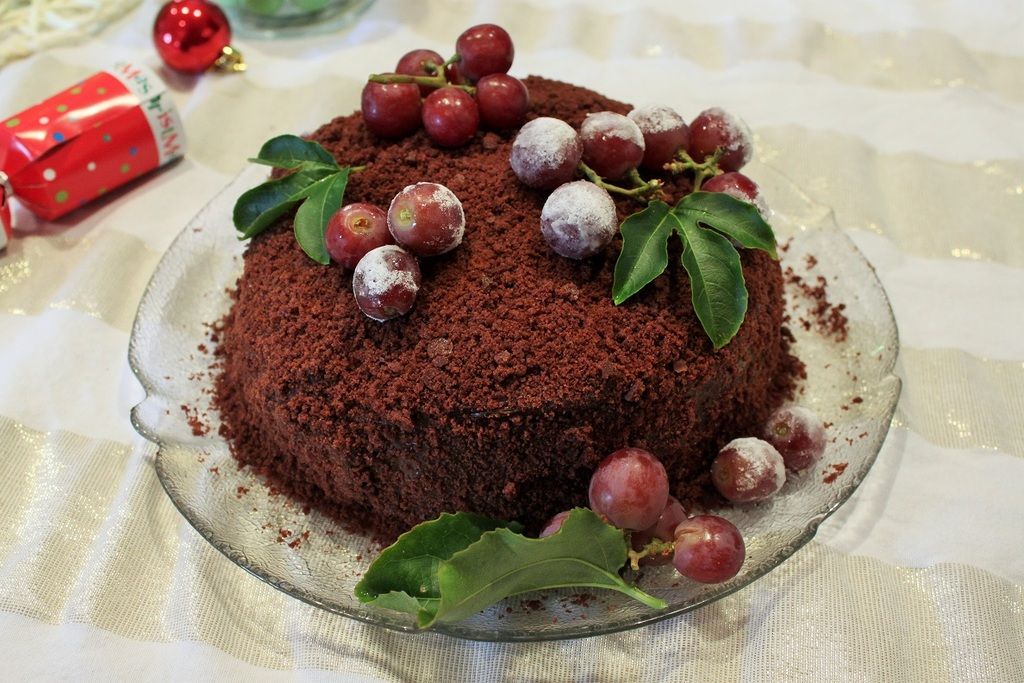
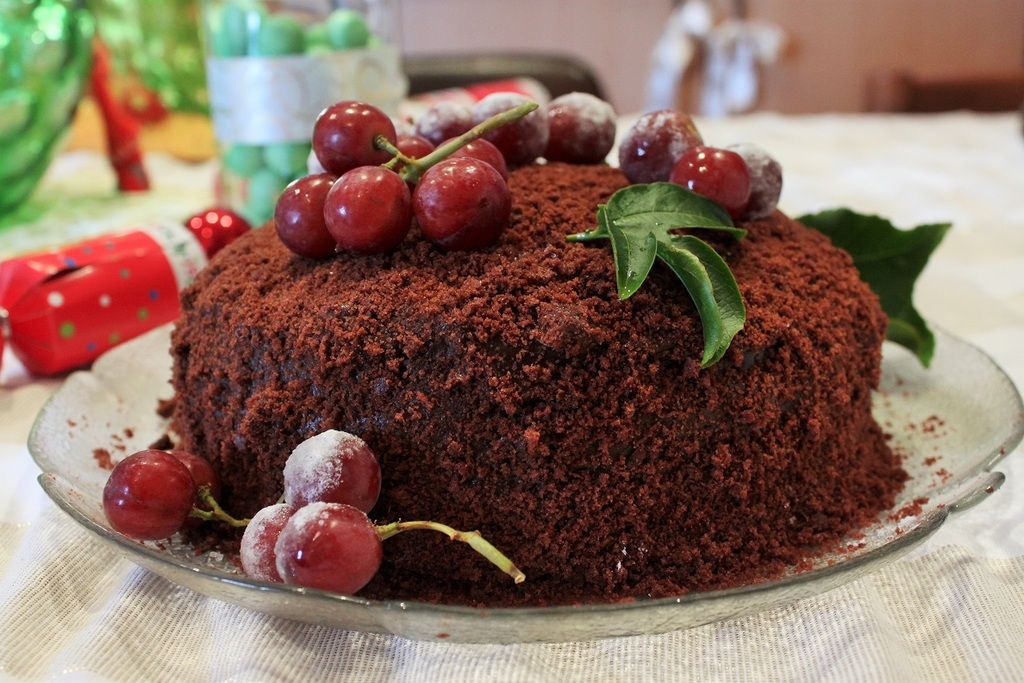
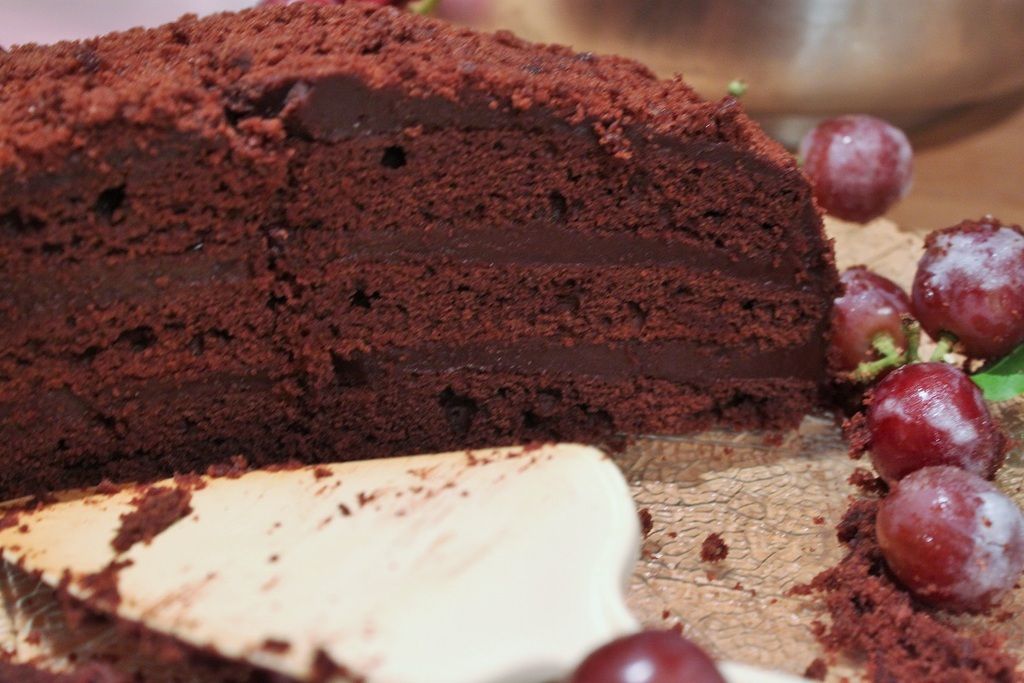
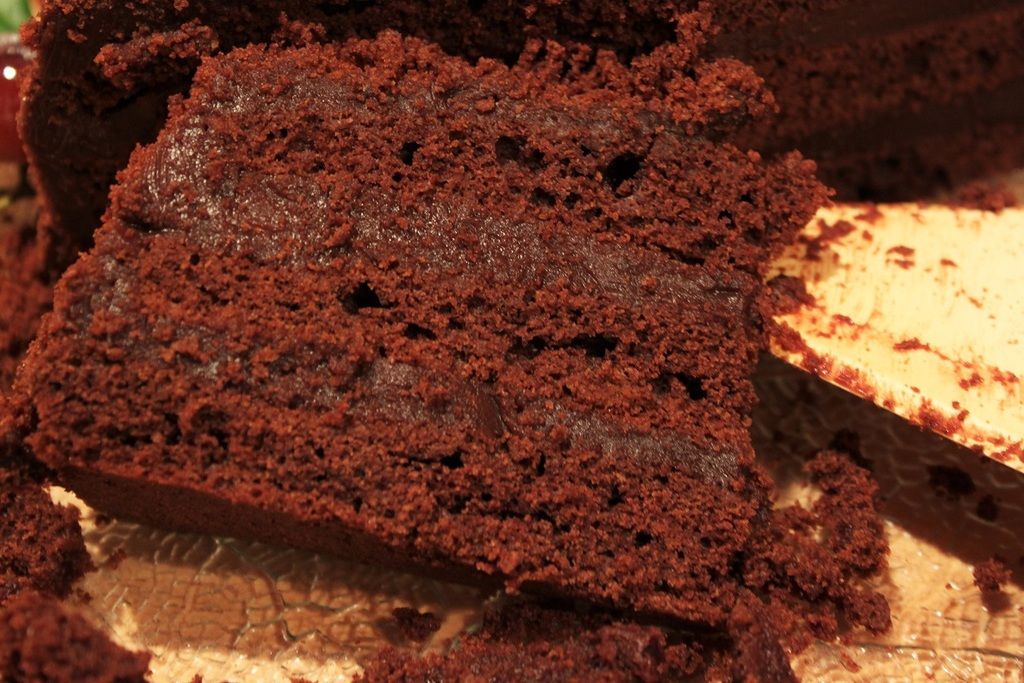
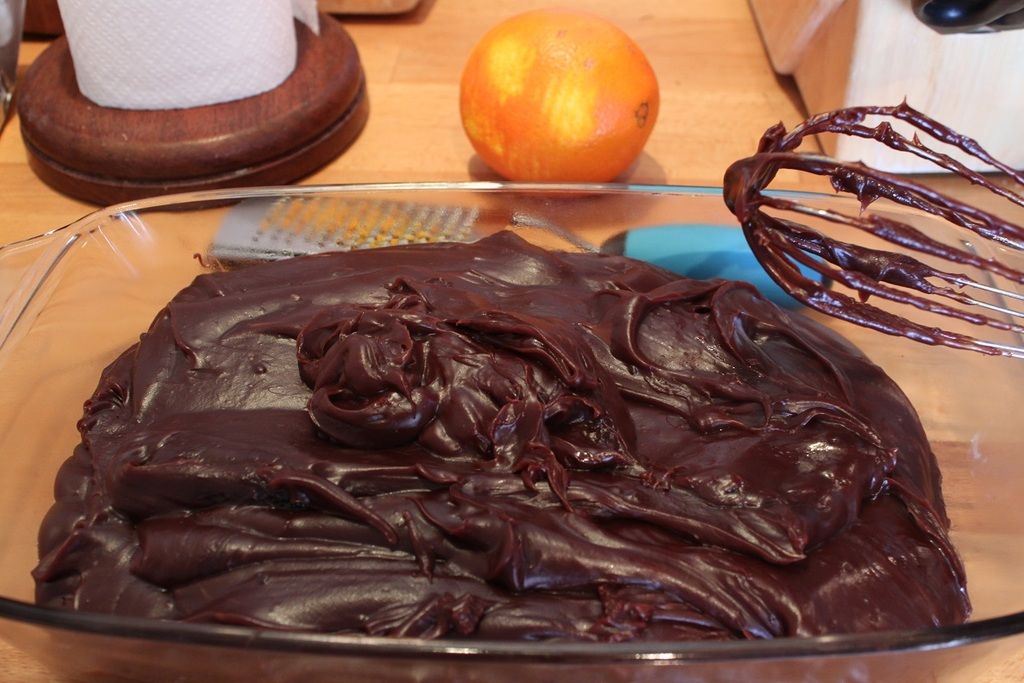
This is the first of the two cakes and wanting to use Christmassy flavours, I decided to spice up the Boston Blackout Cake from the Hummingbird Bakery Cookbook. Quite literally. Red wine, wintery spices and citrus add a depth to the already rich chocolatey cake. It is made of three layers of cake held together by a mulled wine chocolate “custard” which is then covered in cake crumbs. It needs at least a few hours in the fridge to “set” the filling and cake, which makes it perfect for entertaining as it can all be made beforehand. Keeping with the wine theme, I’ve decorated it with some grapes for a fun look! Being a rich cake, this is best served with whipped cream, or even crème fraiche.

Christmas in July - Mulled Wine Chocolate Cake

Mulled Wine Chocolate Cake

Cake

100g butter
1 cup brown sugar
2 eggs
1 tsp vanilla
1/3 cup cocoa
1 tsp baking powder
1 tsp bicarb soda
½ tsp salt
1 tsp cinnamon
½ tsp ginger
¼ tsp cloves
¼ tsp nutmeg
1 1/3 cups plain flour
1/3 cup milk
1/3 cup red wine (I used Shiraz)

Custard

2 ½ cups sugar
1 tbsp light corn syrup
½ cup cocoa
60g dark chocolate
½ tsp cinnamon
½ tsp ginger
Pinch nutmeg
Pinch cloves
1 cup red wine (I used Shiraz)
1 ½ cups water
1 ½ cups cornflour
¾ cup water (extra to the above)
80g butter
1 tsp vanilla
Zest of an orange

Start by making the custard so it can chill and set in the fridge. In a small bowl, mix the cornflour and ¾ cup of water together to make a slurry. Set aside.

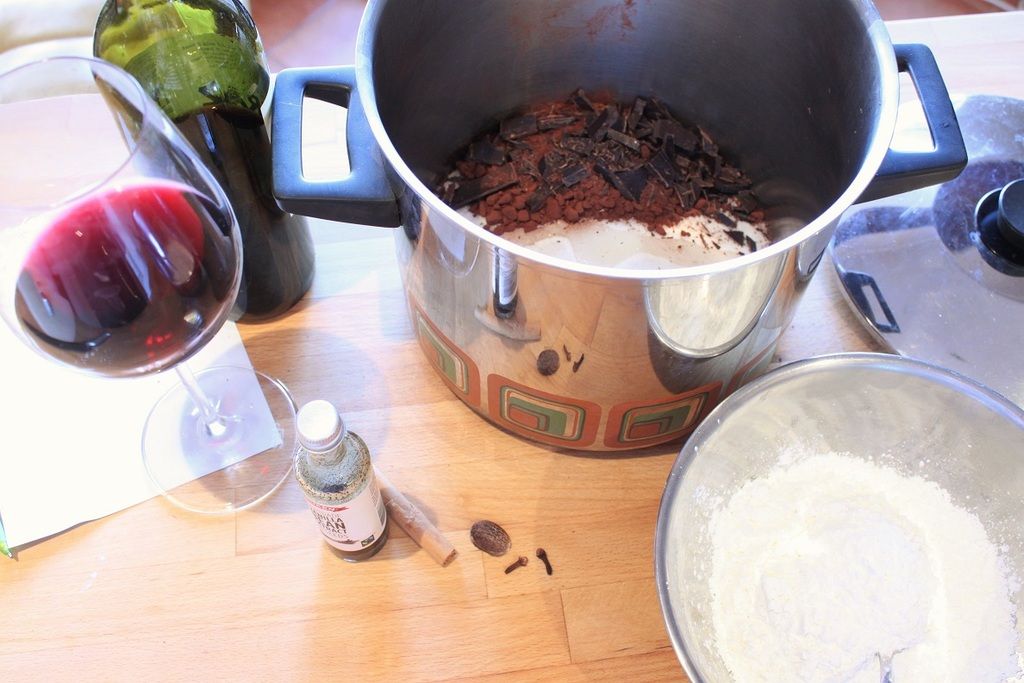
In a large saucepan, add the sugar, light corn syrup, cocoa, dark chocolate, cinnamon, ginger, nutmeg and cloves. Pour the red wine and water over the top and over a medium heat, stir to combine and bring to the boil.

When boiling, add the cornflour slurry and stir constantly to combine. When it starts to thicken, add the butter, vanilla and zest and mix well until it’s fully incorporated. Pour into a baking dish, cover the surface with cling wrap and refrigerate for at least 2 hours.

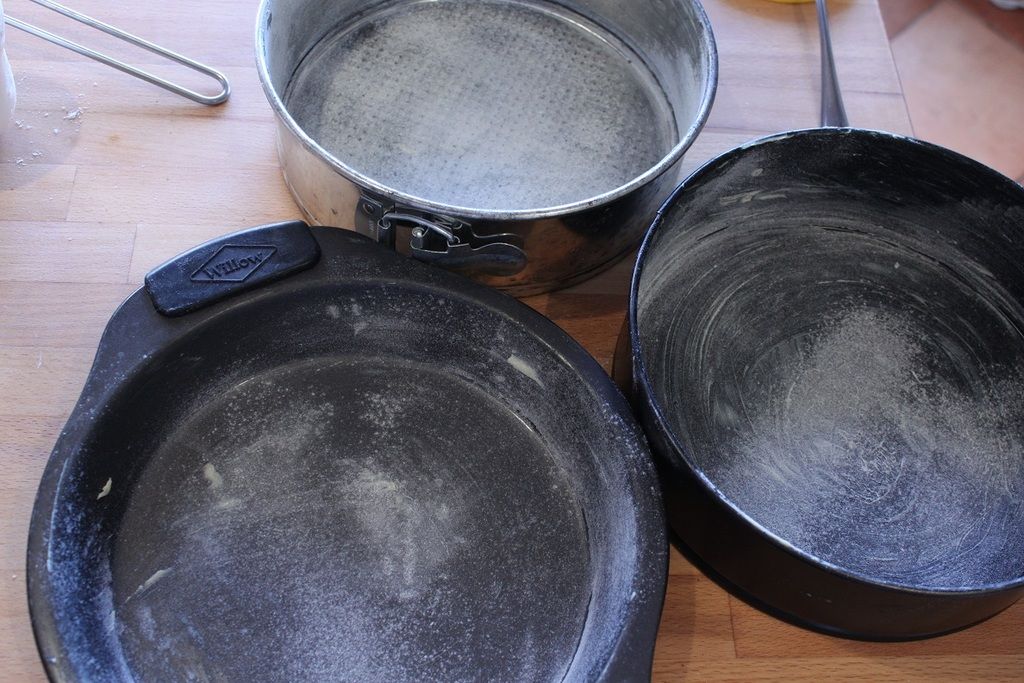
For the cake, preheat the oven to 170C. Grease and flour three cake tins of (preferably) equal size.

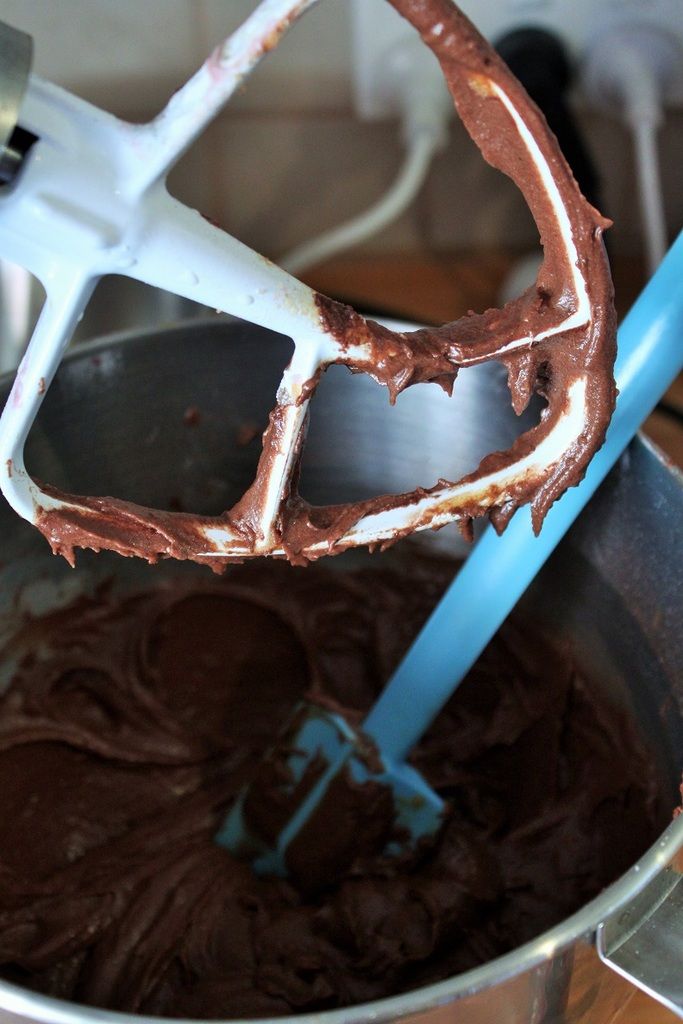
the bowl of a stand mixer, cream the butter and sugar together until light and fluffy on a medium speed. Add the eggs, one at a time, and keep beating until fully incorporated. Scraping down the sides if necessary. Turn the mixer down to low and add the vanilla, spices, cocoa, baking powder, bicarb soda and salt. When combined, add half of the flour and turn the mixer up to medium again to mix well. Add the red wine. When fully combined, add the milk. Finally, add the second half of the flour.

Pour the cake mix evenly amongst the three cake tins and bake for 25 minutes, or until it springs back when touched and a cake tester comes out clean. Cool 5 minutes in the tins, then turn out to cool completely on racks.

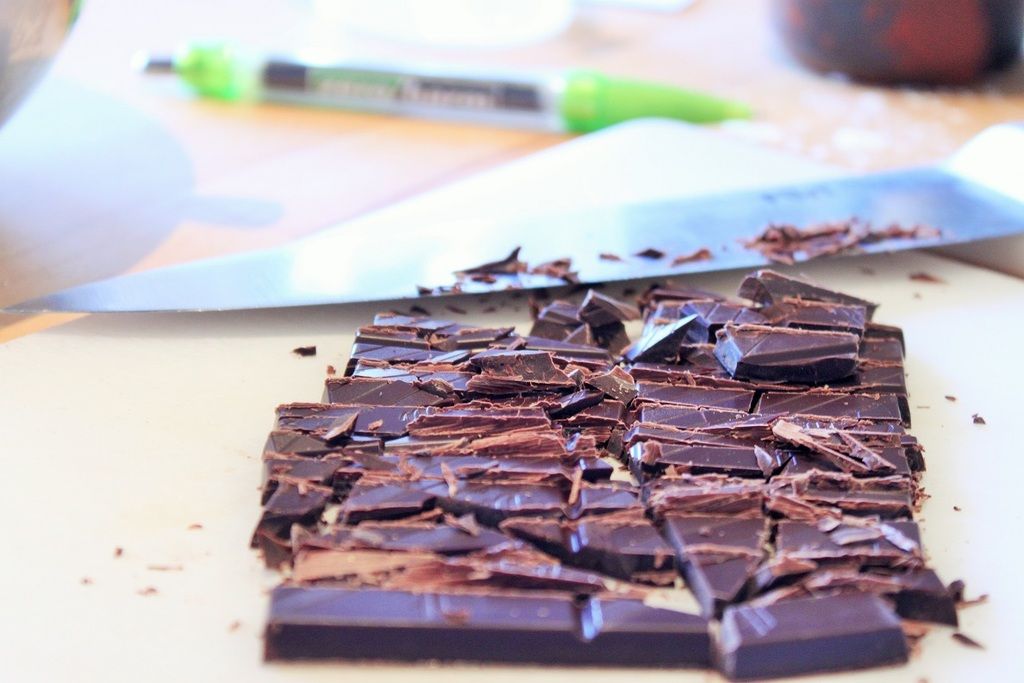
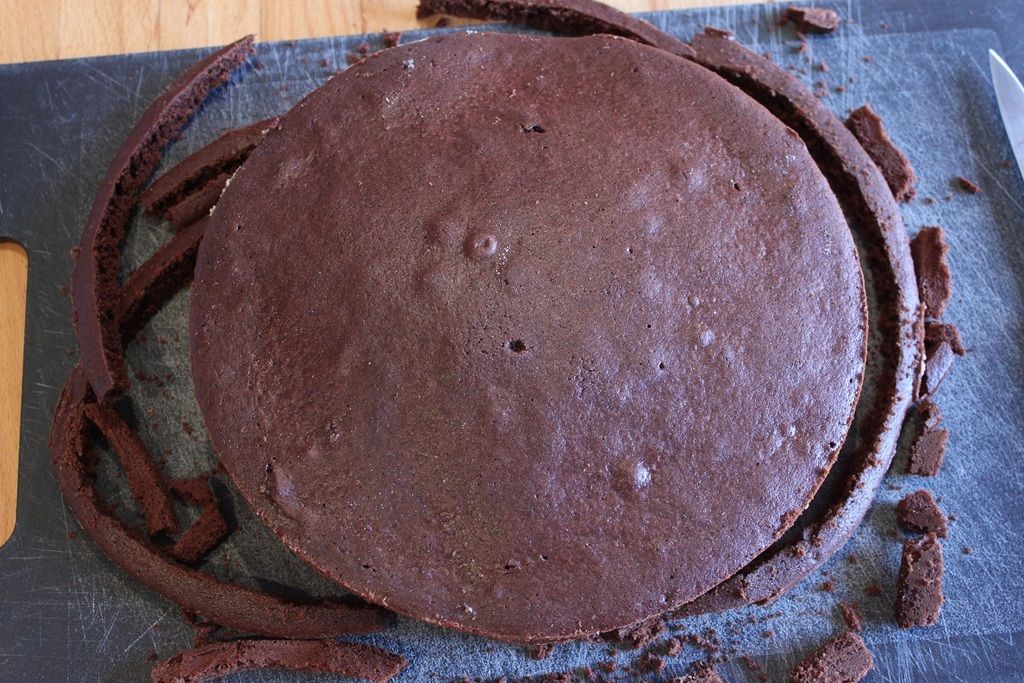
To assemble, pile the three cakes carefully, and cut a small ring around the outside. Blitz the offcuts in a food processor to get cake crumbs. Place on ring on your serving plate, then smear a layer of custard over it. Top with cake, then more custard, then the last layer of cake. Smother the whole thing in a layer of custard, smoothing the sides and top as best as possible. Gently pour and press the crumbs into the custard so they stick.

Refrigerate for 4 hours (or the day before), then remove from the fridge half an hour before serving.


Decorate with grapes if desired. Serve with whipped cream.

Christmas in July - Mulled Wine Chocolate Cake

Monday, July 6, 2015

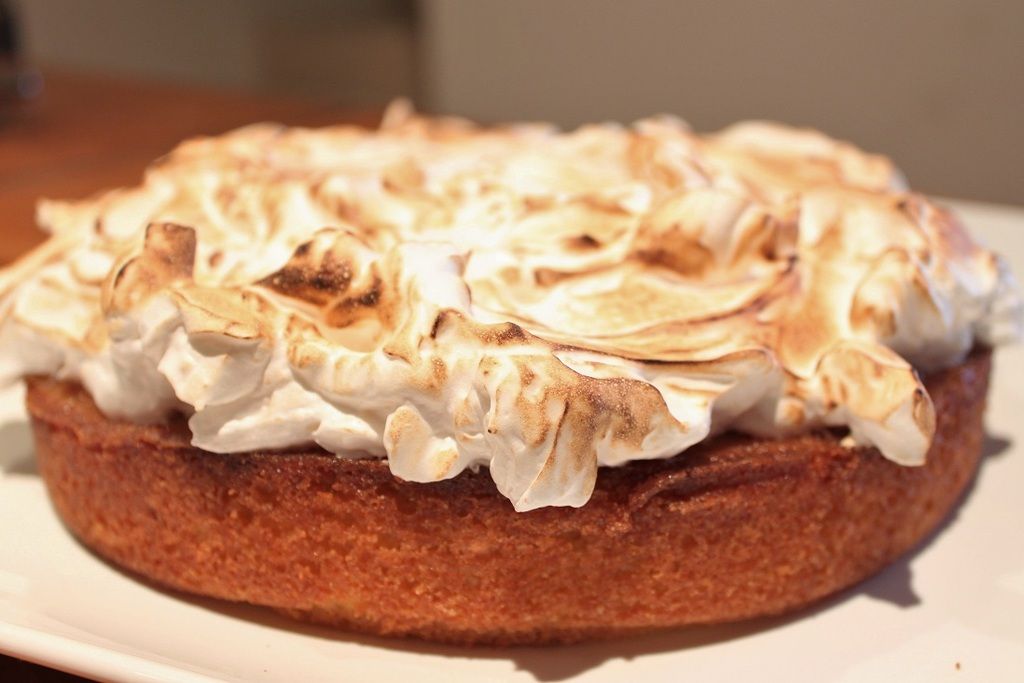
Entertaining without Gluten - Flourless Grapefruit and Basil Cake with Toasted Meringue Icing

Entertaining without Gluten - Flourless Grapefruit and Basil Cake with Toasted Meringue Icing

I feel so blessed to be food allergy free. I can eat whatever I want, whenever I want. Makes eating out and just cooking in general so easy. I have quite a few family members and friends who aren’t so lucky. Whilst there is a variety of allergies I sometimes have to cater for, the most common one is gluten. Unfortunately for those friends, the gluten intolerance and allergy generates fairly full-on, sometimes hospital inducing reactions. It’s a little more serious for them than the discomfort that some gluten-avoiders get, so every single ingredient needs to be gluten free.

At a recent cousins catch-up Lance and I hosted, I needed to make a gluten-free cake. Now, because I am fine to eat everything, I don’t buy gluten-free flour, and I didn’t want to buy some especially for the occasion. Which led to a decision – make my own gluten-free flour out of things I do buy, like buckwheat flour, rice flour, chick pea flour, or go flourless? I decided to go flourless. This cake does call for gluten free baking powder, which I have as a default. You can leave it out altogether if you need it gluten free and don’t want to buy new baking powder. The cake is already a dense style, so it’s not especially missed, just make sure the whole thing is well beaten whilst mixing.

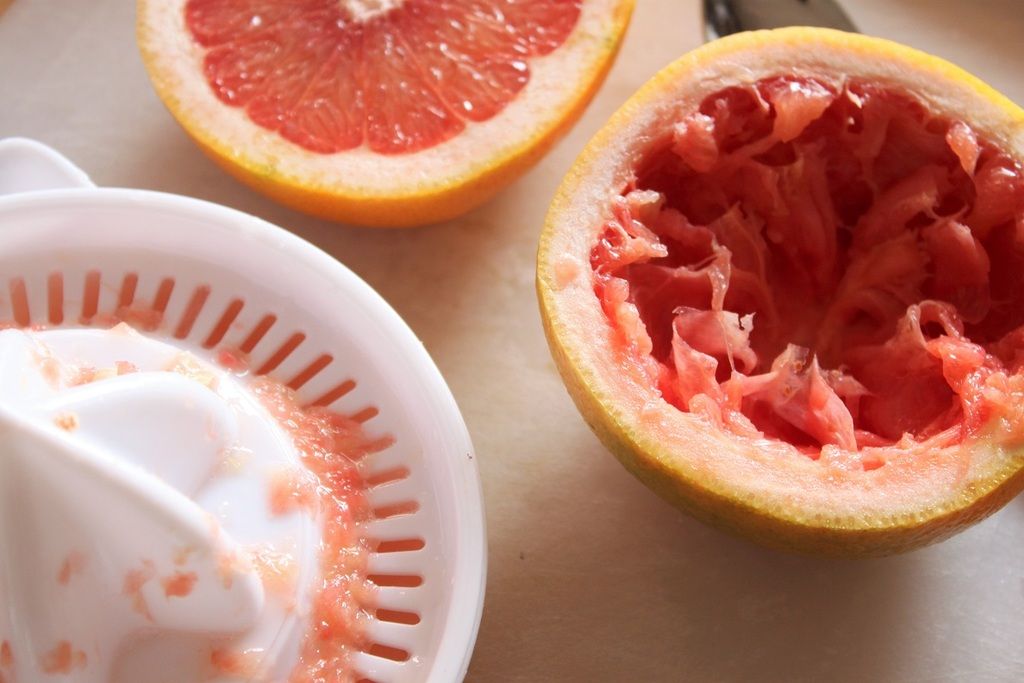
The pink grapefruit that we planted when we first moved in has had it’s first fruit-bearing season, and I wanted to make a citrusy cake to celebrate this fact. I love pink grapefruit so much! Tart and tangy and refreshing. So good! And seeing as our basil plant clearly hasn’t been informed that it’s actually winter now, and is still growing like crazy and given the success of a previous lime and basil cake (for a cousins catch-up on my side of the family), my flavour profile was decided. I didn’t have enough almonds to make an almond meal cake, so I adapted Nigella’s Lemon Polenta Cake, which uses a mixture of polenta and almonds, and is drizzled with a lemon syrup to make a wonderfully moist cake.

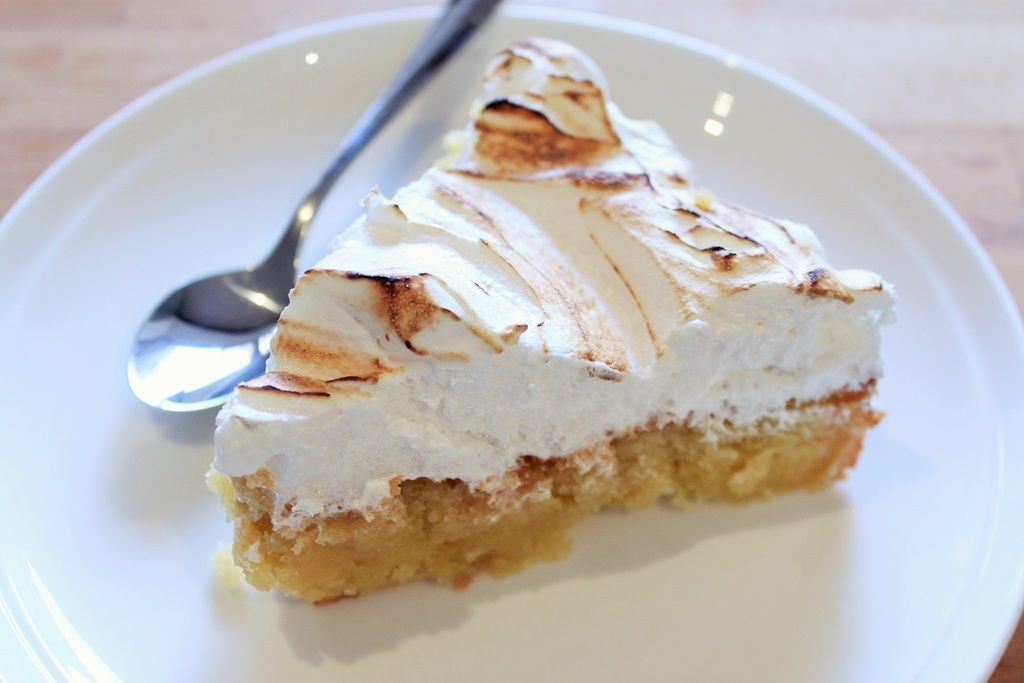
Just because I wanted to show off, I added a toasted meringue icing, also grapefruit and basil flavoured. The cake doesn’t really need the icing – but I figure, if you’re making a cake for an event, you might as well go all out, right? Go big, or go home!

Entertaining without Gluten - Flourless Grapefruit and Basil Cake with Toasted Meringue Icing


Flourless Grapefruit and Basil Cake with Toasted Meringue

Cake

200g unsalted butter, softened
1 cup caster sugar
6 large basil leaves
2 cups almond meal
¾ cup fine polenta (cornmeal)
3 eggs
Zest 1 pink grapefruit

Syrup

Juice of the pink grapefruit above
½ cup icing sugar
6 large basil leaves

Preheat oven to 180C. Spray the sides of a 23cm springform cake tin with cooking spray and line the base with baking paper. I like to allow a little overhang, then clip the base into the ring to secure it.

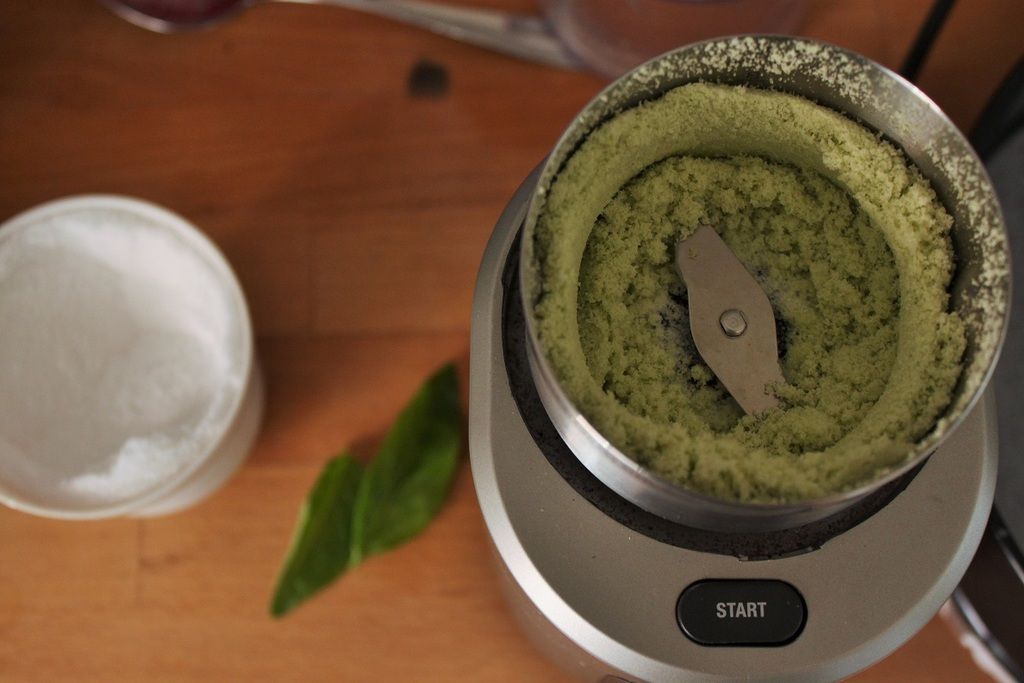
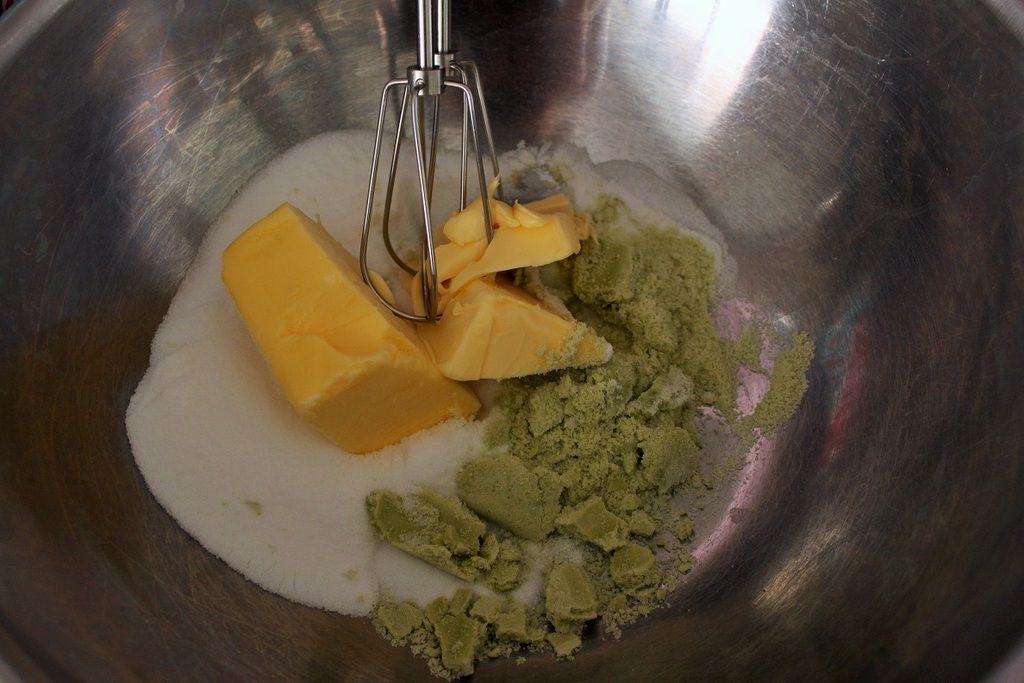
In a coffee/spice grinder, finely grind the basil leaves with half of the caster sugar. Add the basil sugar, remaining sugar and butter into the bowl of a standmixer and beat on high until light and fluffy. In a separate bowl, combine the almond meal, polenta and baking powder. Turn the mixer down to low/medium and add 1 egg, then 1/3 of the dry mixture. Alternate the egg and dry mixture for the remaining 2 eggs and polenta. When this is fully combined, beat in the grapefruit zest.

Scrape the mixture into the cake tin, and bake for around 40 minutes. The top will be a little golden, and will be pulling away from the edges a little. Place the cake tin on a cooling rack. Don’t remove the cake yet.

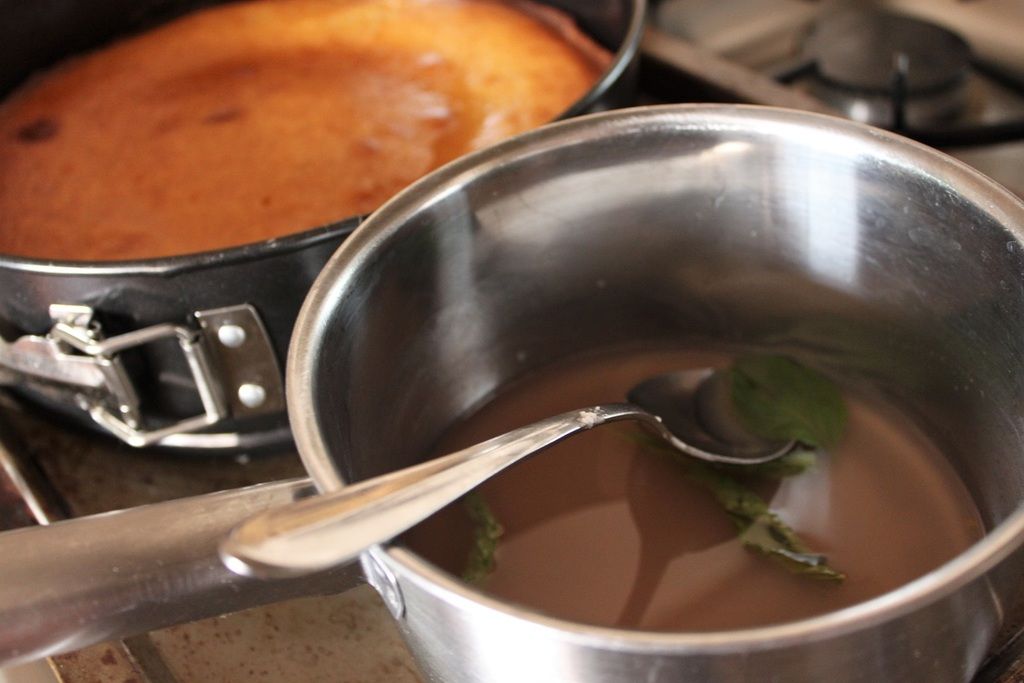
Just before the cake is done baking, bring the icing sugar and grapefruit juice to the boil in a small saucepan, stirring until the sugar fully dissolves. Remove from the heat and add the basil leaves. Stir well, then set aside to infuse for 5 minutes. Remove the leaves

When the cake is out, prick all over the top gently with a cake tester (or thin toothpick). Pour the warm syrup over the cake. Leave it to soak in and cool in the tin.

Whilst the cake cools, make the meringue icing

Entertaining without Gluten - Flourless Grapefruit and Basil Cake with Toasted Meringue Icing

Pink Grapefruit and Basil Toasted Meringue Icing

2 egg whites, at room temperature
½ cup caster sugar
Pinch cream of tartar
Juice of 1 grapefruit
Handful of basil leaves

Get ready by wetting a pastry brush and placing the eggwhites in a clean bowl of your standmixer, and attaching the whisk attachment. Clip a candy thermometer to the side of a pot large enough that the end will be submerged in the liquid, but not touching the bottom of the pan.

Place the grapefruit juice in a measuring cup and add water to make it up to 100mL. Add this, the sugar and the basil leaves to a medium pot and bring to the boil, stirring until the sugar dissolves. Reduce the heat to medium and carefully remove the basil leaves.

Brush down sugar crystals with the wet brush. Continue heating the syrup until it reaches 115C, this will take around 10 minutes. Leave it on the heat, but start whisking the eggwhites with the cream of tartar until soft peaks form.

Keep an eye on the thermometer, and when it reaches 120C, take it off the heat, increase the speed of the mixer to high and slowly pour the syrup in a thin, steady stream down the side (avoid it touching the whisk). When all of the syrup is incorporated, lower the speed to medium and continue beating until it’s cooled to room temperature and the meringue is thick and glossy.

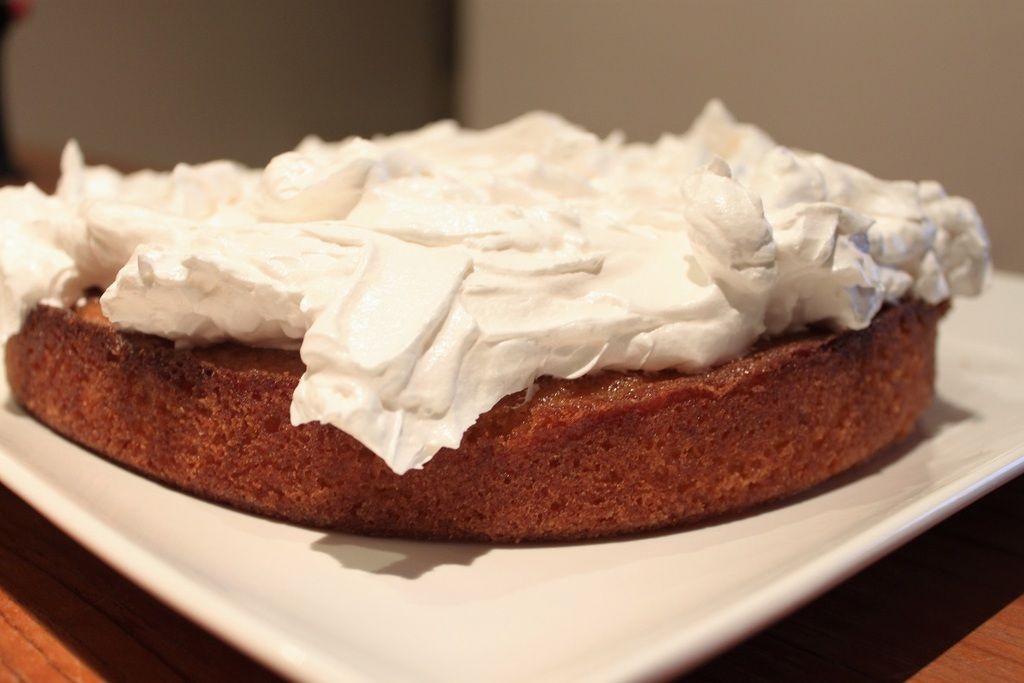
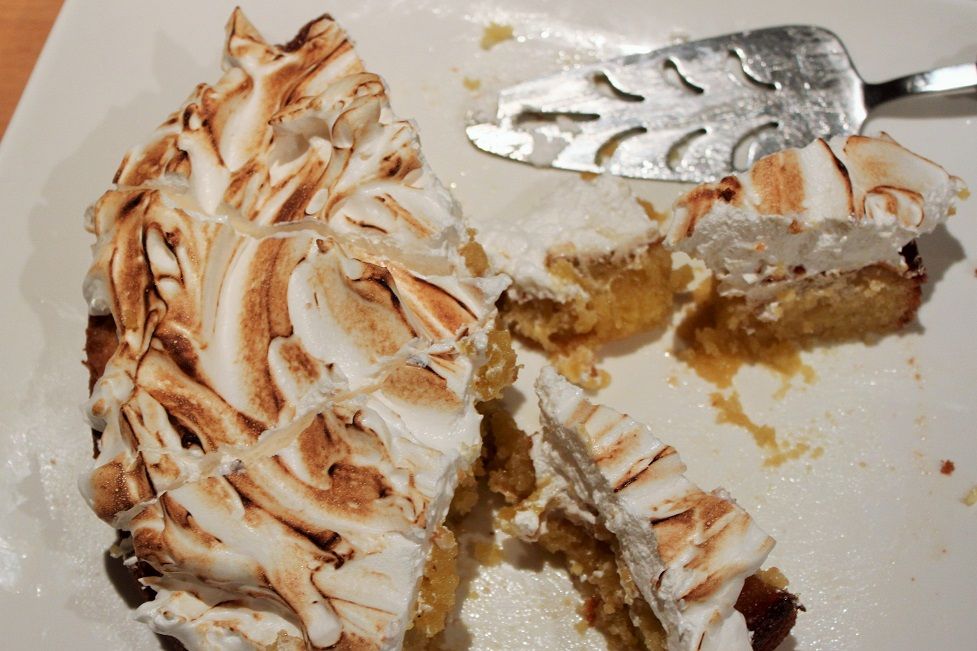
Spread the meringue over the cake with a spatula, deliberately creating peaks and swirls. Fire up your mini-blow torch and gently brown the edges of the meringue swirls, being careful not to let it burn.

Enjoy!

Entertaining without Gluten - Flourless Grapefruit and Basil Cake with Toasted Meringue Icing